“`html
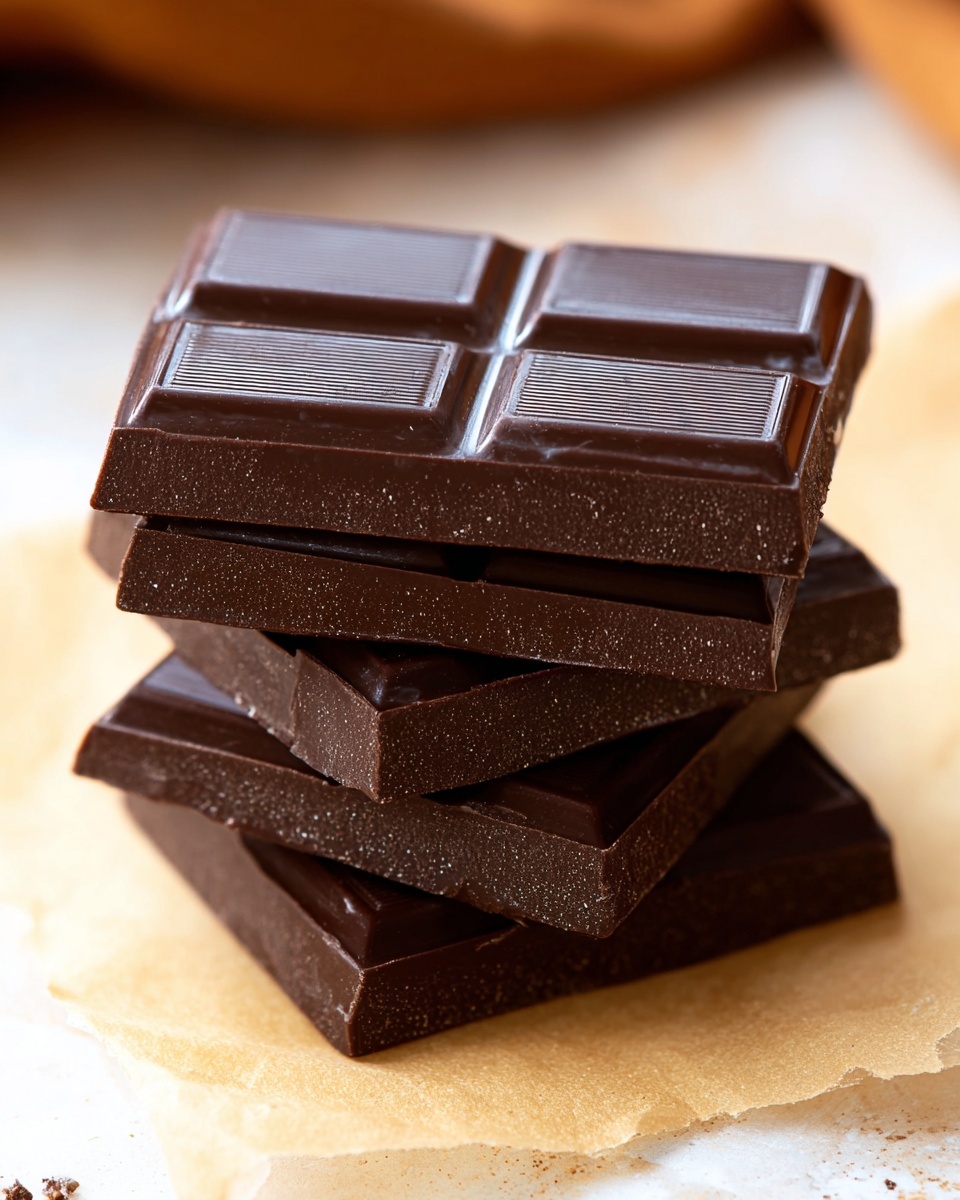
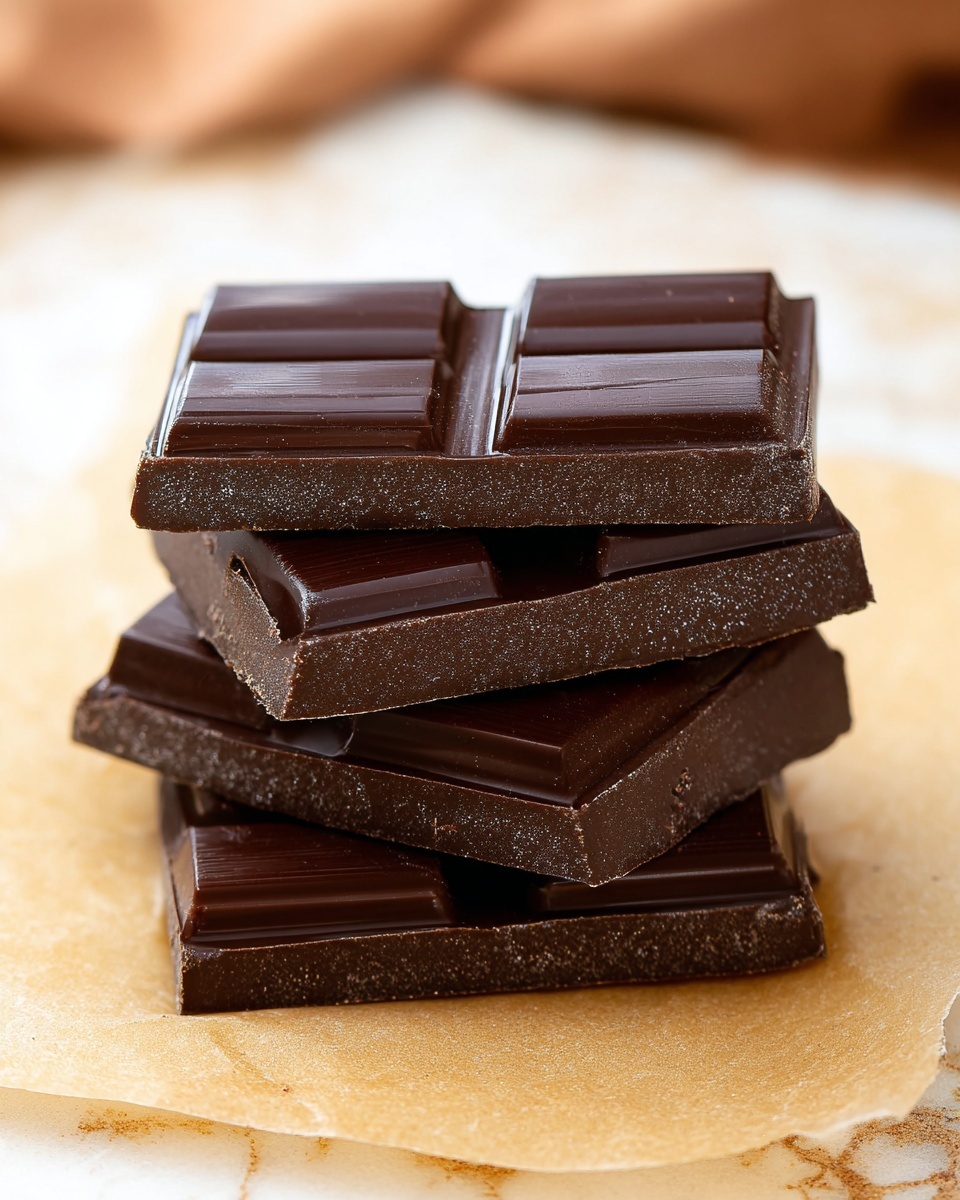
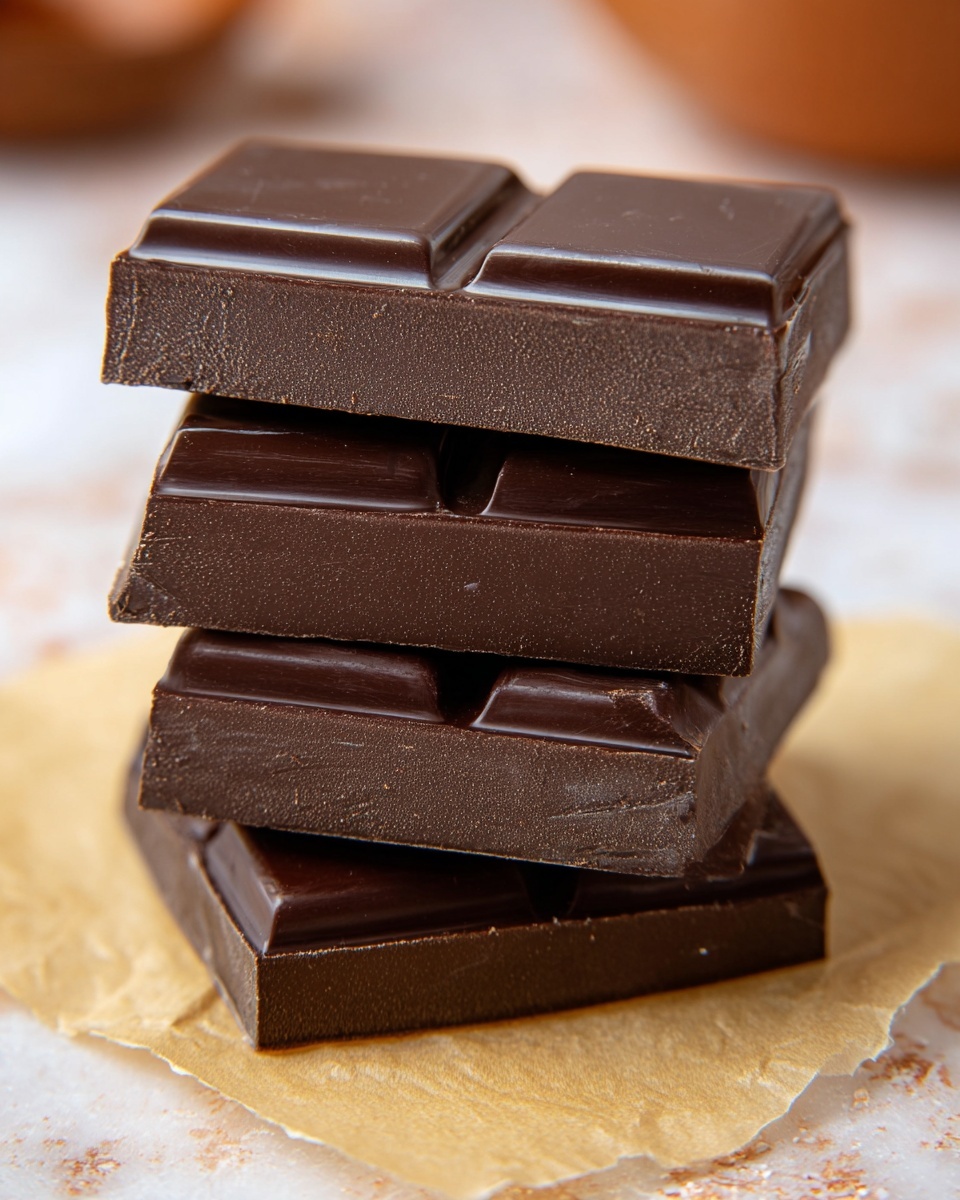
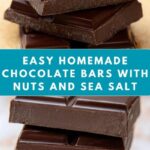
If you have a sweet tooth craving something rich and satisfying, nothing quite beats the magic of an Irresistible Homemade Chocolate Bars Recipe. These bars blend the deep, velvety notes of dark chocolate with just the right touch of coconut oil and a pinch of sea salt to create a treat that melts perfectly on your tongue. Plus, with the option to add crunchy nuts or vibrant dried fruits, these homemade delights offer a customizable experience that’s far beyond your average chocolate bar. Whether as a quick snack or a thoughtful gift, these chocolate bars are bound to become a beloved staple in your kitchen.
Ingredients You’ll Need
Gathering the ingredients for this recipe is a breeze, yet each one plays an essential role in creating that perfect balance of texture, flavor, and luscious color. You’ll love how simple pantry staples transform into something absolutely divine.
- 1 cup dark chocolate chips (70% cocoa): Provides a rich, intense chocolate flavor and smooth base for the bars.
- 2 tbsp coconut oil: Adds a silky texture and subtle hint of tropical flavor, helping the chocolate to set beautifully.
- 1 tsp pure vanilla extract: Enhances the depth of chocolate with a warm, aromatic touch.
- 1/2 tsp sea salt: Balances sweetness and intensifies the chocolate’s natural richness.
- Optional 1/4 cup nuts or dried fruits: Introduces delightful crunch or chewy bursts of sweetness, tailor-made for your taste buds.
How to Make Irresistible Homemade Chocolate Bars Recipe
Step 1: Prepare Your Workspace
Start by clearing your kitchen counter and assembling all your ingredients. Having everything within reach makes the process smooth and enjoyable, setting up the perfect environment for creating these delicious chocolate bars.
Step 2: Melt the Chocolate and Coconut Oil
Place the dark chocolate chips and coconut oil in a microwave-safe bowl. Heat in 30-second bursts, stirring in between, until the mixture is completely melted and silky smooth. This gentle melting method prevents the chocolate from burning and keeps the texture flawless.
Step 3: Stir in Flavorings
Once melted, mix in the vanilla extract and sea salt. This simple step elevates the flavor, adding warmth and complexity, enhancing every bite of your chocolate bars.
Step 4: Pour into Molds
Gently pour the silky chocolate blend into silicone molds or a lined baking tray. Tap the mold lightly on the counter to release any trapped air bubbles, ensuring your bars have an even texture and smooth finish.
Step 5: Add Optional Toppings
If you love a bit of contrast, sprinkle nuts like almonds or dried fruits such as cranberries on top—a lovely way to add texture and bursts of flavor before the chocolate sets.
Step 6: Refrigerate to Set
Pop your filled molds into the fridge and let them chill for one to two hours. This chilling time allows the bars to firm up perfectly, delivering a satisfying snap every time you bite in.
How to Serve Irresistible Homemade Chocolate Bars Recipe
Garnishes
To make these chocolate bars extra special, consider sprinkling a tiny pinch of flaky sea salt or edible gold dust right before serving. Fresh mint leaves or a light dusting of cocoa powder can also add a beautiful touch that complements the rich chocolate flavor.
Side Dishes
Pair these chocolate bars with a cup of steaming coffee or robust black tea to balance the sweetness. For a decadent dessert plate, serve alongside fresh berries or a scoop of vanilla ice cream for a harmonious flavor experience.
Creative Ways to Present
Wrap your homemade chocolate bars in parchment paper and tie with twine for a rustic look perfect for gifting. Alternatively, stack small bars in a decorative jar layered with nuts or dried fruit for an eye-catching treat display at parties or gatherings.
Make Ahead and Storage
Storing Leftovers
Keep any leftover homemade chocolate bars in an airtight container at room temperature if the room is cool or inside the refrigerator to maintain their firmness and freshness. Proper storage helps preserve their wonderful texture and flavor for up to two weeks.
Freezing
If you want to stash some away for later, these chocolate bars freeze wonderfully. Wrap them individually in wax paper and place them in a freezer-safe container—this method locks in their flavor and prevents freezer burn for up to three months.
Reheating
Since these bars are best enjoyed chilled, reheating isn’t necessary. However, if you want a molten chocolate treat, briefly warm them in your microwave for 10-15 seconds, keeping a close eye to prevent melting too much or losing their snap.
FAQs
Can I use milk chocolate instead of dark chocolate?
Absolutely! Milk chocolate will make the bars sweeter and creamier, though they may be slightly softer. Adjust the sea salt to balance the sweetness if you like.
What if I don’t have coconut oil? Can I substitute it?
You can substitute coconut oil with butter or another mild vegetable oil, but coconut oil gives a unique silky texture and helps the bars set faster in the fridge.
Are these chocolate bars vegan?
Yes! If you use dairy-free dark chocolate and vanilla extract, the recipe is completely vegan and just as delicious.
Can I add other mix-ins beyond nuts and dried fruit?
Definitely! Feel free to experiment with shredded coconut, crushed pretzels, or even a sprinkle of chili flakes for a surprising kick.
How long do these bars keep fresh?
Stored properly in an airtight container, they stay fresh for about 1-2 weeks in the fridge and up to 3 months in the freezer.
Final Thoughts
There’s nothing quite like the joy of making your own sweet treats at home, and this Irresistible Homemade Chocolate Bars Recipe is an absolute must-try. Perfectly simple yet endlessly customizable, these chocolate bars bring warmth and delight to any day. Grab your ingredients, have some fun, and soon you’ll see why this recipe becomes a favorite you’ll want to revisit again and again.
“`
Print
Irresistible Homemade Chocolate Bars Recipe
- Prep Time: 10 minutes
- Cook Time: 2 minutes
- Total Time: 2 hours 12 minutes
- Yield: 8 servings
- Category: Dessert
- Method: No-Cook
- Cuisine: International
- Diet: Vegetarian
Description
Make your own delicious homemade chocolate bars with just a few simple ingredients. These rich, smooth chocolate bars combine dark chocolate with coconut oil for a creamy texture, enhanced with vanilla and a touch of sea salt. Customize with your favorite nuts or dried fruits for added flavor and texture. Perfect for a quick, satisfying treat that’s easy to prepare and sure to impress.
Ingredients
Main Ingredients
- 1 cup dark chocolate chips (70% cocoa)
- 2 tbsp coconut oil
- 1 tsp pure vanilla extract
- 1/2 tsp sea salt
Optional Ingredients
- 1/4 cup nuts or dried fruits (e.g., almonds, cranberries)
Instructions
- Prepare Ingredients: Clear your workspace and gather all the ingredients needed for the recipe to ensure a smooth cooking process.
- Melt Chocolate Mixture: Place the dark chocolate chips and coconut oil in a microwave-safe bowl. Heat in 30-second bursts in the microwave, stirring thoroughly between each interval until the mixture is completely melted and smooth.
- Add Flavorings: Stir in the vanilla extract and sea salt into the melted chocolate mixture to enhance the flavor and balance the sweetness.
- Pour Into Molds: Pour the chocolate mixture into silicone molds or a lined baking tray. Tap gently to release any trapped air bubbles, ensuring a smooth surface.
- Add Toppings: Sprinkle nuts or dried fruits on top of the chocolate if you prefer added texture and taste before the mixture sets.
- Chill to Set: Place the molds or tray in the refrigerator and chill for 1-2 hours until the chocolate bars are fully set and firm to the touch.
Notes
- Use high-quality dark chocolate for the best flavor.
- Microwave in short intervals to prevent burning the chocolate.
- Silicone molds work best for easy removal of the bars.
- Store finished chocolate bars in an airtight container in the refrigerator.
- Experiment with different nuts and dried fruits for unique variations.

