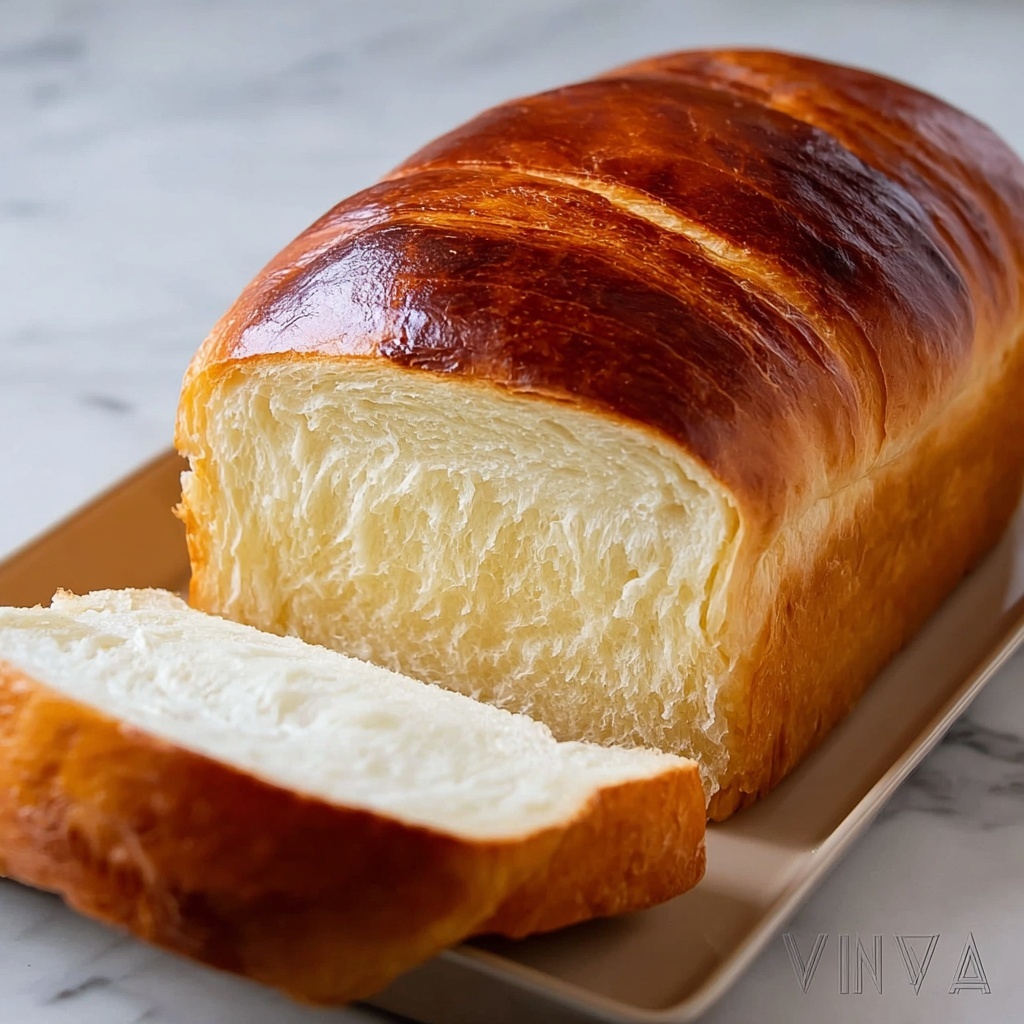
If you have ever longed for a bread that feels like a warm hug from the moment you slice into it, then you are in for a treat with this Irresistible Amish White Bread Recipe. This bread is beautifully soft, perfectly golden, and has a tender crumb that almost melts in your mouth. What makes it so special is its simplicity—just a handful of humble ingredients coming together to create an utterly delicious homemade loaf that elevates any meal, snack, or recipe. Whether you’re fresh out of the oven or a day later, this bread holds its charm, inviting you to enjoy the comforting taste of classic Amish baking right in your kitchen.
Ingredients You’ll Need
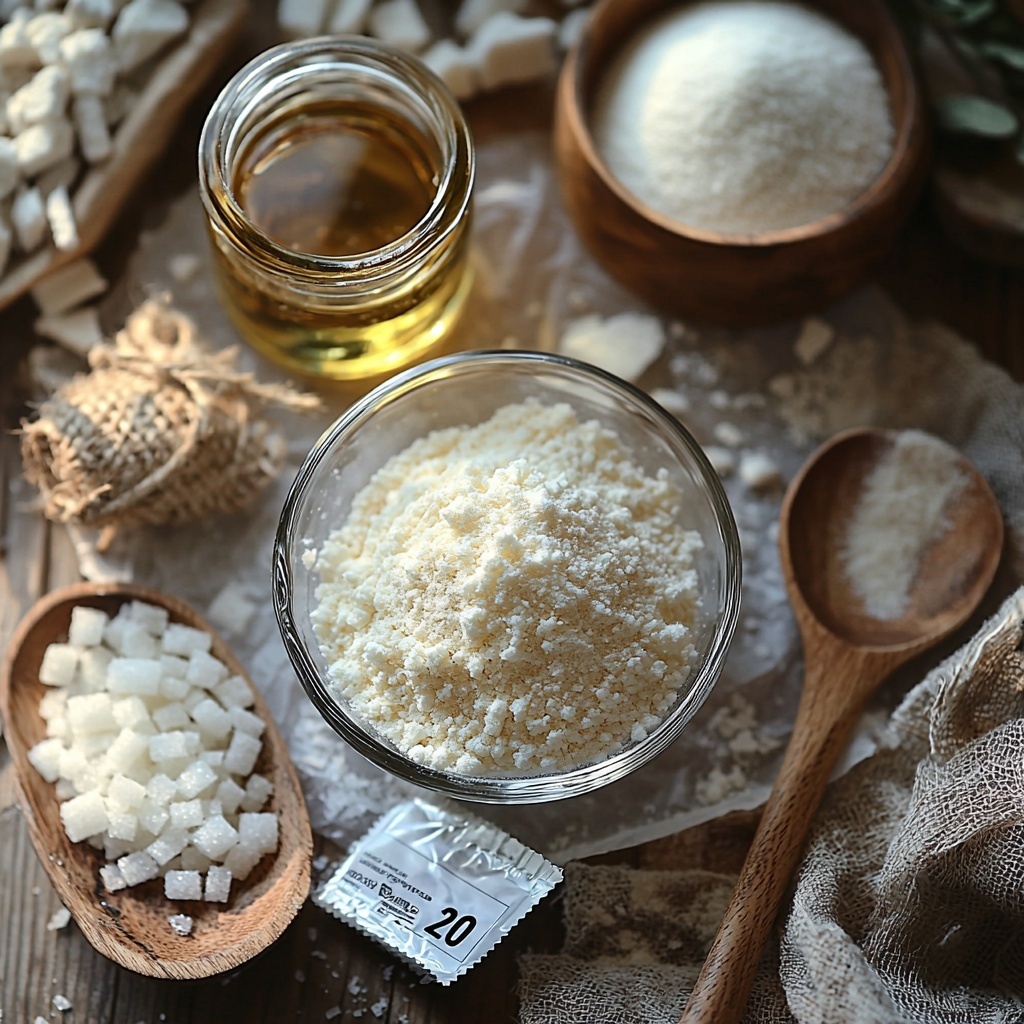
Every ingredient in this Irresistible Amish White Bread Recipe plays a vital role in creating that perfect texture and taste you crave. These essentials come together to provide structure, moisture, flavor, and that golden crust that makes this bread extra inviting.
- 1 cup warm water: The warm temperature activates the yeast for a perfect rise, making the bread light and airy.
- ⅓ cup granulated sugar: Adds a touch of sweetness to balance the flavors and helps feed the yeast.
- 2 ¼ teaspoons active dry yeast (1 packet): The magic behind the rising, this yeast turns your dough into a soft, fluffy loaf.
- 3 tablespoons vegetable oil: Keeps the bread tender and moist while adding richness without overpowering the flavor.
- 1 ½ teaspoons salt: Enhances flavor and controls yeast activity for the perfect crumb.
- 3 cups all-purpose flour: The main structure builder, this flour gives the bread its shape and heartiness.
How to Make Irresistible Amish White Bread Recipe
Step 1: Activate the Yeast
Begin by dissolving the sugar in warm water to create the ideal environment for the yeast. Sprinkle the yeast on top and patiently wait for 5 to 10 minutes until the mixture turns frothy. This little foam signals that your yeast is alive and ready to work its magic on the dough.
Step 2: Combine the Wet Ingredients and Salt
Once the yeast is frothy, stir in the vegetable oil and salt. These ingredients contribute not only to the flavor but also to the bread’s texture by keeping it tender and flavorful throughout each bite.
Step 3: Incorporate the Flour and Form Dough
Add the all-purpose flour one cup at a time, stirring as you go, until a soft dough begins to form. This gradual addition helps control the dough’s consistency, ensuring it is soft but not sticky.
Step 4: Knead Until Smooth and Elastic
Turn the dough onto a floured surface and knead it for 6 to 8 minutes. This step is essential to develop gluten, creating that perfect chewy yet soft bite that makes this Amish white bread so special.
Step 5: First Rise in a Warm Spot
Pop your dough into a lightly oiled bowl, cover it with a towel, and let it rise in a warm area for 1 to 1.5 hours. The dough should double in size, indicating it’s ready for the next step. This patient rise is what gives the bread its airy, light texture.
Step 6: Shape and Second Rise
Punch down the dough to release excess gas, divide it into two equal parts, and shape each into a loaf. Place the loaves in greased 9×5-inch pans and let them rise again for 30 to 45 minutes. You’ll know they’re ready when the dough crowns over the edge, looking fluffy and inviting.
Step 7: Bake to Golden Perfection
Heat your oven to 350°F (175°C). Bake the loaves for 30 to 35 minutes until the crust turns a lovely golden brown and sounds hollow when tapped. This beautiful crust locks in moisture and offers a pleasing contrast to the soft interior.
Step 8: Cool and Enjoy
Remove the loaves from their pans and let them cool on a wire rack. This cooling step is crucial as it finishes the bread perfectly. Once cool, slice into your Irresistible Amish White Bread Recipe and savor the comforting taste you just made!
How to Serve Irresistible Amish White Bread Recipe
Garnishes
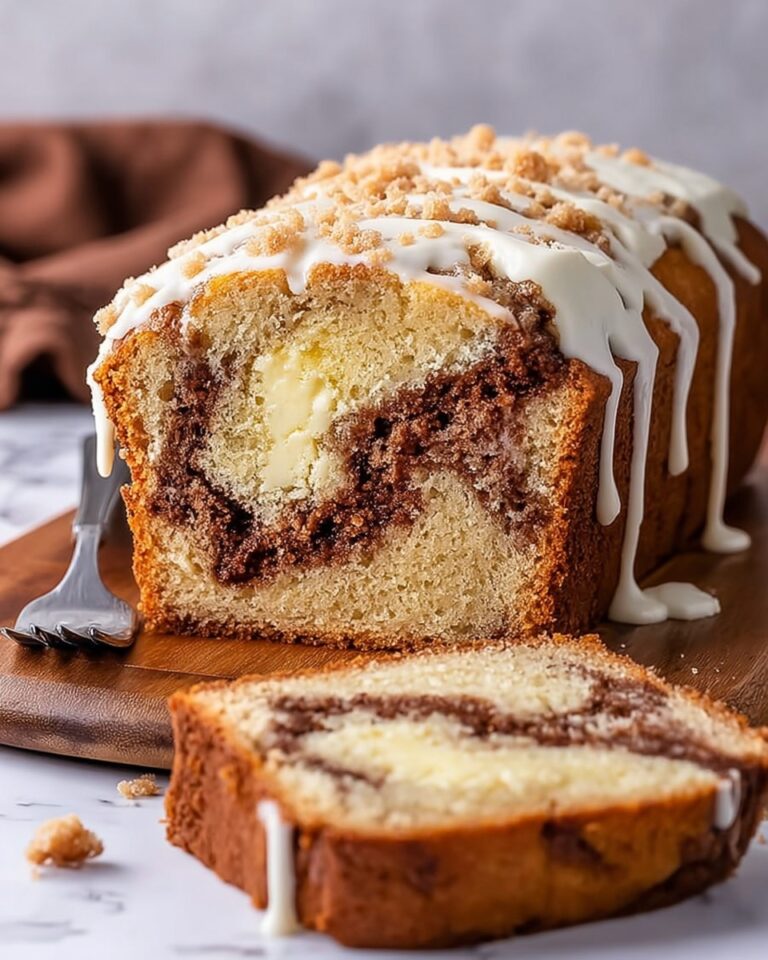
This Amish white bread is delightful on its own but can be accented with simple garnishes like a pat of butter melting into the fresh slice, a drizzle of honey, or a sprinkle of cinnamon sugar for a sweet touch that feels like a little celebration.
Side Dishes
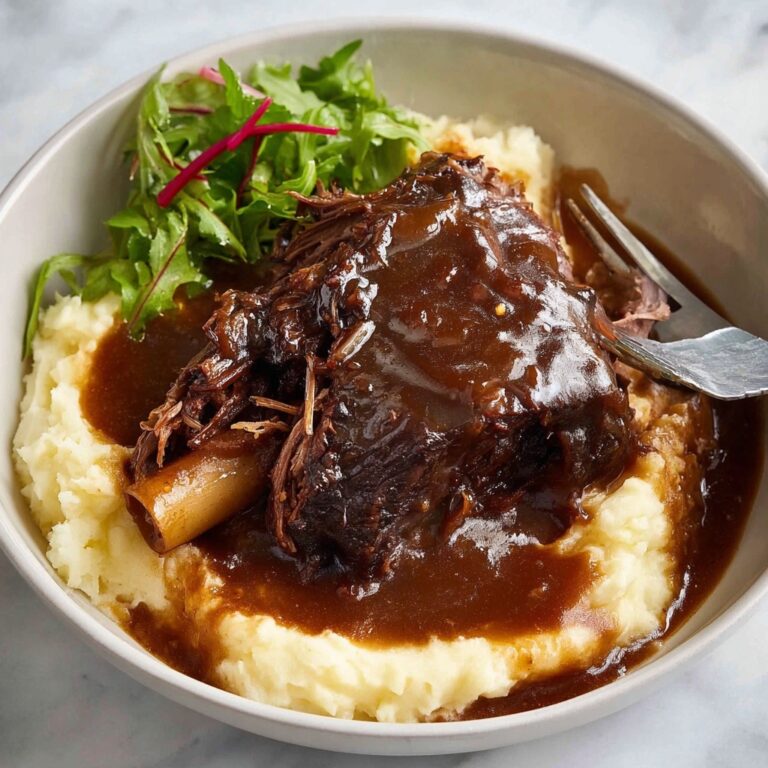
Pair this bread with hearty soups, stews, or fresh salads for a classic comfort meal that feels complete. Its soft texture and mild flavor perfectly balance rich, savory, or tangy dishes, making it an ideal companion.
Creative Ways to Present
Transform slices of Amish white bread into irresistible sandwiches with your favorite fillings, toast it with avocado and a pinch of sea salt, or use it for homemade croutons to add a special touch to your salads and soups. The possibilities are endless and always delicious!
Make Ahead and Storage
Storing Leftovers
Wrap your cool loaves tightly in plastic wrap or place them in an airtight container. Stored at room temperature, the bread stays fresh for up to three days, perfect for enjoying throughout the week without losing that homemade charm.
Freezing
For longer storage, slice the bread and freeze it in resealable bags. Freezing preserves freshness and makes it easy to grab individual slices as needed. Thaw slices at room temperature or toast them directly from frozen for a quick treat.
Reheating
To revive the soft, just-baked feeling, warm slices in a toaster or oven set at low heat for a few minutes. This small step brings back the bread’s comforting aroma and texture, making every bite feel freshly made.
FAQs
Can I use whole wheat flour instead of all-purpose flour?
Substituting whole wheat flour will change the texture and density of the bread, making it heartier but less soft. If you want to try, consider mixing half whole wheat and half all-purpose flour for a balanced result.
What is the best temperature for the water to activate yeast?
The water should be warm to the touch, about 100 to 110°F (38 to 43°C). Too hot and it could kill the yeast; too cold means the yeast won’t activate properly.
Can I make this bread without a bread machine?
Absolutely! This Irresistible Amish White Bread Recipe was designed for hand kneading and traditional oven baking, so no bread machine required for delicious results.
How do I know when the bread is fully baked?
A perfectly baked loaf sounds hollow when tapped on the bottom and has a golden crust. You can also use an instant-read thermometer; it should register about 190 to 200°F (88 to 93°C) internally.
Can I add herbs or other flavors to this bread?
Yes, adding herbs like rosemary or thyme can give a wonderful twist to the flavor. Just fold them in during the flour addition step for an aromatic loaf that still maintains its classic appeal.
Final Thoughts
There is something truly special about homemade bread, especially when it’s as warm and tender as this Irresistible Amish White Bread Recipe. It’s the kind of recipe that makes your kitchen smell like comfort and fills your heart with satisfaction. I encourage you to try baking it yourself—it’s simple, rewarding, and will quickly become a beloved classic in your home as it has in mine.
Print
Irresistible Amish White Bread Recipe
- Prep Time: 20 minutes
- Cook Time: 35 minutes
- Total Time: 2 hours 30 minutes
- Yield: 2 loaves
- Category: Bread
- Method: Baking
- Cuisine: American
Description
This Irresistible Amish White Bread recipe delivers soft, fluffy, and golden loaves with a slightly sweet flavor perfect for sandwiches or toast. Made from simple pantry staples like flour, yeast, and sugar, this traditional homemade bread is easy to make and yields two perfectly sized loaves with a tender crumb and crisp crust.
Ingredients
Wet Ingredients
- 1 cup warm water
- 3 tablespoons vegetable oil
Dry Ingredients
- ⅓ cup granulated sugar
- 2 ¼ teaspoons active dry yeast (1 packet)
- 1 ½ teaspoons salt
- 3 cups all-purpose flour
Instructions
- Activate the yeast: In a large bowl, dissolve the granulated sugar completely in the warm water. Sprinkle the active dry yeast evenly over the surface and let it sit undisturbed for 5 to 10 minutes until the mixture becomes frothy and bubbly, indicating the yeast is active.
- Mix the dough: Stir in the vegetable oil and salt into the yeast mixture. Gradually add the all-purpose flour one cup at a time, mixing thoroughly after each addition until a soft, slightly sticky dough forms that holds together.
- Knead the dough: Transfer the dough to a floured surface and knead vigorously for 6 to 8 minutes. Continue kneading until the dough becomes smooth, elastic, and no longer sticky.
- First rise: Lightly oil a large bowl and place the dough inside, turning it to coat with oil. Cover the bowl with a clean towel or plastic wrap and let the dough rise in a warm, draft-free area for about 1 to 1.5 hours, or until it has doubled in size.
- Shape the loaves: Once risen, gently punch down the dough to release trapped air. Divide the dough evenly into two portions. Shape each portion into a loaf by folding and tucking the dough tightly and place each shaped loaf into a greased 9×5-inch loaf pan.
- Second rise: Cover the pans loosely with a towel and let the dough rise again for 30 to 45 minutes, until the dough crowns or rises just above the rim of the pans.
- Bake the bread: Preheat your oven to 350°F (175°C). Place the loaf pans on the middle rack and bake the bread for 30 to 35 minutes, until the tops are golden brown and the loaves sound hollow when tapped on the bottom.
- Cool and serve: Remove the bread from the oven and immediately turn the loaves out of the pans onto a wire rack. Allow them to cool completely before slicing to preserve the soft texture. Enjoy fresh or store in an airtight container.
Notes
- Make sure the water is warm, not hot, to avoid killing the yeast. Around 105°F to 115°F is ideal.
- Kneading is critical for developing gluten which gives bread structure and chewiness.
- If your kitchen is cold, let dough rise in an oven warmed to its lowest setting and then turned off, or near a warm appliance.
- Use a timer to avoid overproofing the dough, which can cause it to collapse.
- For a softer crust, brush tops with melted butter immediately after baking.
- Store bread wrapped tightly at room temperature for up to 3 days or freeze for longer storage.


