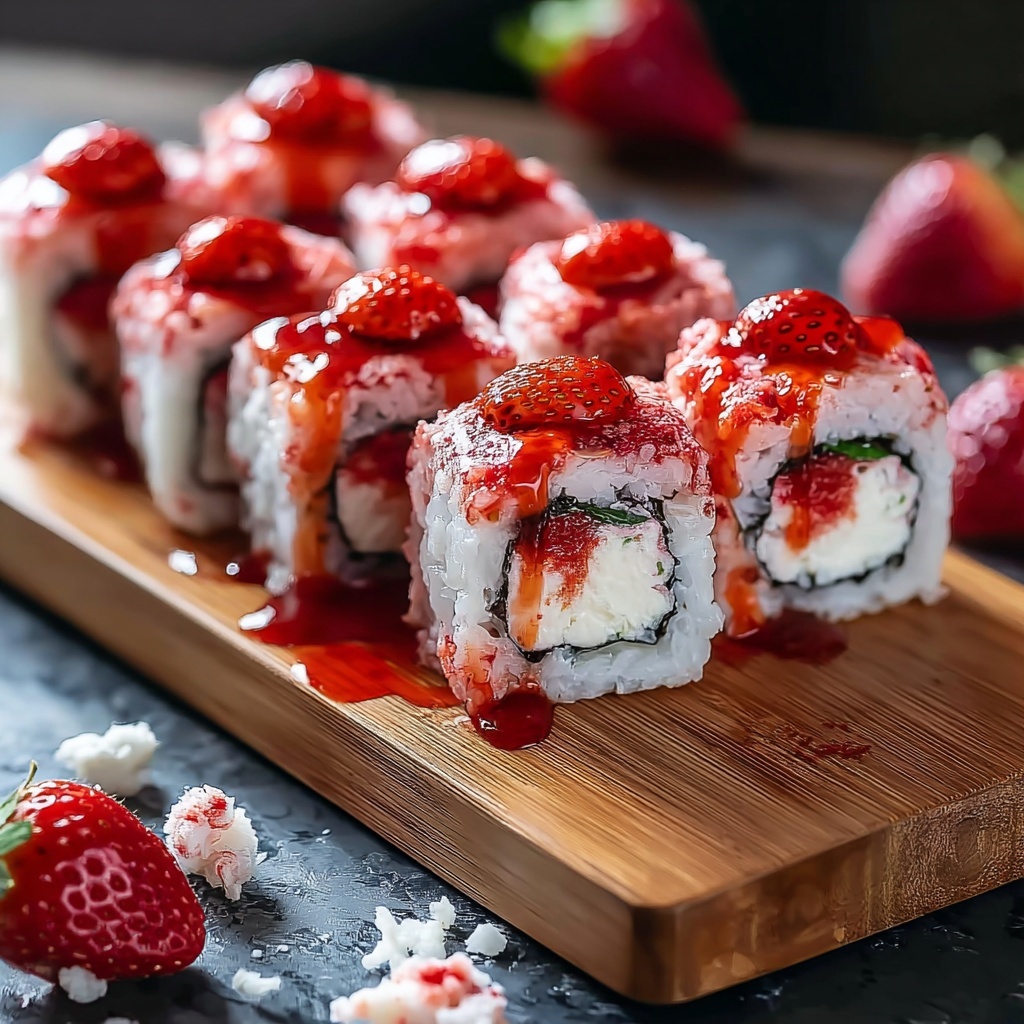
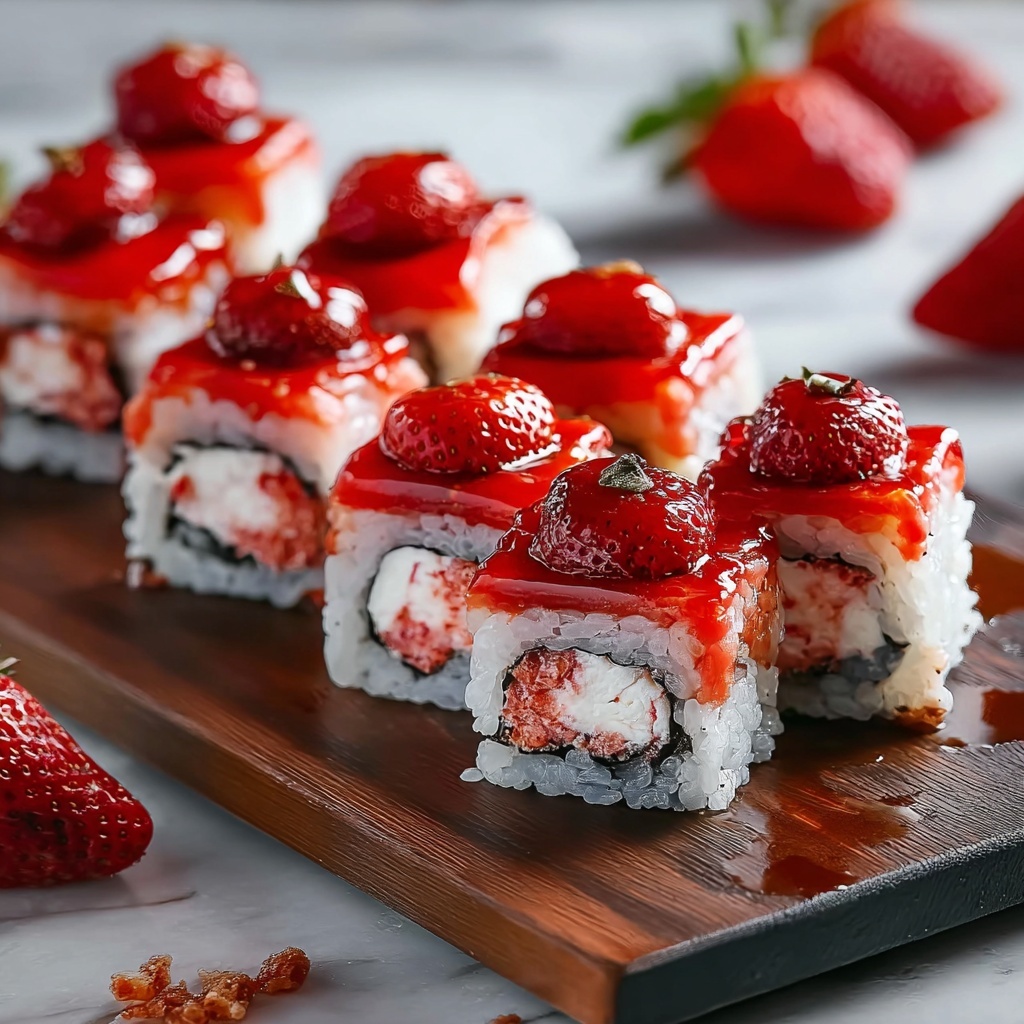
Get ready to delight your taste buds with the Indulgent Strawberry Shortcake Sushi: A Fun No-Bake Twist Recipe that transforms traditional flavors into a playful, eye-catching dessert. This inventive dish blends the softness of vanilla sponge cake, the freshness of sweet strawberries, and the creaminess of whipped topping, all wrapped up with seasoned sushi rice to create a truly unforgettable experience. Whether you’re serving it at a casual gathering or a special celebration, this recipe offers a unique way to enjoy strawberry shortcake with a whimsical sushi flair that everyone will adore.
Ingredients You’ll Need
This recipe shines because of its wonderfully simple yet impactful ingredients. Each one plays a crucial role in balancing flavors, textures, and colors, making your Indulgent Strawberry Shortcake Sushi not only delicious but visually stunning too.
- Vanilla sponge cake: Use about one pound of either store-bought or homemade; it adds softness and sweetness that’s essential for this recipe.
- Whipped cream or Cool Whip: One cup for a rich, airy creamy layer that complements the fruit perfectly.
- Fresh strawberries: One cup, finely diced for bursts of juicy freshness inside your rolls.
- Strawberry jam or puree (optional): One tablespoon to add an extra touch of natural sweetness and a hint of tang.
- Graham cracker crumbs, sprinkles, or shredded coconut (optional toppings): Use these for texture and a beautiful finish on your sushi pieces.
- Prepared sushi rice: One cup of short-grain rice, cooked and seasoned well, provides the unique base that gives the dish its sushi-inspired identity.
- Sugar, rice vinegar, salt: For seasoning the sushi rice, balancing the flavors perfectly to complement the sweet ingredients.
- Powdered sugar and vanilla extract: Used when whipping the cream to enhance its sweetness and aroma.
How to Make Indulgent Strawberry Shortcake Sushi: A Fun No-Bake Twist Recipe
Step 1: Prepare the Sushi Rice
First, give your short-grain rice a thorough rinse to remove excess starch, which helps achieve that perfect sticky yet fluffy texture. Cook the rice according to package instructions. While it’s still warm, gently fold in sugar, rice vinegar, and a pinch of salt to create that subtly sweet and tangy seasoning classic to sushi rice. Then, allow it to cool just enough so you can handle it without losing the sticky quality needed for rolling.
Step 2: Make the Cream Filling
Next, whip your heavy cream (or Cool Whip if you’re opting for a shortcut) until you get gorgeous stiff peaks—this takes a few minutes but is so worth it! Add in a touch of powdered sugar and vanilla extract to enhance the flavor, making your cream filling both luscious and flavorful. Then, dice up those fresh strawberries finely so they’ll nestle perfectly inside each sushi piece.
Step 3: Assemble the Roll
Lay a bamboo sushi mat out and cover it with plastic wrap to keep things clean. Spread a thin, even layer of your seasoned sushi rice over the mat – this will act like the “seaweed” wrapping traditional sushi. On top of the rice, carefully lay down a layer of sliced vanilla sponge cake, followed by generous spoonfuls of the whipped cream and evenly scattered diced strawberries. If you love extra fruity richness, swirl in a tablespoon of strawberry jam or puree before rolling.
Step 4: Roll It Up
Using the bamboo mat, gently but firmly roll your ingredients into a tight sushi roll. This requires a bit of patience to make sure everything holds together without squishing the cake or cream. Once you’ve got a nice, compact roll, pop it into the fridge to chill for about 10-15 minutes. Chilling helps the roll set, making slicing much easier and neater.
Step 5: Slice and Serve
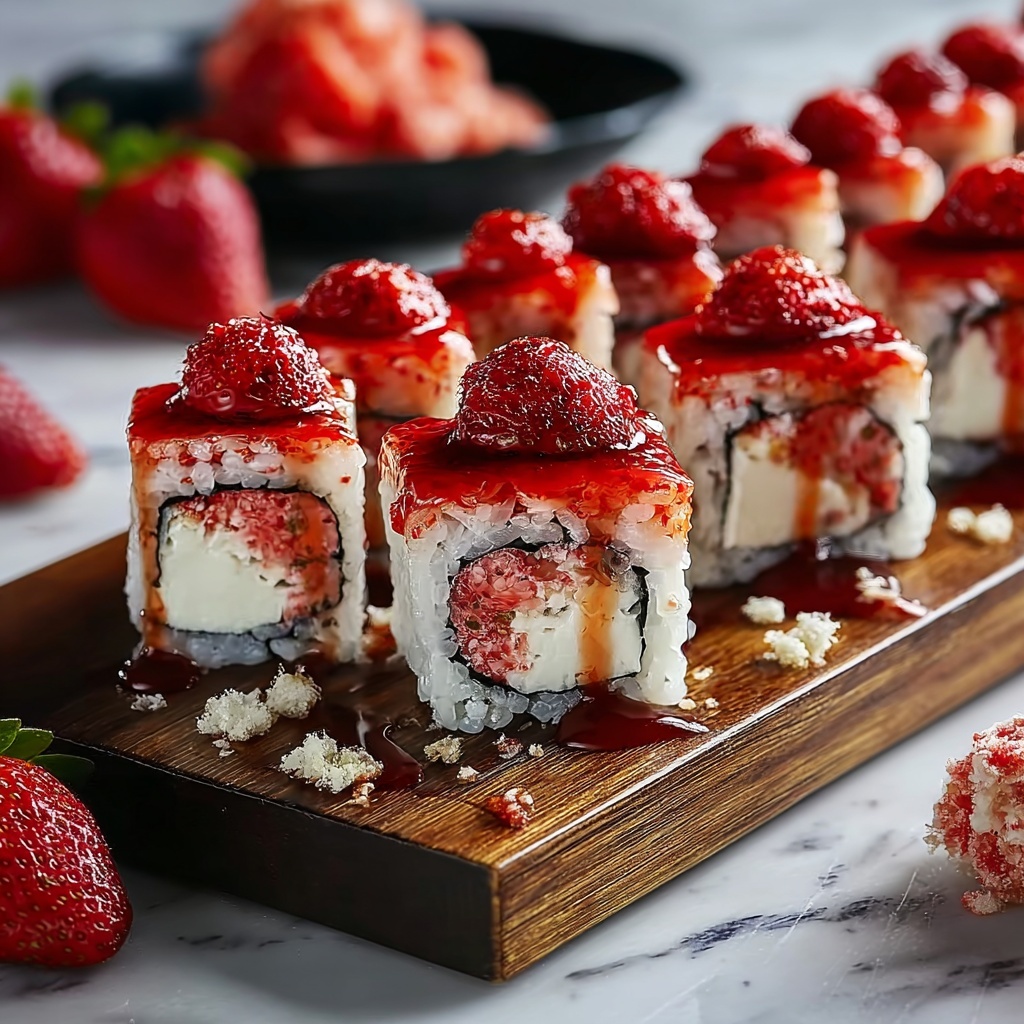
Take your chilled roll and, using a sharp knife dipped in warm water to prevent sticking, slice the roll into bite-sized pieces. This is where the magic happens—each slice reveals a colorful spiral of cake, strawberries, cream, and rice. Sprinkle optional toppings like graham cracker crumbs, shredded coconut, or festive sprinkles over each piece for added texture and visual flair.
Step 6: Serve Beautifully
Arrange your adorable strawberry shortcake sushi pieces on chilled plates, maybe garnish with a few strawberry slices or mint leaves for a pop of color. This presentation will wow your friends and family, turning a classic dessert into a truly memorable culinary experience.
How to Serve Indulgent Strawberry Shortcake Sushi: A Fun No-Bake Twist Recipe
Garnishes
Elevate your Indulgent Strawberry Shortcake Sushi: A Fun No-Bake Twist Recipe by adding playful garnishes like a sprinkle of powdered sugar, colorful nonpareils, or even a drizzle of white chocolate. Fresh mint leaves add an aromatic touch that pairs wonderfully with the strawberries and cream. These details make your dessert look as delicious as it tastes.
Side Dishes
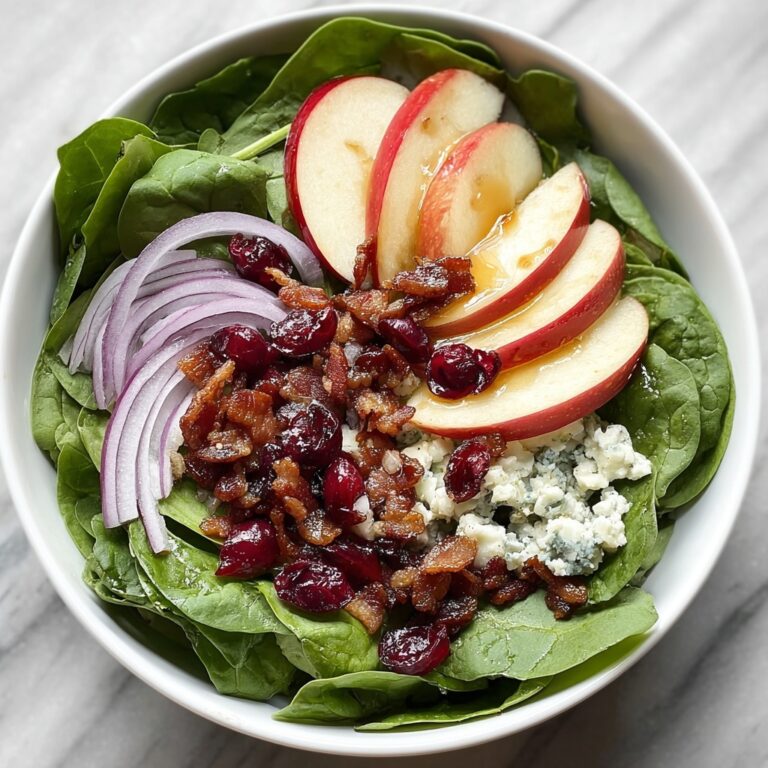
Keep the focus on your sweet sushi by pairing it with light, complementary sides such as a crisp green salad with citrus vinaigrette or a refreshing iced tea infused with strawberry slices. For a more indulgent pairing, vanilla bean ice cream or a dollop of mascarpone on the side can ramp up the creaminess and bring out the cake’s vanilla notes beautifully.
Creative Ways to Present
You can really get creative with your Indulgent Strawberry Shortcake Sushi presentation. Try serving it on a decorative sushi platter with chopsticks for a fun visual twist. Alternatively, place individual pieces in small dessert cups layered with extra whipped cream and strawberry slices to make a deconstructed version that still captures all the flavors. No matter how you serve it, this recipe invites smiles and conversation.
Make Ahead and Storage
Storing Leftovers
After making your Indulgent Strawberry Shortcake Sushi: A Fun No-Bake Twist Recipe, wrap any leftover rolls tightly in plastic wrap and store them in the refrigerator for up to 2 days. Keep in mind that due to the whipped cream and fresh strawberries, the texture may soften slightly but will still taste delightful within this time frame.
Freezing
Freezing this dessert is not recommended because the whipped cream and fresh strawberries don’t freeze well, which can lead to watery textures and loss of the fresh flavor that makes this recipe so special. For the best experience, enjoy it fresh or within a couple of days refrigerated.
Reheating
There’s no need to reheat Indulgent Strawberry Shortcake Sushi: A Fun No-Bake Twist Recipe since it’s best served chilled. If it has been refrigerated, just let it sit at room temperature for a few minutes before serving to bring out all the flavors and soften the texture slightly for the perfect bite.
FAQs
Can I use other fruits instead of strawberries?
Absolutely! While strawberries are classic and central to this recipe’s charm, feel free to experiment with raspberries, blueberries, or even mango for a tropical twist. Just make sure the fruit is fresh and diced finely to maintain that delicate sushi roll feel.
Is it okay to use store-bought whipped topping?
Yes! Store-bought whipped toppings like Cool Whip can save time and still deliver great taste and texture. Just keep in mind it may be a bit sweeter or less rich than freshly whipped cream, so adjust any added sugar accordingly.
How do I prevent the sushi rice from sticking to the bamboo mat?
Lining your bamboo sushi mat with plastic wrap before spreading the sushi rice is the easiest way to avoid sticking. This keeps the mat clean and helps your roll come together smoothly without any mess.
Can I make this recipe vegan or dairy-free?
Definitely! Substitute the whipped cream for coconut whipped cream or a dairy-free alternative. For the sponge cake, look for vegan recipes or pre-made vegan cakes, and be sure to check your sushi rice seasoning is free of animal products.
What is the best way to slice the sushi rolls cleanly?
Use a very sharp knife and dip it in warm water before each cut to prevent sticking and squishing. Wiping the blade clean between cuts also helps keep each slice looking neat and uniform.
Final Thoughts
If you’re looking to impress with something playful, fresh, and downright delicious, you really can’t go wrong with this Indulgent Strawberry Shortcake Sushi: A Fun No-Bake Twist Recipe. It’s a fantastic way to celebrate classic flavors in a new form that’s as fun to make as it is to eat. Grab your ingredients, invite some friends, and get rolling—the smiles and compliments will be endless!
Print
Indulgent Strawberry Shortcake Sushi: A Fun No-Bake Twist Recipe
- Prep Time: 30 minutes
- Cook Time: 15 minutes
- Total Time: 45 minutes
- Yield: 8 servings
- Category: Dessert
- Method: No-Cook
- Cuisine: Fusion
Description
Indulgent Strawberry Shortcake Sushi offers a playful, no-bake twist on classic strawberry shortcake by combining vanilla sponge cake, whipped cream, fresh strawberries, and sweetened sushi rice rolled sushi-style for a fun and visually appealing dessert that’s perfect for serving at parties or special occasions.
Ingredients
Sponge Cake Layer
- 1 pound store-bought or homemade vanilla sponge cake
Whipped Cream Filling
- 1 cup heavy cream (or Cool Whip as an alternative)
- Powdered sugar (to taste, approximately 2 tablespoons)
- 1 teaspoon vanilla extract
Fruit Layer
- 1 cup fresh strawberries, finely diced
- 1 tablespoon strawberry jam or puree (optional)
Sushi Rice
- 1 cup short-grain rice
- 2 tablespoons sugar
- 2 tablespoons rice vinegar
- 1/2 teaspoon salt
Optional Toppings
- Graham cracker crumbs
- Sprinkles
- Shredded coconut
Instructions
- Prepare the Sushi Rice: Rinse 1 cup of short-grain rice thoroughly until water runs clear, then cook it following package instructions. While the rice is still warm, gently fold in 2 tablespoons sugar, 2 tablespoons rice vinegar, and 1/2 teaspoon salt to season. Allow the rice to cool slightly before use.
- Make the Cream Filling: In a chilled bowl, whip 1 cup of heavy cream until stiff peaks form, adding powdered sugar and 1 teaspoon vanilla extract gradually to infuse sweetness and flavor. Set aside diced fresh strawberries for the filling.
- Assemble the Roll: Line a bamboo sushi rolling mat with plastic wrap to prevent sticking. Spread an even layer of the prepared sushi rice over the mat. Next, layer slices of vanilla sponge cake on top of the rice, followed by a generous spread of whipped cream and diced strawberries. Optionally, add a thin layer of strawberry jam or puree for extra flavor.
- Roll It Up: Using the sushi mat, roll the layers tightly but gently to maintain shape without squashing the ingredients. Chill the rolled sushi in the refrigerator for about 15 minutes to help set the shape.
- Slice and Serve: Using a wet knife to prevent sticking, carefully slice the roll into bite-sized pieces, resembling sushi slices. Garnish each piece with optional toppings such as graham cracker crumbs, sprinkles, or shredded coconut for added texture and visual appeal.
- Serve Beautifully: Arrange the strawberry shortcake sushi slices on chilled serving plates for an elegant presentation. Serve immediately for best texture and taste.
Notes
- Use a very sharp, wet knife to slice the rolls easily and cleanly without squashing.
- Sushi rice must be cooled to a warm temperature but not hot to prevent melting the whipped cream.
- You can substitute Cool Whip for whipped cream for a quicker, more stable filling.
- Keep the rolls refrigerated if not serving immediately to maintain freshness and structure.
- Feel free to customize toppings based on your preference like chopped nuts or edible flowers for a decorative touch.

