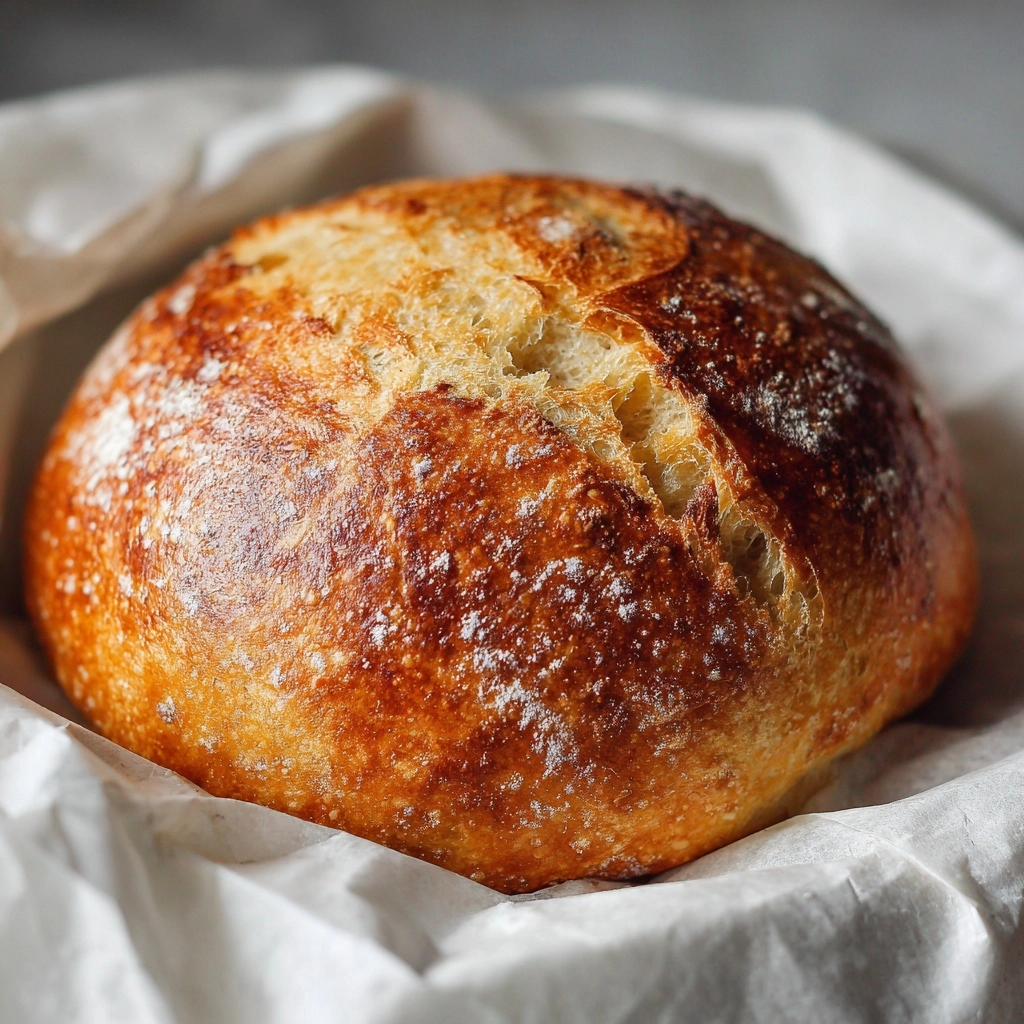
If there’s anything more comforting than the aroma of fresh bread baking in the oven, I haven’t found it yet! Grandma’s Perfect Homemade Bread is the kind of recipe you keep tucked in your family cookbook because it delivers every time: pillowy on the inside, golden on the outside, and absolutely bursting with nostalgic, yeasty goodness. Whether you’re making sandwiches, pairing it with soup, or sneaking a slice straight from the cooling rack, each bite is pure, simple joy—and trust me, you’ll taste the love in every crumb.
Ingredients You’ll Need
The magic of Grandma’s Perfect Homemade Bread lies in its simple, wholesome ingredients—each one playing a star role in creating that soft texture, rich flavor, and golden top. Here’s what you’ll need, along with some tips to make every loaf the best it can be.
- Active dry yeast: This is where your bread’s rise begins, so make sure it’s fresh and bubbly for a lofty loaf.
- Warm water (110°F): Just the right temperature wakes the yeast up and helps kickstart the dough’s development.
- Granulated sugar: A small spoonful helps feed the yeast and adds a subtle sweetness to the crumb.
- Salt: Essential for balancing flavor—don’t skip or skimp!
- Vegetable oil: It lends moisture and tenderness, keeping your bread soft for days.
- All-purpose flour: The backbone of the loaf; using high-quality flour will reward you with better flavor and structure.
- Softened butter (optional): Brushing this on after baking gives the crust extra softness and a hint of richness.
How to Make Grandma’s Perfect Homemade Bread
Step 1: Activate the Yeast
Start your bread adventure by dissolving the yeast in warm water. Make sure the water feels pleasantly warm but not hot to the touch (about 110°F). Let the mixture sit for 5 to 10 minutes until it’s foamy across the surface—this is how you know your yeast is awake and ready to work its magic.
Step 2: Mix in Flavor Builders
Once you see bubbles, stir in the granulated sugar, salt, and vegetable oil. Sugar gives a gentle hint of sweetness, while salt adds depth. The oil keeps everything moist and tender—the bread stays soft even after a day or two.
Step 3: Create a Dough
Add the flour gradually, one cup at a time. This makes mixing easier and ensures no lumps. Once a shaggy dough forms and it pulls away from the sides, you’re ready to move on. The dough should feel soft but not overly sticky.
Step 4: Knead Until Smooth
Turn the dough out onto a floured surface and knead for 8 to 10 minutes. Use the heel of your hand, fold the dough, and repeat! You’ll know it’s ready when it feels elastic and springs back when pressed. This step is all about developing that beautiful structure in Grandma’s Perfect Homemade Bread.
Step 5: Let It Rise
Place your dough in a lightly greased bowl and cover it with a clean towel or plastic wrap. Let it rise in a cozy, draft-free spot for 1 to 1 ½ hours—just until it’s doubled in size. Watching the dough puff up feels a little bit like magic every time!
Step 6: Shape and Second Rise
Punch down the risen dough to release excess air, then divide it evenly in half. Shape each piece into a loaf and place into greased 9×5-inch loaf pans. Cover and let the dough rise again for 30 to 45 minutes until it crowns about one inch above the pan—this ensures domed, bakery-style loaves.
Step 7: Bake to Golden Perfection
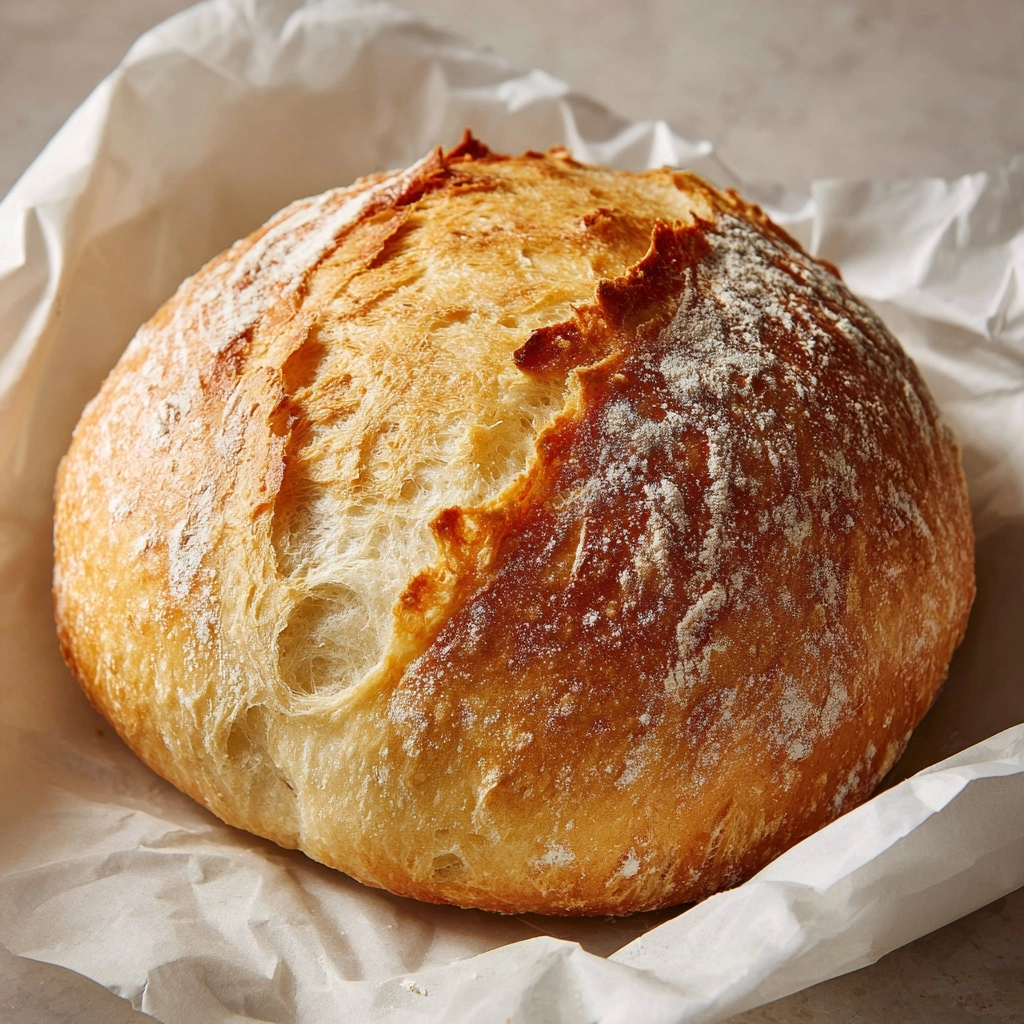
Preheat your oven to 375°F while the loaves finish their final rise. Bake for 25 to 30 minutes, until the tops are golden brown and the loaves sound hollow when you gently tap them. For a super soft, flavorful crust, brush the tops with softened butter just after baking—just like Grandma always did.
Step 8: Cool and Slice
Remove the loaves from the pans and let them cool on wire racks before slicing. This keeps the inside fluffy and prevents the loaves from becoming gummy. The only hard part here? Resisting the urge to dive in while they’re warm!
How to Serve Grandma’s Perfect Homemade Bread
Garnishes
When it comes to finishing touches, a simple swipe of creamy butter or a drizzle of honey can make each slice of Grandma’s Perfect Homemade Bread unforgettable. You can also sprinkle on a tiny bit of coarse sea salt after buttering for a little gourmet flair.
Side Dishes
This bread shines next to hearty soups, classic chicken noodle or creamy tomato, and is a cozy addition to dinner alongside roast chicken or a big, leafy salad. For breakfast, two slices—slightly toasted—make the world’s best sandwich base for eggs or cheese.
Creative Ways to Present
If you’re serving this at a gathering, try cutting the loaves into thick cubes and offering them with whipped butter or herbed cream cheese. Or, simply tear off hunks at the table family style—there’s something so welcoming and homey about sharing Grandma’s Perfect Homemade Bread this way.
Make Ahead and Storage
Storing Leftovers
Keep leftover bread wrapped in a clean kitchen towel or sealed in an airtight bag at room temperature for up to 3 days. This helps maintain the bread’s soft crumb and prevents it from drying out—though leftovers never stick around long in my house!
Freezing
Grandma’s Perfect Homemade Bread freezes beautifully. Once the loaves are completely cool, slice if desired, wrap tightly, and nestle in a freezer bag. They’ll stay fresh for up to 3 months. Just grab a slice or two when needed and thaw on the counter or pop straight into the toaster.
Reheating
If you love warm bread, just reheat slices gently in the microwave for 10–20 seconds or warm a whole loaf in a low oven wrapped in foil. This brings back that delightful fresh-baked aroma and taste, making every meal feel special again.
FAQs
Can I substitute whole wheat flour in this recipe?
Absolutely! You can swap in up to half whole wheat flour for a heartier, more flavorful loaf. The bread will be a little denser but every bit as delicious—just like Grandma might have done for a rustic version of her perfect homemade bread.
Why didn’t my bread rise properly?
Check your yeast first—it may be expired or the water might’ve been too hot or cold. Make sure your dough is resting in a warm, draft-free place and give it enough time to double in size. Fresh yeast always ensures that iconic rise in Grandma’s Perfect Homemade Bread.
Can I use bread flour instead of all-purpose?
Yes! Bread flour has more protein and will give you a chewier texture and higher rise if that’s your style. Either option delivers a fantastic loaf, so use whichever you have on hand.
Is it okay to halve the recipe for just one loaf?
Of course! Simply divide all the ingredients by two. You’ll get a single loaf, which is perfect for smaller households or if you want fresh bread more often during the week.
How do I keep the crust soft, like Grandma’s?
The key is brushing softened butter over the tops of the loaves right after they come out of the oven. This classic trick from Grandma’s recipe keeps the crust tender and adds an extra bit of flavor you’ll love.
Final Thoughts
There’s truly nothing like baking Grandma’s Perfect Homemade Bread in your own kitchen—it’s comforting, rewarding, and brings people together with every slice. If you’ve never made homemade bread before, this is the perfect place to start. Give it a try and make some delicious new memories of your own!