
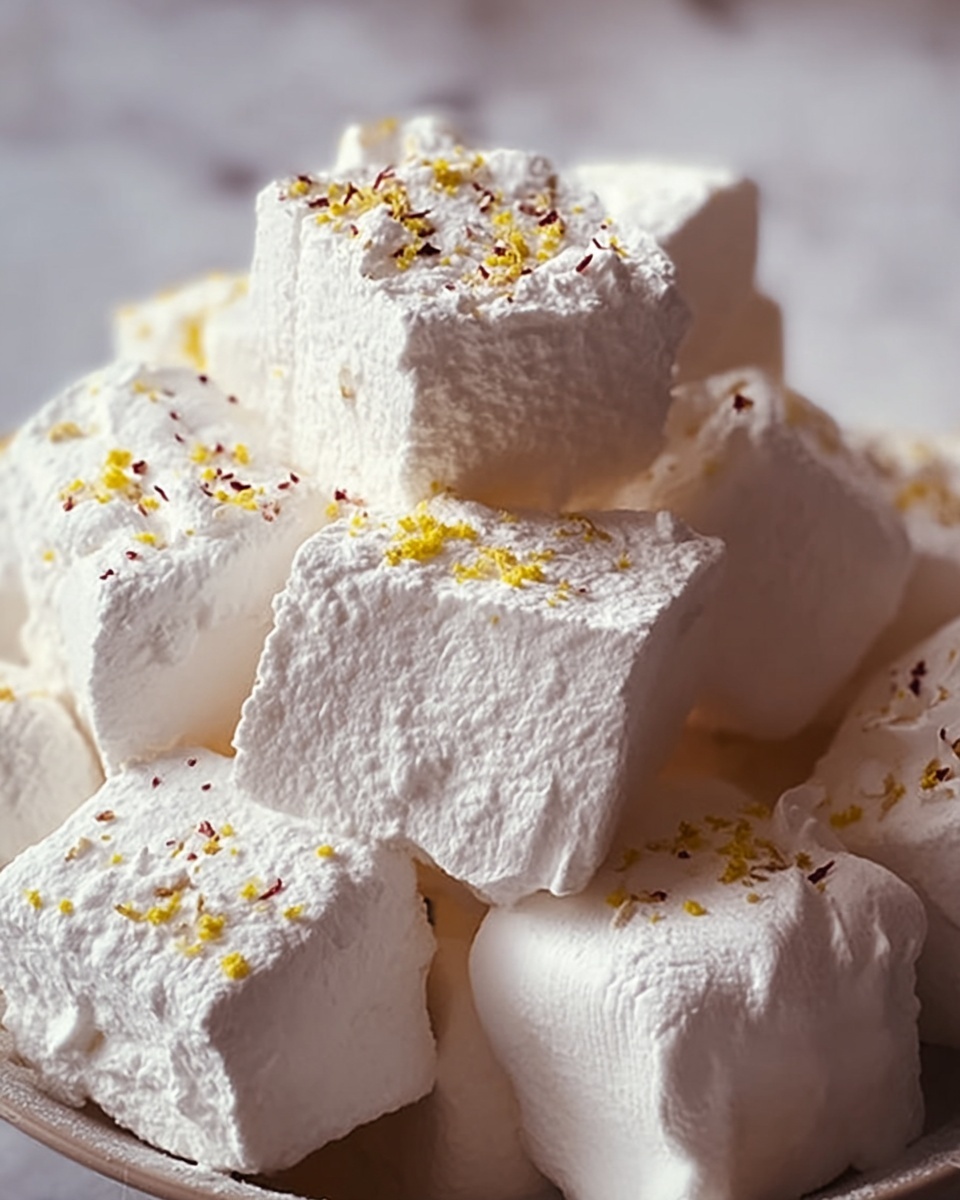
If you’re looking for a delightful treat that’s both simple and impressively delicious, you’ve got to try this Easy Cool Whip Candy Recipe. It combines the light, fluffy texture of Cool Whip with the sweet richness of instant pudding and powdered sugar, resulting in a creamy, melt-in-your-mouth candy that’s perfect for any occasion. The best part is how effortlessly you can whip up this crowd-pleaser with just a handful of ingredients, making it an ideal go-to for last-minute desserts or sweet snacks. Trust me, once you taste these frozen little bites of joy, they’ll quickly become one of your favorite homemade delights.
Ingredients You’ll Need
Gathering the right ingredients is the key to nailing this recipe with the perfect texture and flavor balance. Each component plays its own delicious role, from the luscious Cool Whip base to the instant pudding adding sweetness and structure, while powdered sugar and vanilla bring it all together with that classic candy pop.
- Cool Whip (8-ounce container, thawed): This is the creamy, airy base that makes your candy light and fluffy.
- Instant pudding mix (3.4 ounces, any flavor): Adds sweetness and helps firm up the candy with delightful flavors like vanilla, chocolate, or even butterscotch.
- Powdered sugar (1 cup): Brings a smooth sweetness essential to candy’s classic taste and texture.
- Vanilla extract (1 teaspoon): Enhances all the flavors, adding a warm and inviting aroma that’s hard to resist.
- Food coloring (optional): Perfect for making your candies pop visually, especially if you’re aiming for festive or themed treats.
- Sprinkles or colored sugar (optional): These decorative touches add fun texture and colorful flair to your finished candies.
How to Make Easy Cool Whip Candy Recipe
Step 1: Combine the Ingredients
Start by mixing together the thawed Cool Whip, your chosen instant pudding mix, powdered sugar, and vanilla extract in a large bowl. You can use a hand mixer for a quick, fluffy blend or mix by hand for a gentle fold. Make sure everything is well combined until the mixture is thick, creamy, and smooth. This step creates the luscious base that gives your candy its irresistible texture.
Step 2: Add Optional Food Coloring
If you want your candies to have some color, now’s the time to add a few drops of food coloring. Stir well so the color distributes evenly through the mixture. This little trick is perfect for matching your candies to special holidays, parties, or just to have some colorful fun.
Step 3: Prepare Your Tray
Line a baking sheet or tray with parchment paper or wax paper to keep your candies from sticking. This simple prep ensures easy removal and neat presentation once your candies are firm.
Step 4: Shape the Candies
Using a spoon or cookie scoop, drop small portions of the mixture onto your prepared tray. Shape them as you like—round balls, small mounds, or even charming little squares. This step lets you customize your candy size and look with no fuss.
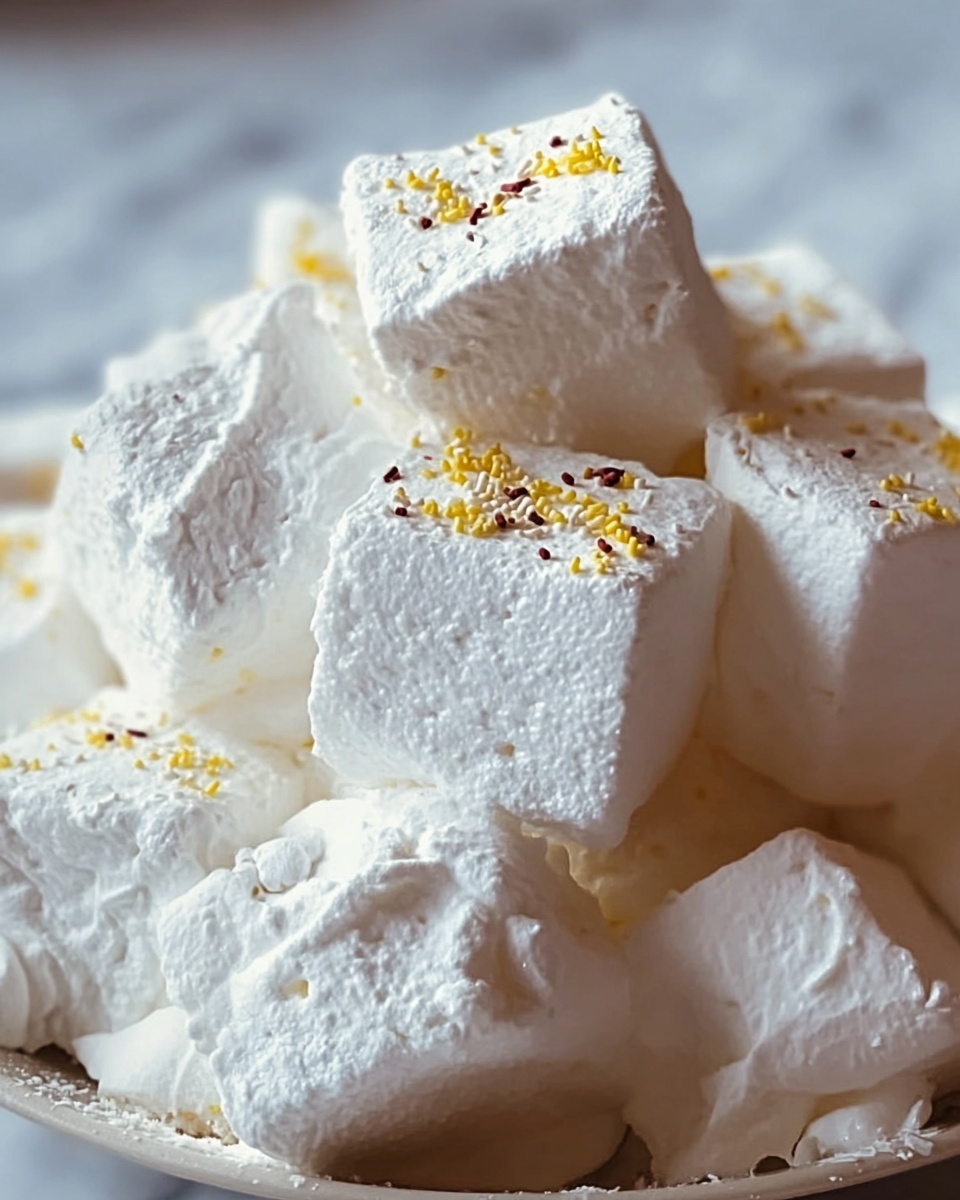
Step 5: Decorate with a Sprinkle of Fun
If you’re feeling playful, sprinkle the candies with colorful sugars or sprinkles while they’re still soft. This adds delightful texture and makes your Easy Cool Whip Candy Recipe look absolutely irresistible.
Step 6: Freeze Until Set
Transfer the tray to the freezer and let the candies chill for 2 to 3 hours or until firm. Freezing locks in their creamy softness with a refreshing frozen exterior that’s truly addictive.
Step 7: Enjoy Your Frozen Treats
Once frozen, your candies are ready to delight. Take them out, let them sit a minute if needed, and savor the perfect combo of frozen exterior with a dreamy, creamy center. Enjoy every bite!
How to Serve Easy Cool Whip Candy Recipe
Garnishes
Though the candies are wonderful as is, you can always up the presentation with garnishes like crushed nuts, mini chocolate chips, or a light dusting of cocoa powder. These simple extras add texture and flavor contrast that will wow your guests.
Side Dishes
Pair your Easy Cool Whip Candy Recipe with fresh berries or a cup of hot coffee or tea for a lovely balance between frozen sweetness and warm comfort. These sides elevate the candy from a treat to a mini dessert experience.
Creative Ways to Present
Serve the candies in decorative mini cupcake liners or arrange them on a festive platter with edible flowers or mint leaves. For parties, consider packaging them in little cellophane bags tied with ribbons for adorable, homemade gift favors.
Make Ahead and Storage
Storing Leftovers
Store any leftover candies in an airtight container in the freezer. This keeps them fresh and prevents freezer burn, so you can enjoy the same creamy texture anytime you want.
Freezing
Freeze the candies on a tray first so they don’t stick together, then transfer them to a sealed container or zip-top bag. They keep wonderfully frozen for up to several weeks, making this an excellent make-ahead treat.
Reheating
No reheating necessary for this frozen delight! Just let the candies sit for a couple of minutes at room temperature before serving if you prefer a slightly softer texture without melting the exterior.
FAQs
Can I use any flavor of instant pudding mix for this recipe?
Absolutely! The Easy Cool Whip Candy Recipe is wonderfully versatile, so feel free to experiment with vanilla, chocolate, butterscotch, or even seasonal flavors like pumpkin spice.
Is this candy suitable for kids?
Yes, this recipe is kid-friendly and a fun activity to make together. The candies are soft, sweet, and easy to enjoy, making them a hit with little ones and adults alike.
Can I use homemade whipped cream instead of Cool Whip?
While homemade whipped cream is delicious, Cool Whip’s stable texture helps the candy hold shape better when frozen. If you want to try homemade whipped cream, make sure it’s very firm and stabilized for best results.
How long will this candy last in the freezer?
Stored properly in an airtight container, your Easy Cool Whip Candy Recipe will stay fresh and tasty for up to 3 weeks. Beyond that, the texture may begin to degrade.
Can I add mix-ins like nuts or chocolate chips?
Yes! Adding small mix-ins is a great way to personalize your candy. Gently fold in nuts, mini chocolate chips, or even dried fruit before shaping for an extra flavor boost.
Final Thoughts
This Easy Cool Whip Candy Recipe is truly a must-try for anyone who loves sweet, creamy, and refreshingly frozen treats with very little effort. It’s a recipe that brings joy, simplicity, and deliciousness together perfectly, making it a wonderful staple for your dessert repertoire. Grab your ingredients, whip it up, and share the magic of this delightful candy with family and friends today!
Print
Easy Cool Whip Candy Recipe
- Prep Time: 10 minutes
- Cook Time: 0 minutes
- Total Time: 2 hours 10 minutes
- Yield: 24 servings
- Category: Candy
- Method: No-Cook
- Cuisine: American
Description
This Easy Cool Whip Candy recipe is a delightful no-bake treat that combines creamy Cool Whip, instant pudding mix, and powdered sugar to create soft, sweet candies with a creamy center. Perfect for quick preparation and customizable with your favorite pudding flavors and optional decorations like food coloring and sprinkles.
Ingredients
Ingredients
- 1 (8-ounce) container of Cool Whip, thawed
- 1 package (3.4 ounces) instant pudding mix (any flavor)
- 1 cup powdered sugar
- 1 teaspoon vanilla extract
- Food coloring (optional)
- Sprinkles or colored sugar (optional, for decoration)
Instructions
- Mix the Ingredients: In a mixing bowl, combine the thawed Cool Whip, instant pudding mix, powdered sugar, and vanilla extract. Use a hand mixer or mix by hand until the mixture is well combined, thick, and creamy.
- Optional Coloring: If you want colored candies, add a few drops of your choice of food coloring to the mixture and stir until evenly distributed.
- Prepare the Tray: Line a baking sheet or tray with parchment or wax paper to prevent the candies from sticking.
- Shape the Candies: Using a spoon or cookie scoop, drop small portions of the Cool Whip mixture onto the prepared tray, shaping each to your preferred size and form.
- Decorate: Optionally, sprinkle the candies with sprinkles or colored sugar for extra festive decoration.
- Freeze: Place the tray in the freezer and allow the candies to set for 2-3 hours or until they are firm to the touch.
- Enjoy: Once frozen, remove the candies from the freezer and enjoy their creamy, soft centers with a frosty exterior.
- Store: Keep any leftover candies in an airtight container in the freezer to maintain freshness.
Notes
- This no-bake candy is best served frozen but can soften if left out for a while.
- Feel free to experiment with different pudding flavors to customize your candy taste.
- Optional food coloring and sprinkles make this recipe great for themed parties or holidays.
- Ensure the Cool Whip is fully thawed for easier mixing and best texture.
- Store leftovers properly to keep candies fresh and prevent melting or becoming sticky.


