If you are on the hunt for a treat that combines rich chocolate, buttery crunch, and creamy texture, look no further than the Butterfinger Balls: Easy No-Bake Chocolate-Covered Treat Recipe. These little bites of joy are perfect for anyone who loves the satisfying crunch of Butterfinger candy mixed with smooth cream cheese and coated in decadent chocolate. What’s truly amazing is how simple they are to make—no oven required—but they deliver a crowd-pleasing punch that tastes like you spent hours crafting an intricate dessert. Trust me, once you try these Butterfinger Balls, they’ll quickly become your go-to for parties, gifts, or a quick indulgence at home.

Ingredients You’ll Need
The magic of this recipe lies in its simplicity. Just a handful of ingredients, each playing a vital role in creating the perfect flavor and texture balance. From the buttery crunch of Butterfinger bars to the silky cream cheese that binds it all together, every element is essential.
- Butterfinger bars: The star of the show, providing that unmistakable crunchy peanut buttery flavor.
- Cream cheese: Softened to creamy perfection, it gives the mixture a smooth and rich texture.
- Vanilla extract: Adds depth and a subtle sweetness that compliments the Butterfinger candy.
- Salt: Just a pinch to enhance all the flavors without overwhelming the sweetness.
- Chocolate chips or melting wafers: For coating, choose your favorite chocolate to add that luscious outer shell.
- Shortening (optional): Helps smooth out the melted chocolate to a perfect dipping consistency.
- Sprinkles, chopped nuts, or crushed Butterfinger pieces: Fun toppings that add extra texture and visual appeal.
How to Make Butterfinger Balls: Easy No-Bake Chocolate-Covered Treat Recipe
Step 1: Chop the Butterfinger Bars
Start by unwrapping and chopping the Butterfinger bars into tiny pieces, about a quarter inch or smaller. If you prefer, use a food processor—but be cautious and pulse gently only to avoid turning the candy into a paste. These little chunks deliver that iconic crunch and sweet peanut butter flavor essential to the recipe.
Step 2: Soften the Cream Cheese
Next, make sure your cream cheese is perfectly softened. Leave it out at room temperature for about an hour, or microwave it in short 15-second bursts until it’s malleable. This makes mixing easier and ensures the batter comes out creamy and cohesive.
Step 3: Combine Ingredients in a Bowl
In a large mixing bowl, add the chopped Butterfinger pieces and softened cream cheese. Then stir in vanilla extract and a pinch of salt. The vanilla brings warmth while the salt balances out the sweetness, highlighting the flavors beautifully.
Step 4: Beat to a Smooth Mixture
Using an electric mixer, blend everything until the mixture looks smooth and every Butterfinger piece melds evenly into the creamy base. Remember to scrape down the sides of your bowl to make sure every bit is well incorporated for perfect consistency.
Step 5: Chill the Mixture
Cover the bowl with plastic wrap and pop it in the refrigerator for at least 30 minutes, or up to an hour. This chilling step firms up the mixture so it’s easier to handle when shaping the balls.
Step 6: Form the Balls
Line a baking sheet with parchment or wax paper. Using a small cookie scoop or spoon, scoop out portions of the chilled mixture. Roll these between your palms to create smooth, uniform balls. Place each ball on the lined sheet as you go.
Step 7: Freeze for Dipping Ease
Put the baking sheet with formed balls into the freezer for 15–20 minutes. This makes the balls firm enough for dipping later without falling apart, helping you achieve a flawless chocolate coating.
Step 8: Melt the Chocolate
Prepare your chocolate coating by melting chocolate chips or melting wafers. You can microwave the chocolate in 30-second increments, stirring thoroughly between bursts to avoid burning. Adding a tablespoon of shortening per cup of chocolate helps the coating go on silky smooth. Alternatively, use a double boiler method by placing the chocolate in a heat-safe bowl over simmering water, stirring until completely melted.
Step 9: Dip and Decorate
With a fork or dipping tool, dip each Butterfinger ball into the warm melted chocolate. Ensure the ball is fully covered, then gently tap off excess chocolate by tapping the tool against the bowl’s edge. Place the coated balls back on the parchment-lined sheet. While the chocolate is still soft, sprinkle your choice of toppings—sprinkles, chopped nuts, or even crushed Butterfinger pieces—to add an extra burst of texture and color.
Step 10: Set the Chocolate
Leave the chocolate-covered treats at room temperature for about an hour to harden, or speed up the process by chilling them in the fridge for 15–20 minutes. Once fully set, they are ready to enjoy or store.
How to Serve Butterfinger Balls: Easy No-Bake Chocolate-Covered Treat Recipe
Garnishes
Don’t be shy with garnishes! A sprinkle of sea salt, a dusting of crushed Butterfinger pieces, or a handful of rainbow sprinkles can turn your Butterfinger Balls into a festive, eye-catching treat. These toppings also add an exciting crunch or pop of flavor that makes each bite more exciting.
Side Dishes
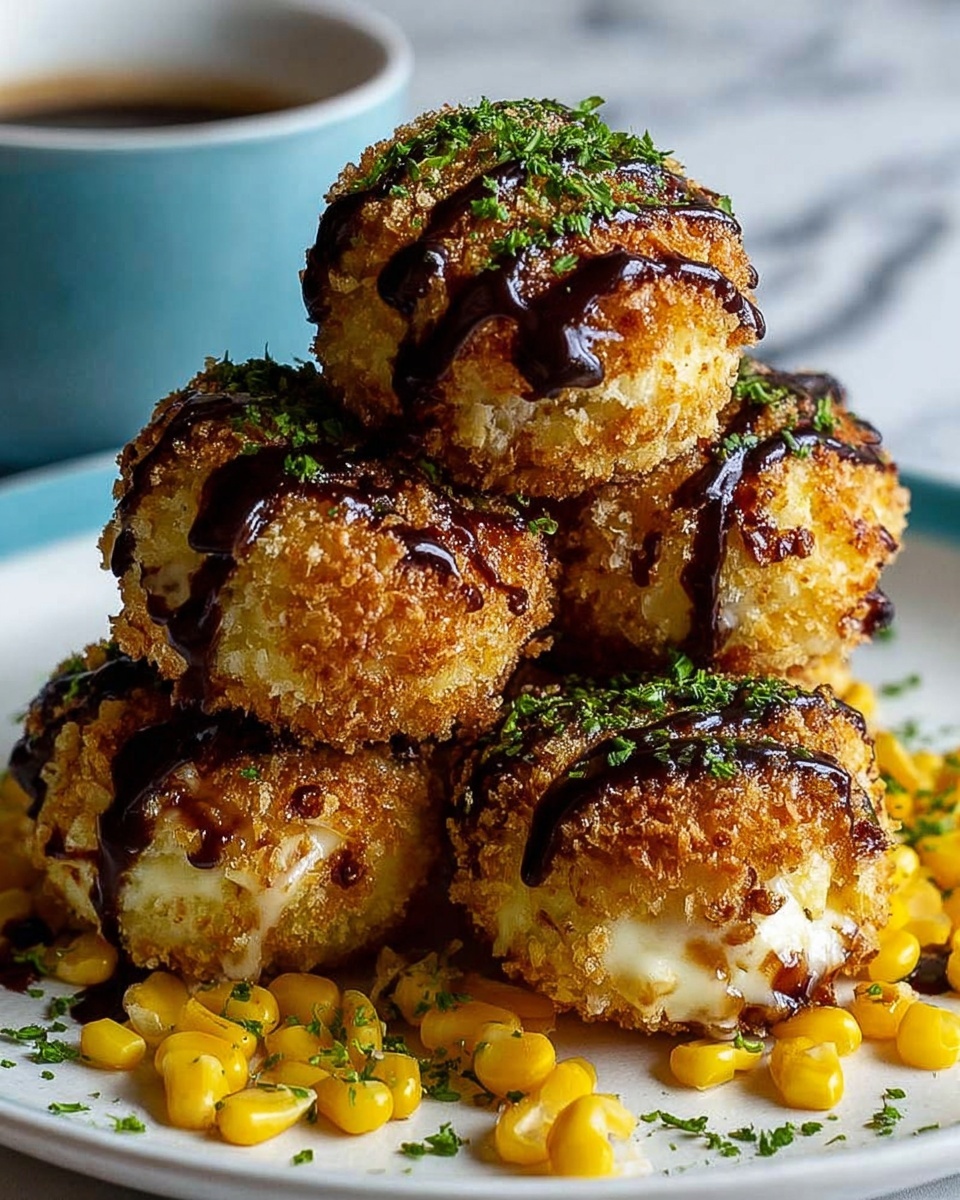
These delectable Butterfinger Balls pair gorgeously with a hot cup of coffee or a creamy latte for an afternoon pick-me-up. If you’re serving them at a party, consider complementing the tray with fresh berries or whipped cream-based dips to add some lightness alongside the rich candy flavor.
Creative Ways to Present
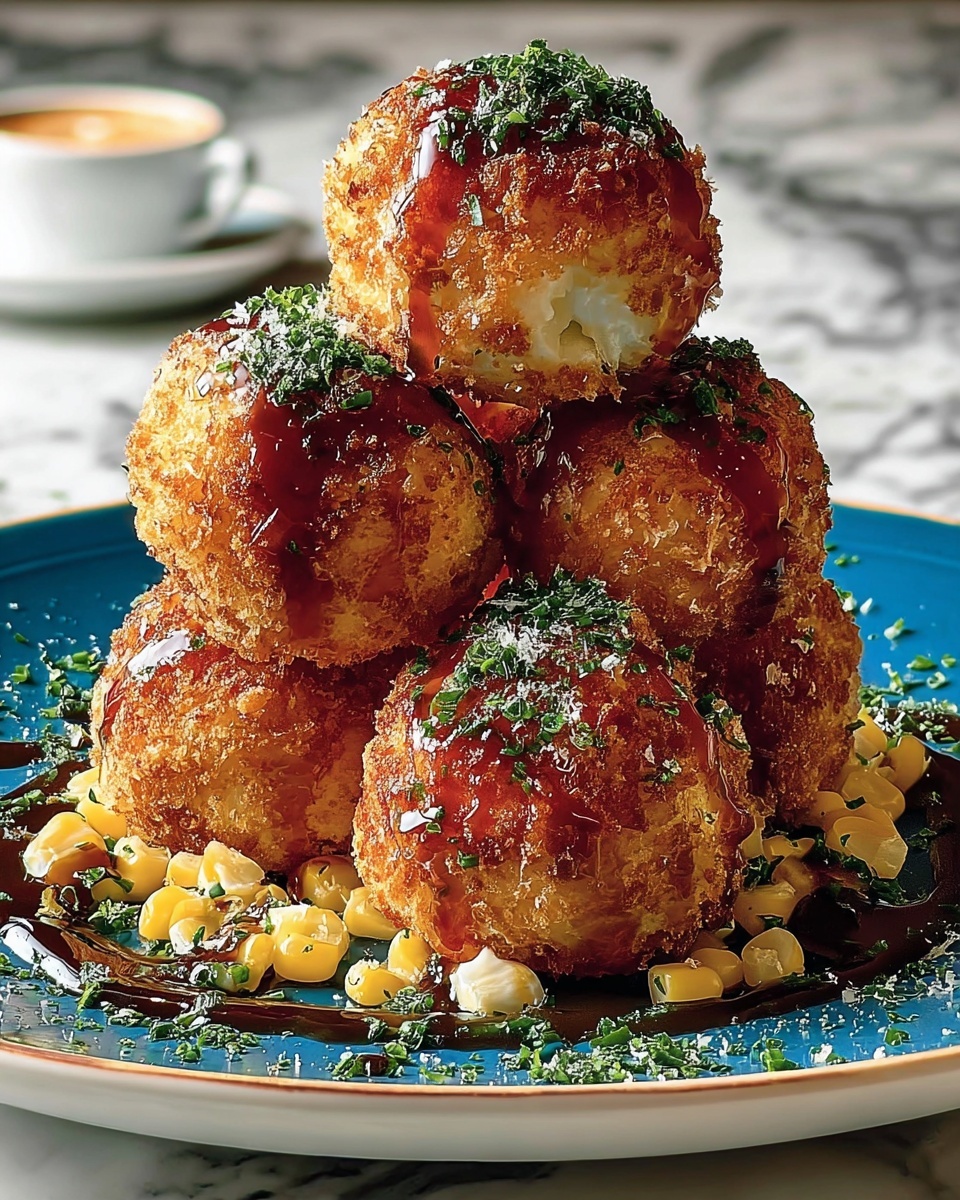
Presentation matters, and these treats shine when placed in colorful cupcake liners or arranged on decorative platters. For holidays or special occasions, wrap them in cello bags tied with a ribbon for adorable homemade gifts. You could also skewer a few on cocktail sticks and serve them as fun, bite-sized dessert pops!
Make Ahead and Storage
Storing Leftovers
Keep any leftovers fresh by storing Butterfinger Balls in an airtight container in the refrigerator. They will stay delicious for up to a week, making them the perfect make-ahead dessert for busy weeks or unexpected guests.
Freezing
If you want to enjoy these treats later, they freeze very well. Place them in a single layer on a baking sheet to freeze initially, then transfer to a freezer-safe container or bag. When stored properly, Butterfinger Balls maintain their flavor and texture for up to 2 months.
Reheating
Since these are no-bake and best served chilled, there’s no need to reheat them. If frozen, just let them thaw in the refrigerator for a few hours before serving to restore their perfect bite.
FAQs
Can I use other candies instead of Butterfinger bars?
Absolutely! While Butterfinger bars are iconic in this recipe, you can experiment with similar crunchy candy bars like Heath or Skor. Just keep in mind their flavor profiles and textures will change the final taste slightly.
What kind of cream cheese works best for this recipe?
Full-fat cream cheese is best because it creates a rich and smooth texture. Low-fat versions may result in a less creamy mixture, but you can use them if preferred.
Is there a way to make these dairy-free or vegan?
Yes! Use vegan cream cheese and dairy-free chocolate alternatives. Be sure to choose candy bars or substitutes that are vegan-friendly or omit the candy and add chopped nuts for crunch.
Why do the Butterfinger Balls need to chill before shaping?
Chilling firms up the mixture, making it easier to handle and roll into smooth balls without sticking to your hands or crumbling. It also helps maintain a clean shape during chocolate dipping.
Can I make these Butterfinger Balls ahead for a party?
Definitely! They’re fantastic make-ahead treats. You can prepare and dip the balls days in advance and keep them refrigerated until serving. This makes last-minute entertaining a breeze.
Final Thoughts
Making Butterfinger Balls: Easy No-Bake Chocolate-Covered Treat Recipe is such a joyful, mess-free way to create scrumptious desserts everyone loves. Whether for a party, gift, or everyday indulgence, these treats are guaranteed to bring smiles. Don’t hesitate to try this recipe—you’ll be amazed at how quickly your friends request the secret to these irresistible chocolate-covered bites!
Print
Butterfinger Balls: Easy No-Bake Chocolate-Covered Treat Recipe
- Prep Time: 45 minutes
- Cook Time: 10 minutes
- Total Time: 55 minutes
- Yield: 30-40 balls
- Category: Dessert
- Method: No-Cook
- Cuisine: American
Description
Butterfinger Balls are a delightful no-bake treat combining chopped Butterfinger candy bars with cream cheese, dipped in melted chocolate and adorned with your choice of toppings. Perfect for parties or as a sweet indulgence, these easy-to-make balls offer a creamy, crunchy texture with rich peanut butter and chocolate flavors.
Ingredients
Main Ingredients
- 6 Butterfinger candy bars (chopped into small pieces, about 1/4 inch)
- 8 oz cream cheese, softened
- 1 teaspoon vanilla extract
- Pinch of salt
Chocolate Coating
- 16 oz chocolate melting wafers or chocolate chips
- 1–2 tablespoons shortening (to smooth the chocolate)
Toppings (optional)
- Sprinkles
- Chopped nuts
- Crushed Butterfinger pieces
Instructions
- Chop Butterfinger Bars: Unwrap and chop the Butterfinger bars into small pieces approximately 1/4 inch or smaller. You can use a food processor but pulse carefully to avoid turning them into a paste.
- Soften Cream Cheese: Allow the cream cheese to soften by leaving it at room temperature for at least an hour or microwave in 15-second intervals until soft.
- Combine Ingredients: In a large mixing bowl, combine the chopped Butterfinger pieces and the softened cream cheese.
- Add Flavorings: Stir in the vanilla extract and a pinch of salt to the bowl.
- Mix Thoroughly: Use an electric mixer to beat the mixture until smooth and well combined, scraping down the sides of the bowl as needed to ensure even mixing.
- Chill Mixture: Cover the bowl with plastic wrap and refrigerate the mixture for at least 30 minutes to an hour to firm up and make it easier to form into balls.
- Prepare Baking Sheet: Line a baking sheet with parchment paper or wax paper for easy cleanup and preparation.
- Scoop and Form Balls: Using a small cookie scoop, portion out the mixture and roll between your palms to form smooth, uniform balls.
- Arrange on Baking Sheet: Place the formed balls evenly spaced on the prepared baking sheet.
- Freeze for Dipping: Freeze the balls on the baking sheet for 15-20 minutes to firm them further for easier chocolate dipping.
- Melt Chocolate: Melt the chocolate wafers or chips with shortening by microwaving in 30-second intervals, stirring after each, until smooth; alternatively, melt over a double boiler by placing the bowl over simmering water and stirring until completely melted.
- Dip the Balls: Using a fork or dipping tool, dip each Butterfinger ball into the melted chocolate, ensuring full coverage.
- Remove Excess Chocolate: Gently tap the fork or dipping tool on the side of the bowl to remove excess chocolate drip.
- Place on Baking Sheet: Return the chocolate-coated balls to the parchment-lined baking sheet.
- Add Toppings: While the chocolate is still wet, sprinkle with your choice of sprinkles, chopped nuts, or crushed Butterfinger pieces for added texture and decoration.
- Repeat Dipping and Decorating: Continue dipping the remaining balls and decorating them similarly.
- Set the Chocolate: Allow the chocolate coating to set completely, either by leaving them at room temperature for about 1 hour or refrigerating for 15-20 minutes.
- Store: Store the finished Butterfinger Balls in an airtight container in the refrigerator for up to one week to maintain freshness.
Notes
- Ensure cream cheese is fully softened to avoid lumps in the mixture.
- If you prefer a stronger Butterfinger flavor, add more chopped candy bars.
- Use shortening with chocolate to help achieve a smooth, glossy coating.
- Keep the formed balls chilled until just before dipping to prevent melting.
- Customize toppings to your preference for variety.
- For best results, eat Butterfinger Balls within a week.


