If you have ever wanted to master a dish that feels both elegant and effortless, this Simple Homemade Crepes Recipe is your new best friend in the kitchen. These delicate, thin pancakes turn out perfectly every time, making them an ideal base for sweet or savory creations. Whether you are planning a leisurely weekend brunch or an impressive dessert, these crepes are incredibly versatile and always a crowd-pleaser. And the best part? You only need a handful of simple ingredients and a little bit of patience to whip them up, proving that sometimes the simplest recipes bring the most joy.

Ingredients You’ll Need
All the ingredients for this recipe are kitchen essentials that combine to create a batter with the perfect texture and flavor. Each element plays a crucial role in making your crepes tender, smooth, and golden.
- All-Purpose Flour: Using sifted flour ensures a smooth batter free of lumps for tender crepes.
- Eggs: These bind the batter and add richness, helping create the perfect crepe structure.
- Milk: Whole milk adds creaminess, but feel free to use your preferred type for a lighter option.
- Unsalted Butter: Melted butter adds a subtle nutty flavor and prevents sticking during cooking.
- Salt: Just a pinch brings out the natural flavors without overpowering the batter.
How to Make Simple Homemade Crepes Recipe
Step 1: Gather and Measure Your Ingredients
Start by assembling everything on your countertop. Measuring accurately is key because even simple recipes have magic when made with precision.
Step 2: Combine Dry Ingredients
In a large bowl, sift together the all-purpose flour and salt. This step releases any clumps, making the batter silky smooth and ensuring every crepe cooks evenly.
Step 3: Beat the Eggs
Take a separate bowl and whisk your eggs until frothy; this introduces air, lending a lightness that crepes are known for.
Step 4: Mix the Eggs into the Flour
Pour your beaten eggs into the flour mixture and stir gently, bringing the ingredients together without overworking the batter.
Step 5: Add Milk Gradually
Slowly pour in the milk while whisking continuously. This prevents any lumps from forming and guarantees a smooth, pourable batter.
Step 6: Incorporate Melted Butter
Fold in the melted unsalted butter, which enriches the flavor and helps keep the crepes from sticking to your pan during cooking.
Step 7: Rest the Batter
Let the batter sit at room temperature for at least 30 minutes. This resting period hydrates the flour fully and relaxes the gluten, which results in incredibly tender crepes.
Step 8: Heat Your Skillet
Use a non-stick skillet or crepe pan, heating it over medium flame. Lightly grease the surface with a bit of butter to prepare for a smooth cooking experience.
Step 9: Pour and Spread the Batter
Use a ladle to pour a small amount of batter into the center of your hot pan. Quickly swirl the pan to spread the batter out into a thin, even circle.
Step 10: Cook the First Side
Let the crepe cook undisturbed for 1 to 2 minutes until the edges start to curl from the pan and the bottom develops a light golden hue.
Step 11: Flip and Cook the Other Side
Carefully flip your crepe using a spatula, and cook the other side for just 30 seconds to 1 minute until lightly browned as well.
Step 12: Transfer and Repeat
Remove the cooked crepe onto a plate and continue the process, greasing your pan as needed. Stack crepes with a sheet of parchment paper in between to prevent sticking.
Step 13: Serve Warm
Serve your crepes immediately, warm and ready to be filled or topped according to your mood or occasion.
How to Serve Simple Homemade Crepes Recipe

Garnishes
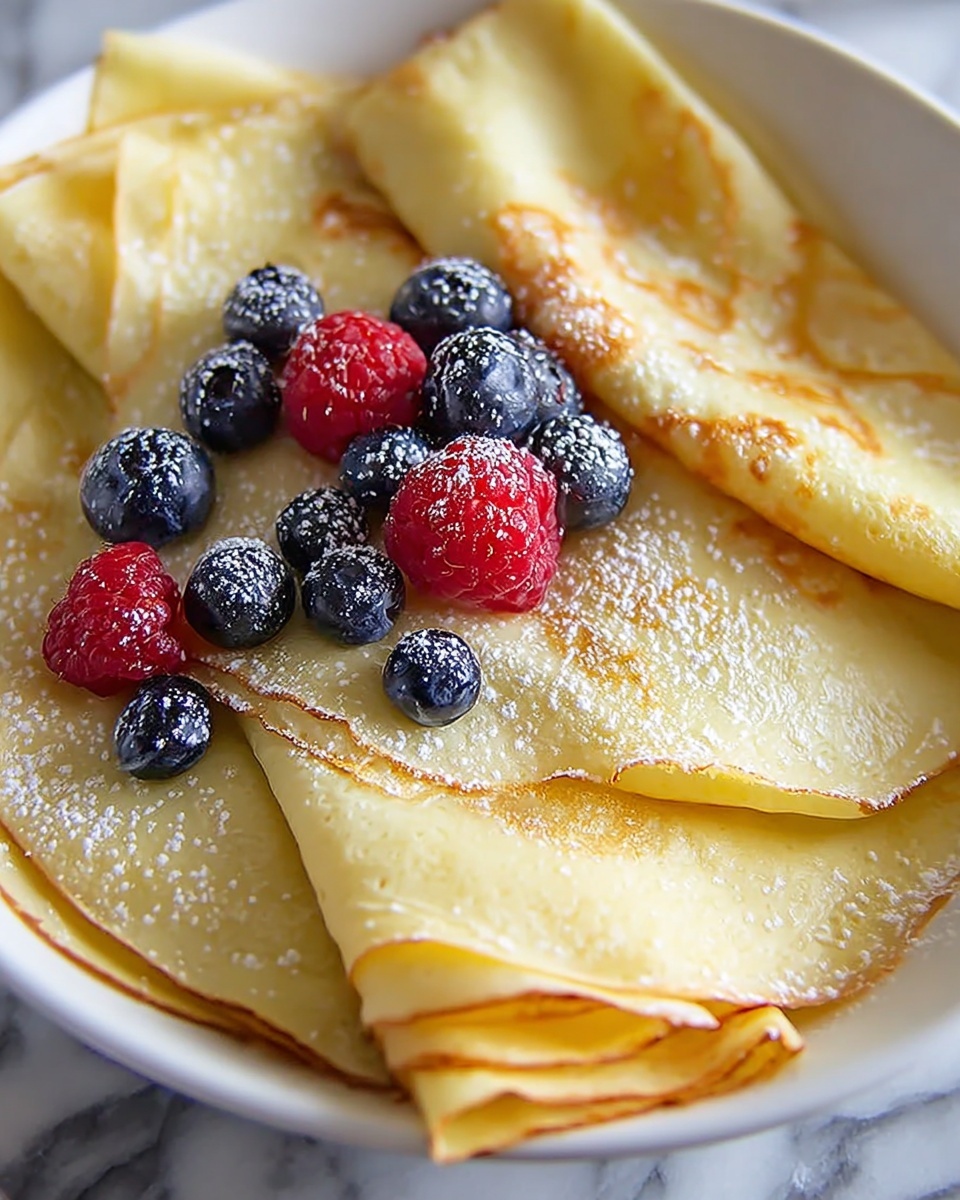
Simple homemade crepes are a blank canvas that can be dressed up with fresh berries, a dusting of powdered sugar, a drizzle of maple syrup, or a spoonful of Nutella. Even a squeeze of lemon juice and a sprinkle of sugar turn these crepes into a classic delight instantly.
Side Dishes
When serving savory crepes, pair them with crisp green salads or roasted vegetables for a balanced meal. Sweet crepes love a companion of fresh fruit or a scoop of vanilla ice cream for an indulgent treat.
Creative Ways to Present
Roll crepes into tubes filled with cream cheese and smoked salmon, fold them into triangles stuffed with sautéed mushrooms and herbs, or create layered crepe cakes with alternating fillings and frostings. The possibilities are endless and always impressive.
Make Ahead and Storage
Storing Leftovers
If you end up with extra crepes, stack them with parchment paper in between and wrap tightly in plastic wrap. Store them in the refrigerator for up to 2 days, which keeps them fresh for quick breakfasts or snacks.
Freezing
For longer storage, freezing is a fantastic option. Place perfect stacks of crepes (with parchment paper layers) in freezer bags and freeze for up to 2 months. This means you can enjoy your Simple Homemade Crepes Recipe anytime with minimal effort.
Reheating
To reheat your crepes, warm them gently in a non-stick pan over low heat or microwave for 15 to 20 seconds. Wrapping them in a damp paper towel while microwaving helps retain moisture and softness.
FAQs
Can I use a blender to make the crepe batter?
Absolutely! Using a blender can speed up the process and create an ultra-smooth batter. Just be careful not to overblend, which can make the batter too thin.
What if my crepes stick to the pan?
If sticking occurs, it often means the pan isn’t hot enough or not enough butter was used for greasing. Make sure your pan is properly heated before pouring batter and add a little butter before each crepe.
Can I make these crepes gluten-free?
Yes! Substitute the all-purpose flour with a gluten-free blend, but keep in mind the texture might vary slightly. Adding a bit of xanthan gum can help mimic the traditional texture.
How thin should the batter be?
The batter should be quite thin and pourable, almost like heavy cream. This consistency ensures your crepes will spread thinly and cook quickly, resulting in that perfect delicate texture.
Is it necessary to let the batter rest?
While you can make crepes immediately, resting the batter for at least 30 minutes allows the flour to fully absorb the liquids, making the crepes more tender and less likely to tear.
Final Thoughts
You really can’t go wrong when you whip up this Simple Homemade Crepes Recipe. It’s one of those gems that feels fancy but is incredibly easy and satisfying to prepare. Whether you keep it classic or dress it up with fun ingredients, homemade crepes bring warmth and a little bit of magic to your table. Give this recipe a try and watch how such simple ingredients come together to create something truly special you’ll want to make again and again.
Print
Simple Homemade Crepes Recipe
- Prep Time: 15 minutes
- Cook Time: 30 minutes
- Total Time: 45 minutes
- Yield: 4 to 4.4 servings
- Category: Breakfast
- Method: Stovetop
- Cuisine: French
- Diet: Vegetarian
Description
This Simple Homemade Crepes recipe is a classic French breakfast or dessert that features thin, delicate pancakes made from a smooth batter of flour, eggs, milk, butter, and a hint of salt. Lightly cooked in a non-stick skillet, these crepes are perfect for wrapping sweet or savory fillings and are easy to prepare at home with just basic ingredients.
Ingredients
Crepe Batter
- 1 cup All-Purpose Flour (Sifted before measuring to avoid lumps.)
- 2 large Eggs (Beaten well before adding to the mixture.)
- 1.5 cups Milk (Whole milk preferred, but any type can be used.)
- 2 tablespoons Unsalted Butter (Melted, to add flavor and prevent sticking.)
- 0.25 teaspoon Salt (Enhances overall flavor.)
Instructions
- Gather Ingredients: Measure all ingredients accurately to ensure the perfect crepe batter consistency.
- Mix Dry Ingredients: In a mixing bowl, combine the sifted flour and salt, whisking them together evenly.
- Beat Eggs: In a separate bowl, beat the eggs until frothy to incorporate air and ensure smoothness.
- Combine Eggs and Flour: Pour the beaten eggs into the flour mixture, stirring gently to start forming the batter.
- Add Milk Gradually: Slowly add the milk while whisking continuously to prevent lumps and create a smooth batter.
- Add Melted Butter: Stir in the melted butter to add richness and prevent sticking during cooking.
- Rest Batter: Let the batter rest at room temperature for at least 30 minutes to relax the gluten and improve texture.
- Heat Skillet: Warm a non-stick skillet over medium heat and lightly grease it to prepare for cooking.
- Pour Batter: Pour a ladleful of batter into the center of the skillet and swirl the pan to spread the batter evenly into a thin layer.
- Cook First Side: Cook for 1-2 minutes until the edges start to lift and the bottom turns golden brown.
- Flip Crepe: Carefully flip the crepe and cook for another 30 seconds to 1 minute until the other side is lightly browned.
- Repeat Process: Transfer the cooked crepe to a plate and continue the process with remaining batter, greasing the pan as needed.
- Serve: Serve the crepes warm with your choice of fillings or toppings such as fruits, Nutella, or savory options.
Notes
- Resting the batter is crucial to achieving tender crepes.
- Use a non-stick skillet to prevent sticking and avoid tearing the crepes.
- You can refrigerate the batter overnight for enhanced flavor and texture.
- Adjust milk quantity slightly if batter is too thick or thin; consistency should be like heavy cream.
- Keep cooked crepes warm by placing them on a plate covered with foil or a clean kitchen towel.
- Crepes can be frozen with parchment paper between each to prevent sticking.


