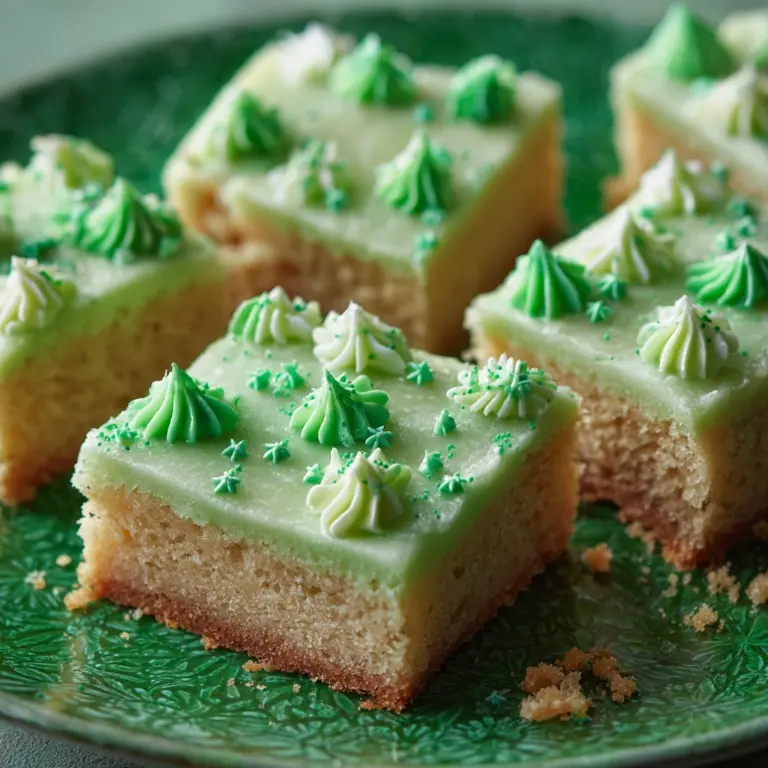
If you are looking for an irresistible, fun, and eye-catching treat that brings joy to any occasion, this Decadent Cake Pops Recipe is exactly what you need. These bite-sized delights combine moist, flavorful cake with creamy frosting, all coated in a smooth, colorful shell. Whether you’re making them for a party, a family gathering, or just as a special sweet indulgence, cake pops never fail to impress with their charming appearance and perfect balance of textures. Trust me, once you try this recipe, you’ll keep coming back for more!
Ingredients You’ll Need
Everything you need for this recipe is simple yet crucial to achieving those perfectly fluffy, rich, and visually stunning cake pops. Each ingredient plays a vital role in taste, texture, and the overall enjoyment of this treat.
- Cake mix and associated ingredients: The base of your cake pops, providing the structure and delicious flavor foundation; be sure to follow package directions precisely for the best cake texture.
- 1 16 oz can of ready-made frosting: This adds moisture and richness, binding the cake crumbs perfectly for easy shaping.
- Lollipop sticks: These are essential for creating the classic cake pop shape and making them easy and fun to eat.
- Candy melting wafers: They provide the smooth, shiny coating and allow you to customize your colors and flavors.
- Food coloring: A splash of this will turn your cake pops into vibrant little works of art.
How to Make Decadent Cake Pops Recipe
Step 1: Prepare and Bake the Cake
Start by mixing the cake batter following the directions on the package, including eggs, oil, and water as required. Bake it according to the suggested pan and time, creating a soft and fluffy cake base for your pops. This step sets the foundation for the entire recipe, so keep a close eye to ensure perfect doneness.
Step 2: Cool and Crumble the Cake
Once your cake is beautifully baked, patience is key—let it cool completely for at least 1 to 2 hours. Cooling ensures the cake won’t be too warm and crumbly, which is necessary for the next step. When cool, crumble the cake into fine pieces using your hands or a fork, turning it back into a mixing bowl. This crumbly texture is the key to molding the pops later on.
Step 3: Mix in the Frosting
Add half of your 16-ounce frosting can into the bowl with the cake crumbs. Mix thoroughly until every crumb is coated and the mixture holds together well. You’ll notice the texture transform into something almost dough-like. For easier handling, refrigerate this mixture for about 20 minutes, which firms it up without losing softness.
Step 4: Shape into Balls
Grab a spoon to scoop out portions, roughly the size you like your cake pops. Roll each portion gently between your palms to form smooth, consistent balls. Place them carefully onto a wax paper-lined tray. This shaping step is where the magic truly begins as these will soon turn into delicious handheld delights.
Step 5: Insert the Sticks
Melt a handful of candy melting wafers according to package instructions. Dip each lollipop stick into the warm melted candy before inserting it halfway into a cake ball. The coating acts as glue, securing the stick as it cools. After inserting all sticks, chill the balls in the fridge or freezer for at least one hour to firm up completely.
Step 6: Dip the Cake Pops
Now it’s time to coat your cake pops! Melt your chosen candy wafers in a deep bowl for easy dipping. Swirl each pop into the coating, then spoon extra coating over the bottom to cover the stick area fully. Hold the pop above the bowl, turning it slowly to drip off any excess. This step requires patience, but the smooth, glossy finish is well worth it.
Step 7: Set and Harden
Stand your freshly coated cake pops upright to allow the coating to harden. Using a foam block is ideal for stability, but if you don’t have one, simply punch holes in an oatmeal container or similar box to hold the sticks in place. Let them sit until completely firm, and you’ve got stunning cake pops ready to enjoy!
How to Serve Decadent Cake Pops Recipe
Garnishes
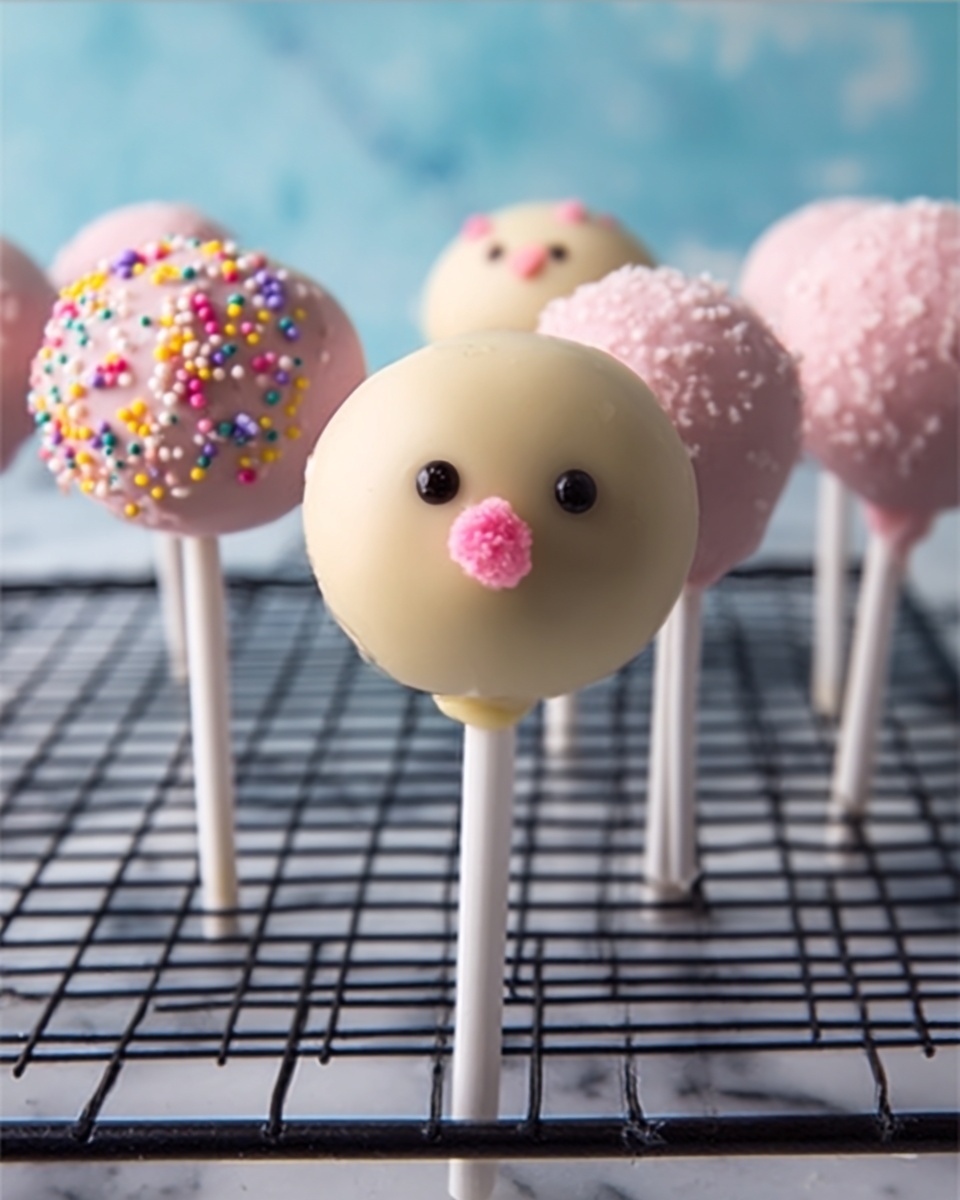
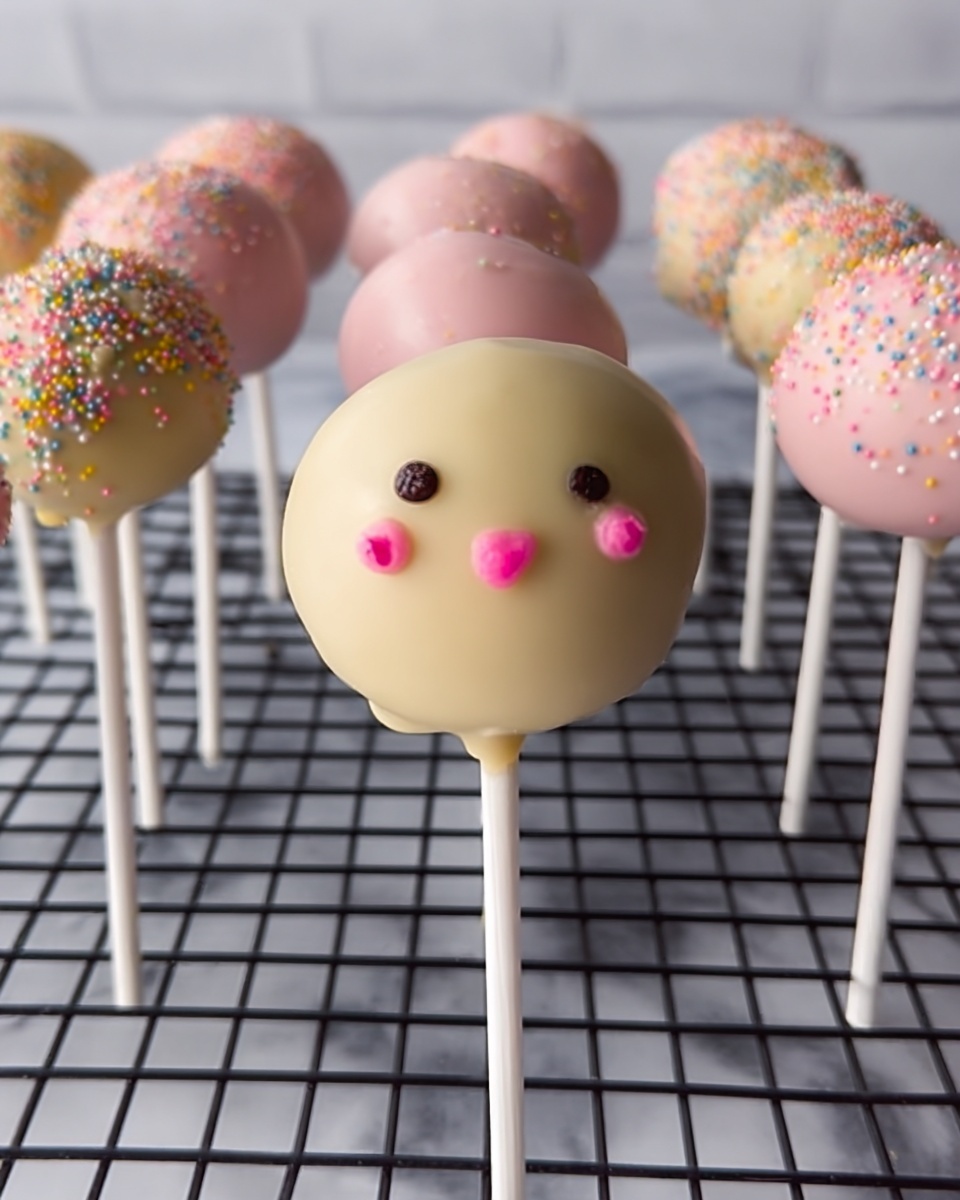
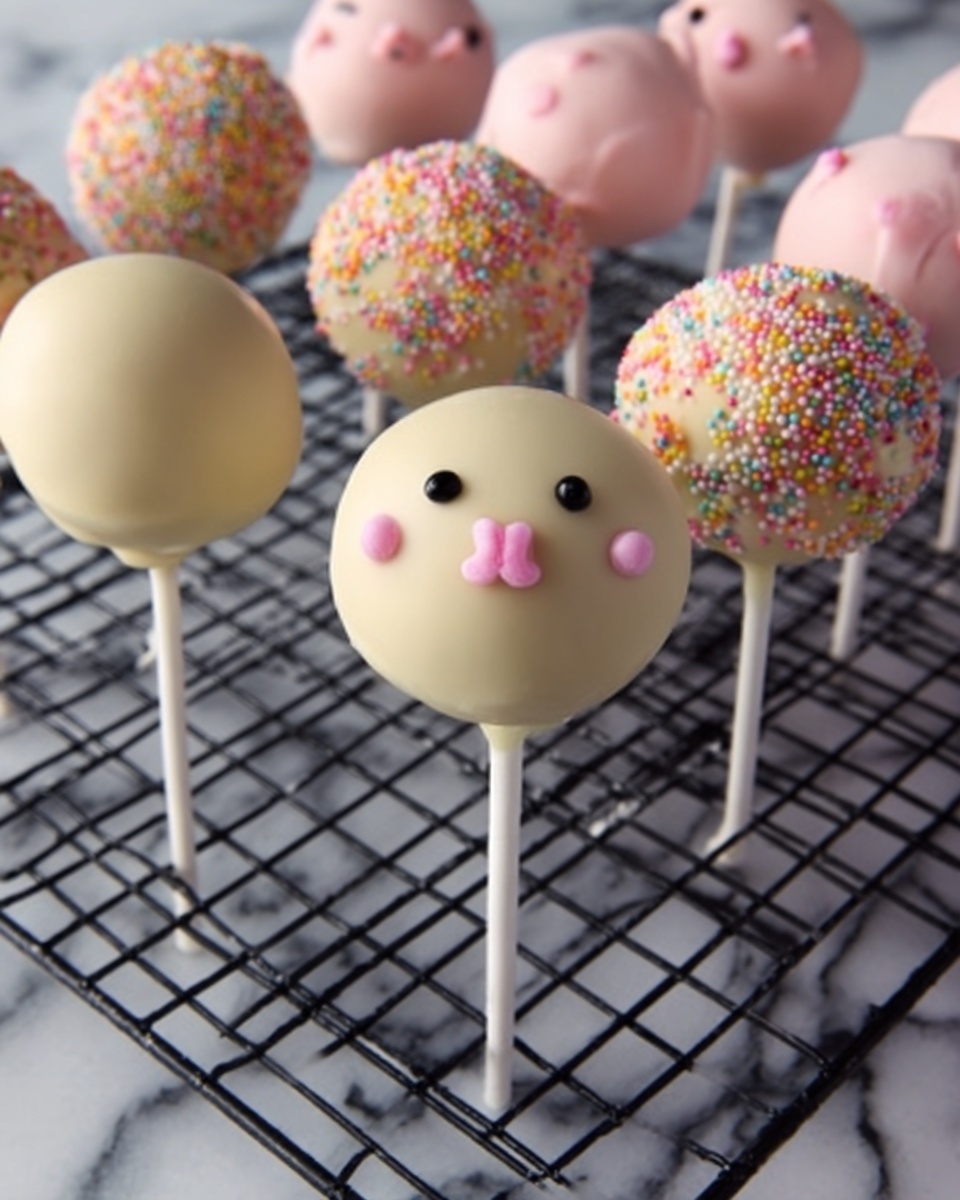
Adding garnishes to your cake pops is a fantastic way to elevate their look and flavor. Consider sprinkles, edible glitter, finely chopped nuts, or drizzles of contrasting colored candy melts. Sprinkling a little extra on while the coating is still wet ensures they stick perfectly, turning your pops into personalized masterpieces with a delightful crunch or shimmer.
Side Dishes
While cake pops can shine as a standalone treat, pairing them with fresh fruit skewers or a light, whipped cream dip adds balance and freshness to your dessert spread. A small cup of chilled milk, coffee, or tea complements these sweet bites beautifully, creating a cozy and inviting snack experience.
Creative Ways to Present
Presentation is half the fun! Arrange your cake pops in a decorative vase, mason jar filled with colorful sprinkles, or insert them into a homemade cake for a “cake pop bouquet.” Wrapping each pop in cellophane tied with a ribbon makes for adorable party favors or gifts that guests will rave about.
Make Ahead and Storage
Storing Leftovers
If you have any leftover cake pops, store them in an airtight container in the refrigerator. This keeps them fresh and maintains the firmness of the candy coating for several days. Just avoid stacking them to prevent smudging or breaking the delicate coating.
Freezing
You can freeze cake pops for longer storage by placing them on a tray lined with wax paper in a single layer. Once frozen solid, transfer them to a freezer-safe airtight container. When needed, thaw in the refrigerator overnight to retain their moist texture and delicious flavor.
Reheating
Generally, reheating cake pops isn’t necessary, but if you wish to soften the candy coating slightly, leave the cake pops at room temperature for 15 to 20 minutes. Avoid using a microwave as it can cause uneven heating and melt the coating too much.
FAQs
Can I use homemade cake instead of cake mix?
Absolutely! Using homemade cake can add a personal touch and allows you to experiment with flavors. Just make sure it’s completely cooled before crumbling and mixing with frosting.
How do I prevent the sticks from falling out?
Dipping the sticks in melted candy before inserting them creates a seal that helps keep them firmly in place once the coating hardens. Chilling the cake pops afterward also adds extra security.
What flavors of candy melts work best?
Classic vanilla or chocolate candy melts are popular, but you can use any flavor or color to match your theme. Experimenting with vibrant colors makes the cake pops more festive and fun.
Can cake pops be made in advance for a party?
Definitely! Cake pops can be made a day or two ahead and stored in the refrigerator. Just make sure to keep them in an airtight container to maintain freshness.
How do I avoid cracks in the candy coating?
Melting the candy slowly and evenly helps achieve a smooth dip. Also, dipping chilled cake balls directly from the fridge prevents temperature shock that causes cracking.
Final Thoughts
This Decadent Cake Pops Recipe is one of those delightful treats that never fails to bring smiles and satisfaction. Easy to make, endlessly customizable, and utterly delicious, these little pops are a wonderful way to impress friends and family, or just enjoy a special moment of sweet comfort. I can’t wait for you to make them your own and create joyful memories with every bite!
Print
Decadent Cake Pops Recipe
- Prep Time: 20 minutes
- Cook Time: 20 minutes
- Total Time: 1 hour 40 minutes
- Yield: Approximately 24 cake pops, depending on size
- Category: Dessert
- Method: Baking
- Cuisine: American
Description
Delightful and fun Cake Pops made from scratch using a boxed cake mix and ready-made frosting, coated in colorful melted candy wafers. Perfect for parties, celebrations, or a sweet treat, these bite-sized cake balls on sticks are easy to customize with your favorite flavors and colors.
Ingredients
Cake Base
- 1 box cake mix (any flavor, plus required ingredients per package directions such as eggs, oil, and water)
Frosting
- 1 (16 oz) can ready-made frosting
For Assembly and Coating
- Lollipop sticks (enough for the number of cake balls)
- Candy melting wafers (for coating, amount varies depending on number of cake pops)
- Food coloring (optional, for coloring candy coating)
Instructions
- Prepare the cake: Follow the instructions on your cake mix box, combining all necessary ingredients. Bake the cake using the recommended pan and baking time. Once baked, allow it to cool completely for 1-2 hours to ensure it’s ready for crumbling.
- Crumble the cake: Once the cake is fully cooled, crumble it into fine pieces directly into a large mixing bowl, breaking it down by hand or with a fork.
- Mix in frosting: Add half of the 16 oz container of frosting to the crumbled cake. Stir thoroughly until the mixture is uniform and sticky enough to hold shape. Refrigerate for about 20 minutes to firm up the mixture, making it easier to handle.
- Form cake balls: Using a spoon, scoop out portions of the mixture and roll them with your hands into evenly sized balls. Place the formed balls onto a wax paper-lined tray.
- Insert sticks: Melt a handful of candy or chocolate wafers according to package instructions. Dip the tip of each lollipop stick into the melted candy, then insert it halfway into each cake ball. This helps secure the stick as the candy coating cools. Chill the cake balls in the refrigerator or freezer for at least one hour to set.
- Coat the cake pops: Melt the remaining candy wafers in a deep bowl. You can add food coloring if desired. Dip each cake ball into the melted coating, swirling to fully cover it. Use a spoon to drizzle extra coating on the bottom, ensuring the stick and cake ball are fully encased. Allow excess coating to drip off by gently turning the pop while holding it over the bowl.
- Let coating set: Place the coated cake pops upright to dry and harden. Use a foam block or a makeshift holder such as an oatmeal box with holes punched to keep the sticks upright during drying.
Notes
- Make sure the cake is completely cooled before crumbling to avoid a gooey mixture.
- Refrigerating the cake and frosting mixture helps it firm up and is easier to work with when shaping balls.
- If candy coating is too thick, you can add a small amount of vegetable oil to thin it out for easier dipping.
- Use a styrofoam block or similar item to keep cake pops upright while the coating sets.
- Customize by adding sprinkles, edible glitter, or drizzles of contrasting candy after coating while still wet.


