If you’re looking for a delightful treat that combines the crisp freshness of apples with a glossy, sweet shell, this Candy Apple Bags Recipe is exactly what you need. It’s a nostalgic twist on a classic favorite, perfect for sharing at parties, festive occasions, or simply when you crave something special. The balance of tangy fruit and crackling candy coating wrapped up in charming bags makes for an irresistible snack that’s as fun to make as it is to eat!
Ingredients You’ll Need
These ingredients are wonderfully simple yet essential to make your Candy Apple Bags Recipe come alive. Each element plays a crucial role, from the crisp texture of the apples to the shiny, flavorful coating that defines the candy apple experience.
- Crisp, sweet apples: Choose Granny Smith for tartness, Honeycrisp or Fuji for sweetness and crunch that holds up well under the candy shell.
- Candy coating: Use a store-bought option for ease or make homemade with sugar, water, corn syrup, and red food coloring for that classic glossy look.
- Wooden skewers or popsicle sticks: Essential for handling and dipping the apples without mess.
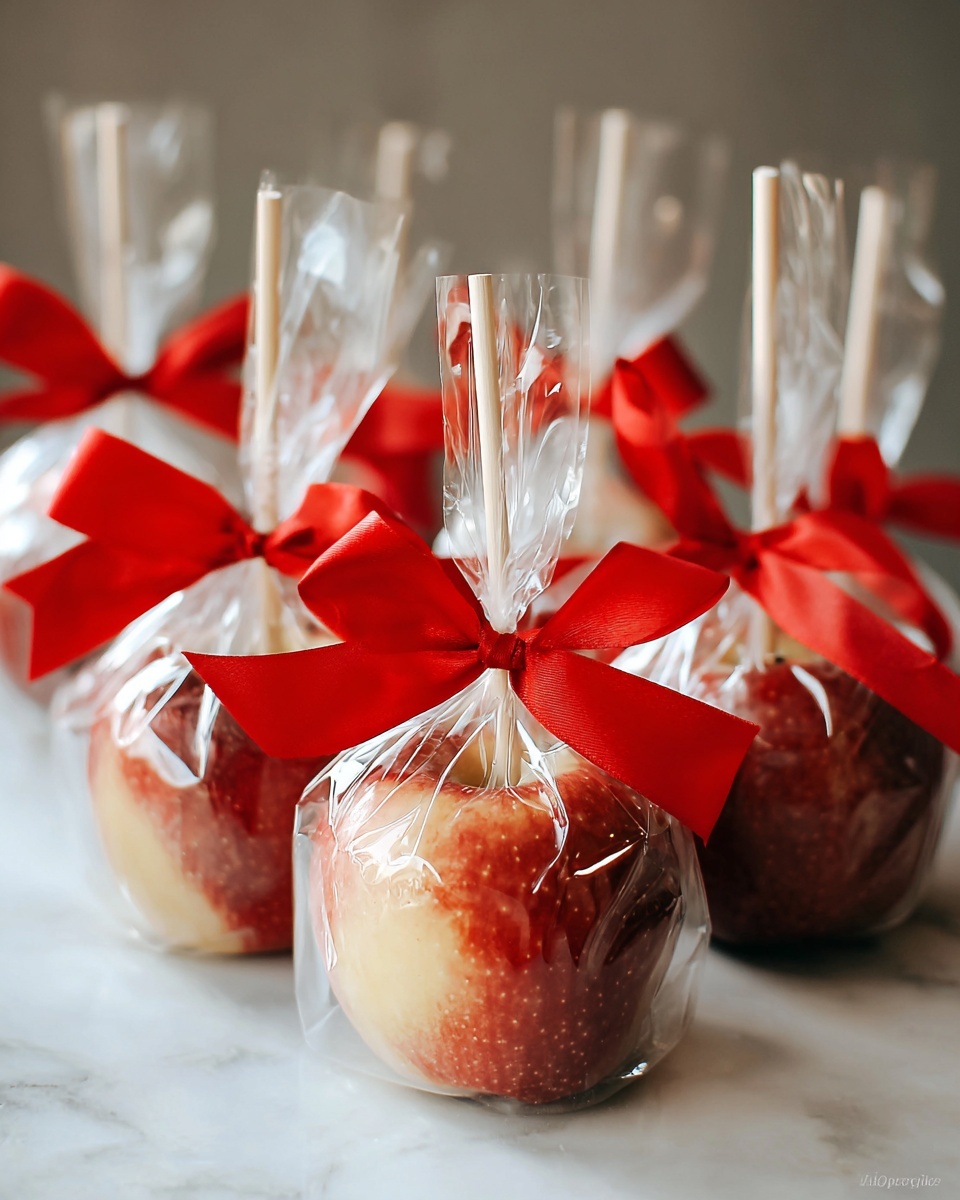
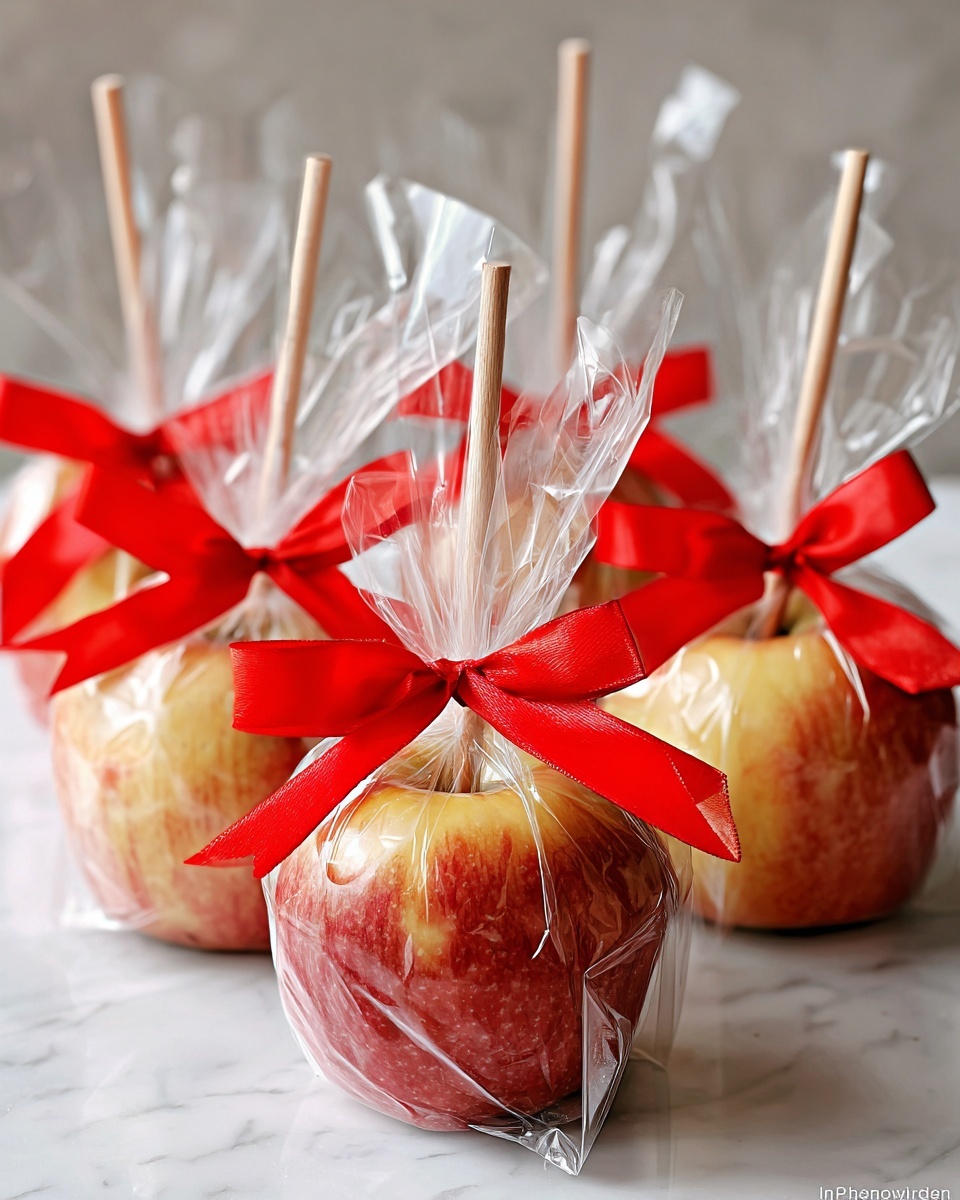
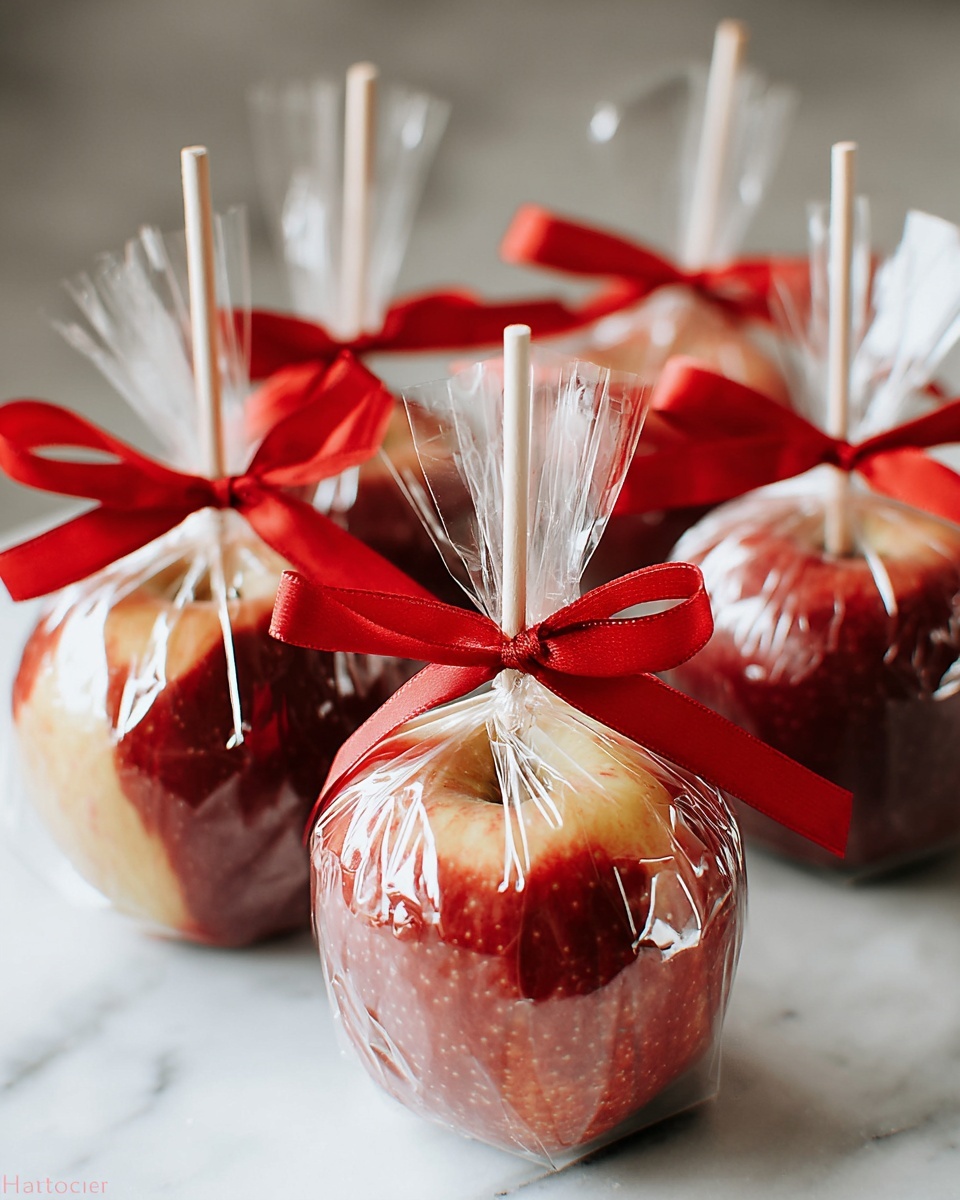
- Candy apple bags: These clear wrap bags keep your apples fresh and add a professional, gift-ready finish.
- Twist ties, ribbons, or decorative string: To secure the bags and add a personalized festive touch.
How to Make Candy Apple Bags Recipe
Step 1: Prepare the Apples
Start by washing your apples thoroughly to remove any wax coating that might prevent the candy from sticking properly. Dry them completely, then firmly insert a wooden skewer or popsicle stick into the top of each apple. This makes dipping easier and safer while giving you a perfect handle for eating.
Step 2: Make the Candy Coating
If opting for a store-bought candy coating, simply follow the package directions. For those who love a little kitchen magic, mix sugar, water, and corn syrup in a saucepan. Bring the mixture to a rolling boil and then add red food coloring to achieve that iconic cherry apple look. This step is where your sweet concoction really begins to take shape!
Step 3: Dip the Apples
Heat your candy mixture to the hard crack stage, which is around 300°F. This temperature is key so the candy shell sets up crisp and glossy. Dip each apple slowly, twisting to coat the fruit evenly with the bright, shiny coating. After dipping, place the apples on parchment paper to cool and harden—a few minutes here is well worth the gorgeous finish.
Step 4: Bag Your Candy Apples
Once the candy has fully set, carefully slide each apple into a candy apple bag. The bags keep the treat fresh and make them perfect for gifting or party favors. Secure the opening tightly with a twist tie, ribbon, or decorative string to prevent any sticky mishaps.
Step 5: Add Your Personal Touch
This step is where the fun really begins! Add tags, stickers, or handwritten notes to your candy apple bags. Whether for a holiday, birthday, or just because, this simple addition makes your Candy Apple Bags Recipe feel extra special and thoughtfully presented.
How to Serve Candy Apple Bags Recipe
Garnishes
A sprinkle of crushed nuts or a dusting of edible glitter can elevate the presentation and add an exciting texture contrast. Consider adding a cinnamon stick as a decorative skewer for cozy flavor notes that complement the sweetness.
Side Dishes
Pair candy apples with warm beverages like spiced cider or hot chocolate, which beautifully balance the sugary crunch. Fresh fruit platters or simple cheese boards also make lovely, light accompaniments, creating a well-rounded snack or dessert spread.
Creative Ways to Present
Arrange your Candy Apple Bags Recipe on a rustic wooden tray or a colorful tiered display for a festive touch. Wrap the base with autumn leaves or holiday-themed fabrics to complement the vibrant red of the candy coating and add seasonal charm.
Make Ahead and Storage
Storing Leftovers
Keep any leftover candy apples in their original bags at room temperature, away from direct sunlight or heat sources. They stay fresh and crisp for up to 2 days before the candy shell may start to soften.
Freezing
Freezing candy apples isn’t recommended because the texture of the apple can degrade and the candy coating may crack when thawed. For best flavor and crunch, enjoy them fresh.
Reheating
There’s no need to reheat candy apples. The candy shell is best enjoyed cold and crisp. If they seem sticky, a gentle pat with a dry paper towel can refresh their shine without ruining the crunch.
FAQs
Can I use other types of apples for this Candy Apple Bags Recipe?
Absolutely! While Granny Smith, Honeycrisp, and Fuji are ideal for their balance of tartness and sweetness, feel free to experiment with your favorite varieties. Just be sure they are firm and crisp to hold up under the candy coating.
Is it possible to make the candy coating without corn syrup?
Yes, but corn syrup helps prevent crystallization and gives the coating its shiny finish. Without it, the candy might crystallize or become grainy, so be extra careful with the cooking process if you omit it.
What if my candy coating doesn’t harden properly?
This usually means the candy didn’t reach the hard crack stage (300°F). Use a candy thermometer for accuracy, and make sure not to rush the boiling process. If it’s too soft, start over for that perfect snap.
Can I decorate the candy apples with toppings?
Definitely! While the Candy Apple Bags Recipe highlights the classic look, you can roll dipped apples in chopped nuts, sprinkles, or crushed cookies immediately after dipping for extra fun and flavor.
How long will candy apples last once made?
When stored properly in their bags at room temperature, candy apples stay at their best for about two days. Beyond that, the candy shell may start to soften and the apples themselves could lose their crispness.
Final Thoughts
There’s nothing quite like biting into a crisp apple coated with a shining, sweet candy shell that cracks perfectly under your teeth. This Candy Apple Bags Recipe brings that joy right to your kitchen with easy steps and lovely presentation. Whether you’re sharing with friends, gifting for a special occasion, or treating yourself, these candy apples never fail to bring smiles. Give it a try—you’ll wonder why you didn’t make them sooner!
Print
Candy Apple Bags Recipe
- Prep Time: 20 minutes
- Cook Time: 10 minutes
- Total Time: 30 minutes
- Yield: 6 servings
- Category: Dessert
- Method: Stovetop
- Cuisine: American
Description
Delight in these classic Candy Apple Bags, perfect for festive occasions or sweet treats. Crisp and tangy apples are coated in a glossy, hard candy shell, then wrapped individually in decorative bags to keep them fresh and make for charming presentation. This recipe includes options for using store-bought candy coating or a homemade version with simple ingredients for a personalized sweet treat.
Ingredients
Apples
- 6 crisp, sweet apples (Granny Smith, Honeycrisp, or Fuji)
Candy Coating
- 2 cups granulated sugar
- 1/2 cup water
- 1/2 cup light corn syrup
- Red food coloring, few drops
Other
- 6 wooden skewers or popsicle sticks
- 6 candy apple bags
- Twist ties, ribbons, or decorative string to secure bags
Instructions
- Prepare Apples: Wash and dry each apple thoroughly, ensuring any wax coating is removed to help the candy adhere better. Firmly insert wooden skewers into the top of each apple, making sure they are secure for dipping.
- Make Candy Coating: For homemade candy coating, combine sugar, water, and corn syrup in a medium saucepan. Heat over medium-high, stirring until sugar dissolves. Bring mixture to a boil without stirring, then add a few drops of red food coloring for the classic candy apple red hue.
- Cook to Hard Crack Stage: Continue boiling the candy mixture until it reaches 300°F (hard crack stage) on a candy thermometer. Remove from heat immediately to prevent burning.
- Dip Apples: Holding the skewer, dip each apple fully into the hot candy mixture, twisting to evenly coat the surface. Lift the apple and allow excess candy to drip off before placing it on parchment paper to cool and harden.
- Package Candy Apples: Once the candy coating has completely set and hardened, slide each apple into a candy apple bag. Secure the open end of the bag with twist ties, ribbons, or decorative string.
- Personalize Packaging: Add tags or stickers to the bags for a festive, customized presentation perfect for gifting or parties.
Notes
- Use fresh apples with firm skin to ensure candy coating adheres well.
- For safer handling, avoid touching the hot candy mixture; use gloves if desired.
- If candy hardens before you finish dipping all apples, gently reheat it to maintain proper consistency.
- Store candy apples in a cool, dry place to prevent the candy shell from melting or becoming sticky.
- Different apple varieties offer varying levels of sweetness and tartness; experiment to find your favorite combination.


