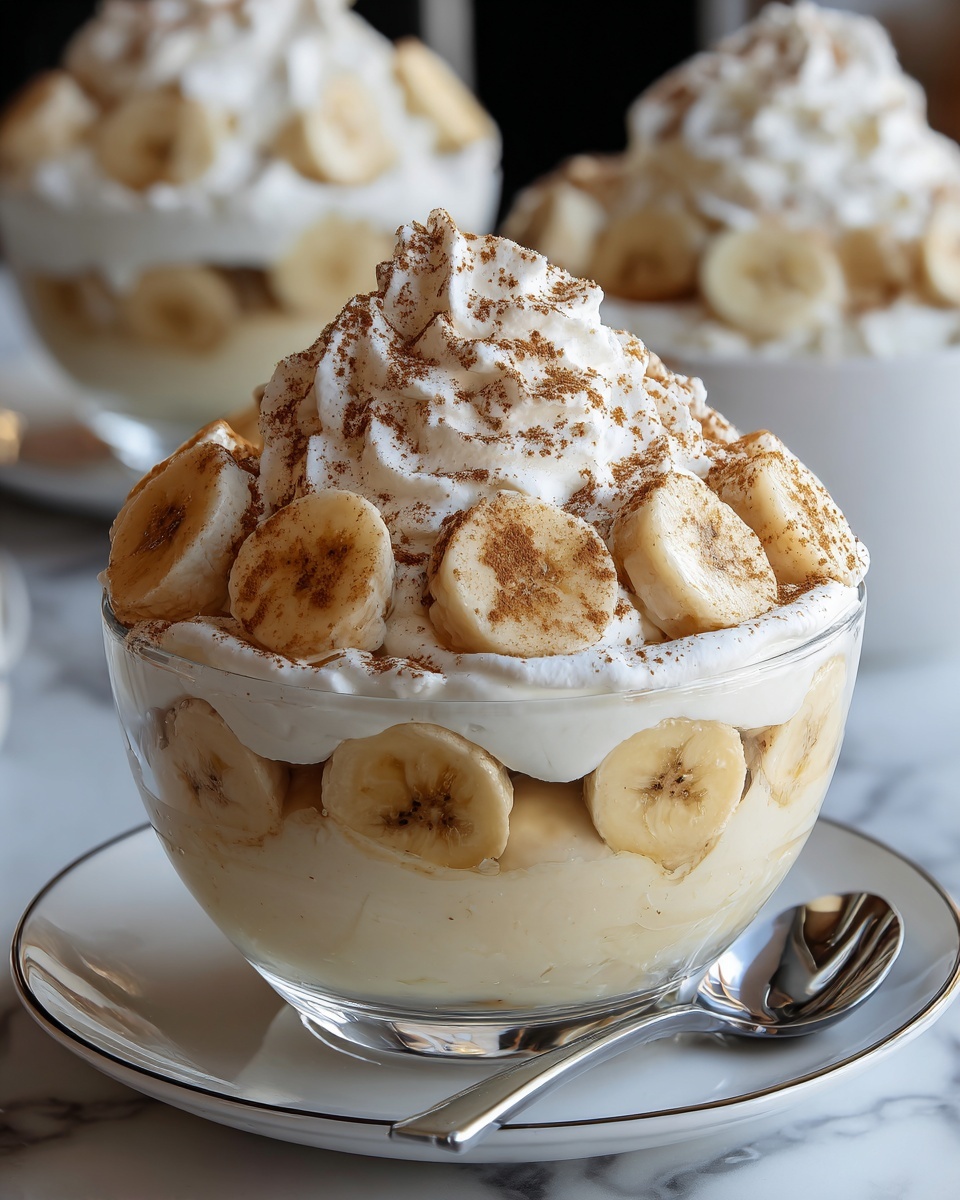
If you have a sweet tooth and love desserts that bring comfort and joy with every bite, then you absolutely need to try Magnolia Bakery’s Famous Banana Pudding: A Classic Dessert Everyone Will Love Recipe. This beloved treat perfectly balances creamy vanilla pudding, tender ripe bananas, and that delightful little crunch from vanilla wafers. It’s a no-fail crowd-pleaser that feels like a big, warm hug in dessert form. Whether you’re serving it for a family dinner, potluck, or just because you deserve something special, this recipe will quickly become your go-to for an irresistible homemade classic.
Ingredients You’ll Need
One of the best parts about Magnolia Bakery’s Famous Banana Pudding: A Classic Dessert Everyone Will Love Recipe is how straightforward and simple the ingredients are. Each one plays a vital role, from the rich sweetness of the sweetened condensed milk to the fluffy texture given by whipped cream. Together, they build layers of flavor and mouthfeel that make this dish truly unforgettable.
- Sweetened condensed milk: Adds creamy sweetness and depth, perfect for that luscious pudding base.
- Ice-cold water: Essential for activating the instant pudding mix and ensuring a smooth texture.
- Instant vanilla pudding mix: The key to that classic vanilla flavor and thick, creamy consistency.
- Heavy cream: Whipped to soft peaks, it brings lightness and airy richness to balance the pudding.
- Vanilla wafers: Provides a nostalgic crunch and subtle vanilla notes that soak up the pudding beautifully.
- Ripe bananas: Freshly sliced for natural sweetness and a soft, melt-in-your-mouth contrast to the wafers.
How to Make Magnolia Bakery’s Famous Banana Pudding: A Classic Dessert Everyone Will Love Recipe
Step 1: Make the Pudding
Start by whisking together the sweetened condensed milk and ice-cold water in a large bowl until velvety smooth. This mixture creates the rich base for our pudding.
Step 2: Add the Pudding Mix
Sprinkle in the instant vanilla pudding mix, then whisk vigorously for about two minutes until the mixture thickens beautifully. This step is where the magic starts to happen.
Step 3: Let It Set
Allow the pudding mixture to rest for a few minutes so it firms up slightly. This makes it easier to fold in the whipped cream later and builds that signature creamy texture.
Step 4: Whip the Cream
In a separate bowl, beat the heavy cream with an electric mixer on high speed until soft peaks form. This whipped cream lightens the pudding and adds a fluffy finish.
Step 5: Combine Pudding and Cream
Gently fold the whipped cream into the pudding mix, taking care to keep it airy and smooth without overmixing. This creates the heavenly creamy filling we all crave.
Step 6: Layer the Base
Grab a 9×13-inch dish or a large trifle bowl and start layering with a bed of vanilla wafers. This base lays the perfect foundation for our banana pudding.
Step 7: Add Bananas
Next, place a generous layer of sliced ripe bananas over the wafers, adding natural sweetness and fresh flavor with every bite.
Step 8: Spoon the Pudding
Pour about one-third of your pudding mixture on top of the bananas and wafers, spreading evenly across the layer to cover everything.
Step 9: Repeat Layers
Repeat the layers—vanilla wafers, sliced bananas, and pudding—ending with a final layer of pudding on top. This layering creates the perfect contrast of textures.
Step 10: Chill the Dessert
Cover the dish tightly with plastic wrap and refrigerate for at least four hours, ideally overnight. This chilling time melds all the flavors and lets the pudding set perfectly.
Step 11: Serve and Garnish
Before serving, add a few whole or crushed vanilla wafers on top for a lovely decorative touch and a little extra crunch. Then, dig into the creamy, dreamy goodness!
How to Serve Magnolia Bakery’s Famous Banana Pudding: A Classic Dessert Everyone Will Love Recipe
Garnishes
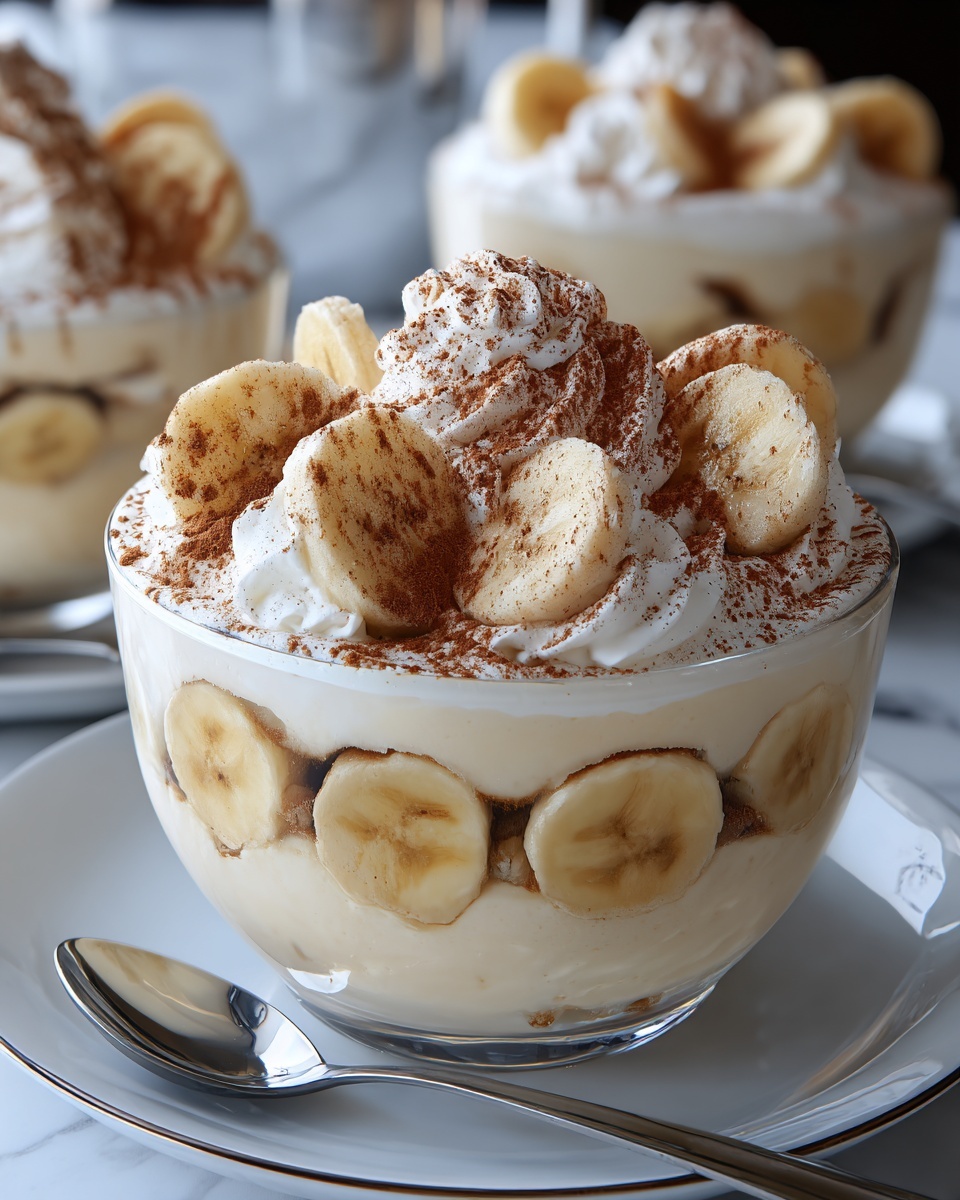
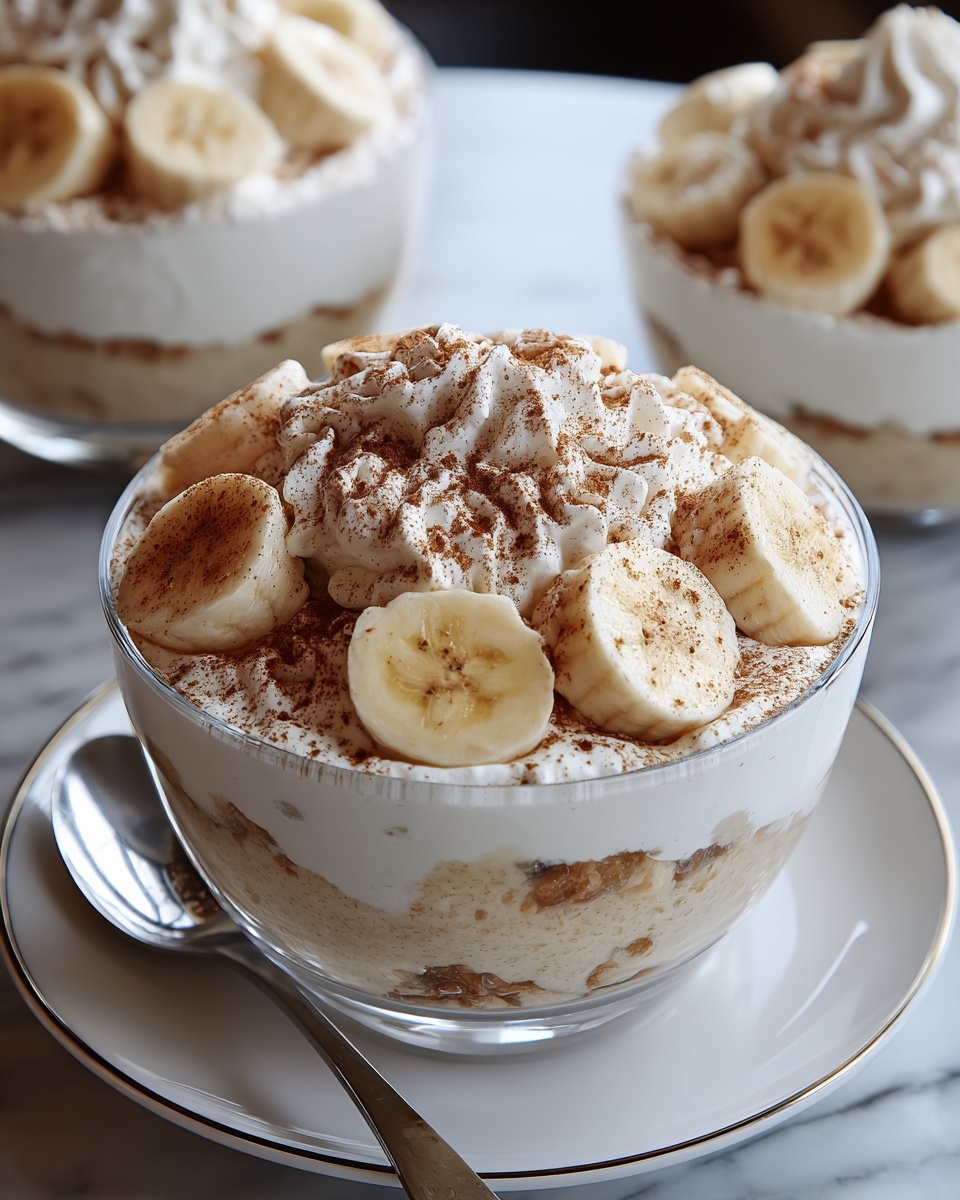
Adding garnishes can elevate your banana pudding and make it feel extra special. Consider topping with crushed vanilla wafers, a sprinkle of cinnamon, or even a few fresh banana slices for a vibrant touch that gives every serving an inviting look and texture.
Side Dishes
This dessert shines on its own, but if you want to round out your meal, pairing it with a light fruit salad or a cup of freshly brewed coffee adds contrast and refreshes the palate wonderfully between bites.
Creative Ways to Present
For parties or gatherings, try serving Magnolia Bakery’s Famous Banana Pudding: A Classic Dessert Everyone Will Love Recipe in individual glass parfait dishes or mason jars. Layering it visibly creates an appealing look that will wow guests and let everyone enjoy their personal portions.
Make Ahead and Storage
Storing Leftovers
After enjoying your pudding, store any leftovers in an airtight container in the refrigerator. The pudding keeps well for up to 3 days, but the bananas may darken slightly, so try to eat it sooner if possible.
Freezing
Banana pudding is best enjoyed fresh or chilled and does not freeze well due to the delicate texture of the bananas and whipped cream. Freezing can cause separation and a grainy texture, so it’s best to skip freezing.
Reheating
This dessert is meant to be served cold or at room temperature. Reheating is not recommended because it will break down the pudding and whipped cream layers, altering the luscious texture that makes it so beloved.
FAQs
Can I use fresh pudding instead of instant pudding mix?
While fresh pudding can work, the instant mix gives that signature thick, creamy texture essential to this classic recipe. Using instant pudding ensures the dessert firms up nicely and maintains the traditional flavor.
What type of bananas works best for this pudding?
Ripe but firm bananas are ideal. They should be sweet and fragrant, but not overly soft or mushy, to hold their shape and texture through layering and chilling.
Can I make this dessert vegan or dairy-free?
Substituting ingredients to make a vegan version is possible but tricky. You’d need dairy-free cream and a suitable pudding alternative, which might affect the texture and flavor since this recipe relies on those rich dairy components.
How far in advance can I prepare this banana pudding?
You can assemble it one day ahead and store it in the fridge overnight. This actually improves the flavor as all the layers meld beautifully, making it ideal for ahead-of-time entertaining.
Can I use different cookies instead of vanilla wafers?
Absolutely! While vanilla wafers are traditional and absorb moisture perfectly, you can experiment with shortbread or digestive biscuits for a slightly different flavor or crunch. Just keep in mind it will alter the authentic taste.
Final Thoughts
There’s truly nothing like Magnolia Bakery’s Famous Banana Pudding: A Classic Dessert Everyone Will Love Recipe to bring comfort and delight to your dessert table. With simple ingredients and easy steps, you can create a luscious and timeless treat that hugs you from the inside out. Once you try this recipe, it’s bound to become your favorite dessert to share with family and friends over and over again.
Print
Magnolia Bakery’s Famous Banana Pudding: A Classic Dessert Everyone Will Love Recipe
- Prep Time: 20 minutes
- Cook Time: 0 minutes
- Total Time: 4 hours 20 minutes
- Yield: 8-10 servings
- Category: Dessert
- Method: No-Cook
- Cuisine: American
Description
Magnolia Bakery’s Famous Banana Pudding is a classic, creamy dessert featuring layers of vanilla wafers, ripe bananas, and a luscious vanilla pudding mixed with whipped cream. It’s a crowd-pleaser that’s simple to assemble and perfect for any occasion.
Ingredients
For the Pudding:
- 1 (14 oz) can sweetened condensed milk
- 1 ½ cups ice-cold water
- 1 (3.4 oz) package instant vanilla pudding mix (Jell-O brand recommended)
Additional Ingredients:
- 3 cups heavy cream
- 1 (11 oz) box vanilla wafers (Nabisco Nilla Wafers recommended)
- 5 ripe bananas, sliced
Instructions
- Make the Pudding: In a large bowl, whisk together the sweetened condensed milk and ice-cold water until smooth.
- Add the Instant Pudding Mix: Add the instant vanilla pudding mix and whisk for 2 minutes, until the pudding thickens.
- Set the Pudding Aside: Let the pudding mixture firm up while preparing the rest of the ingredients.
- Whip the Cream: In a separate bowl, beat the heavy cream with an electric mixer on high speed until soft peaks form, which should take about 3-5 minutes.
- Combine Pudding and Whipped Cream: Gently fold the whipped cream into the pudding mixture until fully combined and smooth.
- Assemble the Banana Pudding: In a 9×13-inch dish, layer vanilla wafers evenly at the bottom.
- Add Banana Layer: Place a layer of sliced bananas over the vanilla wafers.
- Add Pudding Layer: Spoon about one-third of the pudding mixture over the bananas and wafers, spreading evenly.
- Repeat Layers: Repeat the layers with remaining wafers, bananas, and pudding, finishing with a pudding layer on top.
- Chill: Cover the dish with plastic wrap and refrigerate for at least 4 hours or overnight to let the flavors meld and pudding to firm up.
- Serve: Garnish with extra vanilla wafers on top or crush some wafers and sprinkle them for added texture before serving.
Notes
- For best results, use ripe but firm bananas to prevent excessive browning.
- Allow the pudding to chill overnight for a creamier texture and better flavor melding.
- You can substitute heavy cream with whipping cream if preferred, but heavy cream yields richer results.
- Use fresh vanilla wafers for optimal crunch; store any leftovers in an airtight container to maintain crispness.
- For a lighter version, reduce the heavy cream or substitute part of it with milk, though texture will vary.
