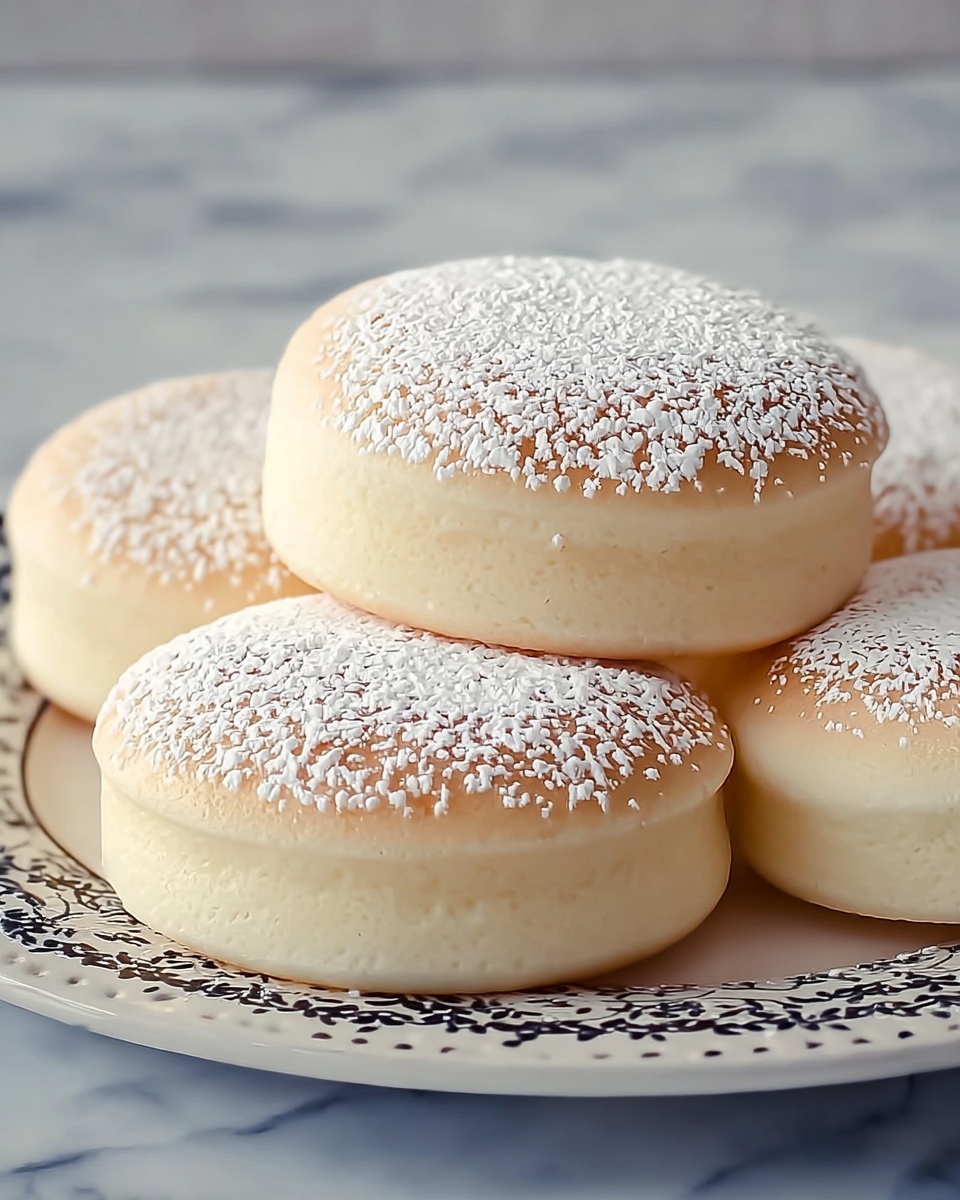
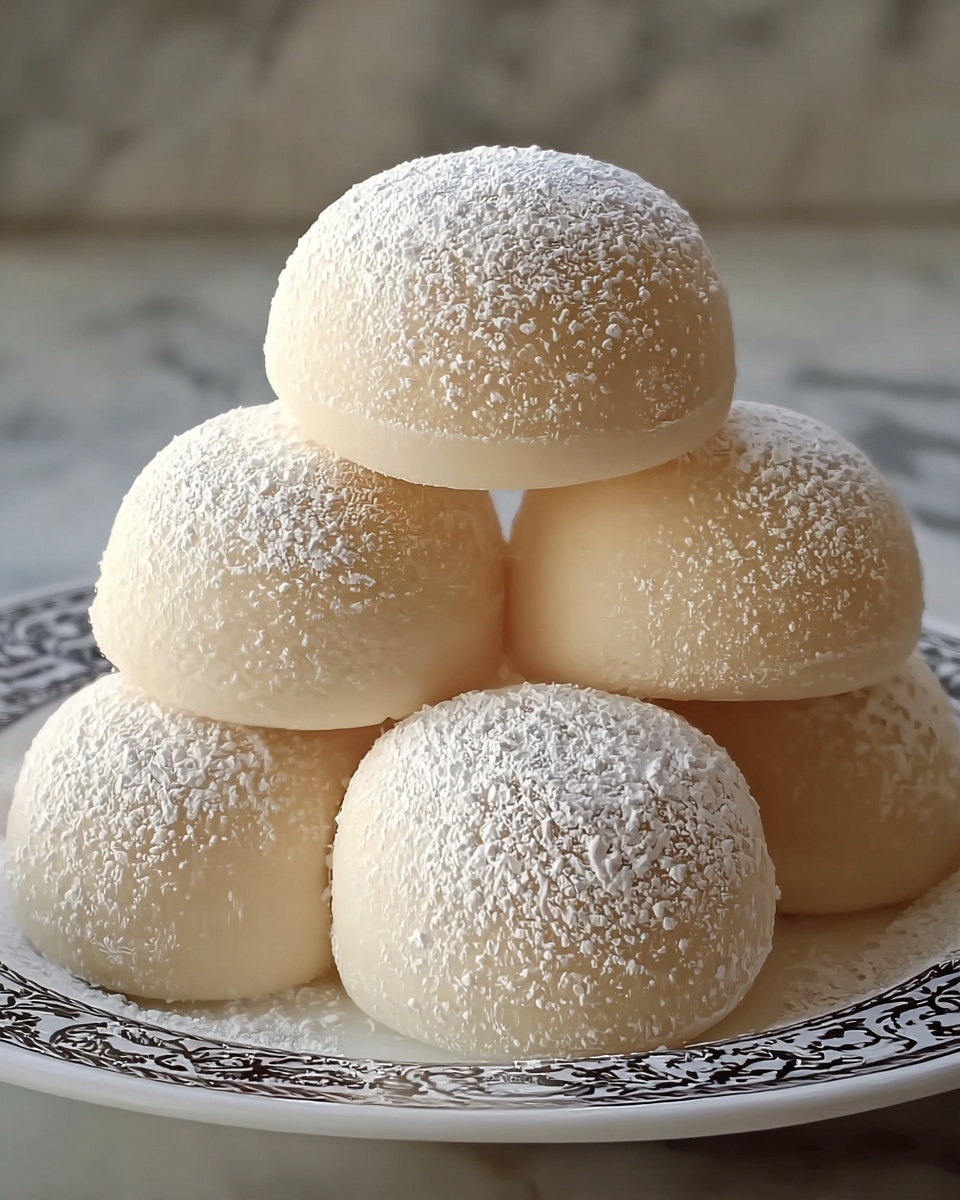
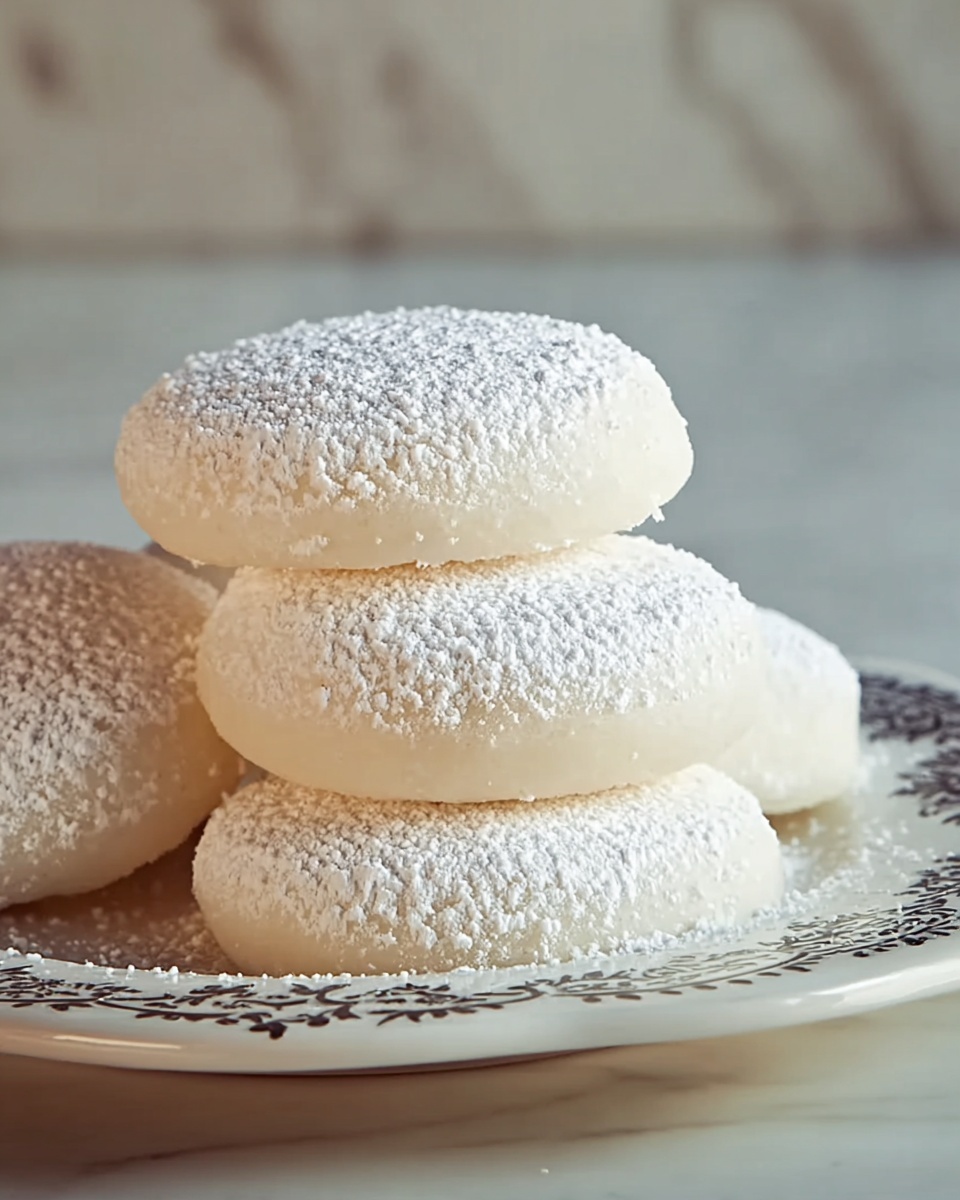
If you are looking for a sweet treat that feels like a gentle snowfall in every bite, then this Condensed Milk Snow Cookies Recipe is about to become your new favorite. These cookies are tender, buttery, and subtly sweetened with condensed milk, creating a melt-in-your-mouth texture that perfectly balances richness and lightness. Dusting them in powdered sugar gives that iconic snow-dusted charm, making each bite as delightful visually as it is on your palate. Whether you want something simple for a cozy afternoon or a charming addition to your holiday cookie tray, these snow cookies bring warmth and joy with every crumb.
Ingredients You’ll Need
Simple, accessible ingredients are what make this recipe a delight to prepare. Each one plays a vital role in impacting the final taste, texture, and appearance of your cookies, combining to deliver that signature meltaway softness and sweet finish.
- Unsalted butter (1 cup, softened): Provides a rich, creamy base that keeps cookies tender and flavorful.
- Sweetened condensed milk (1/2 cup): Adds natural sweetness and moisture, ensuring the dough stays soft without being sticky.
- Vanilla extract (1 teaspoon): Enhances the overall flavor with a warm, comforting note.
- All-purpose flour (2 cups): Gives structure to the cookies while allowing them to stay beautifully delicate.
- Salt (1/4 teaspoon): Balances the sweetness and amplifies the other flavors.
- Powdered sugar (1/4 cup for rolling): Creates that signature snow-like coating that makes these cookies visually irresistible.
How to Make Condensed Milk Snow Cookies Recipe
Step 1: Prepare the Dough
Start by preheating your oven to 350°F (175°C) and line a baking sheet with parchment paper or a silicone mat. These preparations ensure your cookies bake evenly without sticking and cleanup stays easy.
Step 2: Cream Butter and Condensed Milk
In a large bowl, beat together the softened unsalted butter and sweetened condensed milk until the mixture is smooth, creamy, and fluffy. This step is crucial because it incorporates air that will help your cookies stay light as they bake.
Step 3: Add Vanilla Extract
Mix in the vanilla extract thoroughly. This small addition adds a lovely depth of flavor that will subtly shine through in every bite.
Step 4: Incorporate Flour and Salt
Gradually sift in the all-purpose flour and salt while mixing gently. Keep stirring until a soft, cohesive dough forms. The dough should feel soft but manageable—not sticky—so you can easily shape the cookies in the next step.
Step 5: Shape the Cookies
Roll the dough into small balls about 1 inch in diameter. Arrange them on your prepared baking sheet, leaving about an inch of space between each to allow for gentle spreading.
Step 6: Flatten the Dough Balls
Using your fingers or the back of a spoon, gently flatten each dough ball into a disk shape. This helps the cookies bake evenly and gives them their lovely, classic snow cookie shape.
Step 7: Bake the Cookies
Bake for 12 to 15 minutes until the edges turn a light golden color. The centers should look set but still soft—the key to that melt-in-your-mouth texture you are aiming for.
Step 8: Cool Before Coating
Let the cookies cool on the baking sheet for a few minutes to firm up. Then, transfer them to a wire rack to cool completely before moving on to the final step.
Step 9: Coat the Cookies
Once the cookies are fully cooled, generously roll each one in powdered sugar. This coating creates that iconic snowy appearance and adds a delicate sweetness with each bite.
Step 10: Serve and Enjoy
Your Condensed Milk Snow Cookies Recipe is now ready to be enjoyed! Pair with a warm beverage or simply indulge in these charming treats anytime your heart desires.
How to Serve Condensed Milk Snow Cookies Recipe
Garnishes
While the powdered sugar alone is a classic garnish, you can sprinkle a tiny pinch of cinnamon or finely grated lemon zest on top for a subtle aromatic twist that brightens the cookie’s richness.
Side Dishes
These snow cookies are incredibly versatile and go beautifully with hot drinks like chai tea, freshly brewed coffee, or even a cup of creamy hot chocolate for a cozy moment. They also pair charmingly alongside fresh berries for a refreshing contrast.
Creative Ways to Present
For holiday gatherings or special treats, arrange your Condensed Milk Snow Cookies Recipe on a tiered serving platter dusted with extra powdered sugar for a festive, snow-covered look. You can also tie a few cookies in a clear cellophane bag with a ribbon to gift friends and family.
Make Ahead and Storage
Storing Leftovers
Keep any leftover cookies in an airtight container at room temperature for up to 4 days. This helps maintain their delicate texture and prevents the powdered sugar from absorbing moisture and melting away.
Freezing
You can freeze these cookies in an airtight container or freezer-safe bag for up to a month. To prevent sticking, lay them in a single layer with parchment paper between layers. Thaw at room temperature before serving.
Reheating
Snow cookies are best enjoyed fresh or at room temperature, but if you prefer warm cookies, gently warm them in a low oven (about 300°F) for 3 to 5 minutes. Avoid microwave reheating as it can make the texture gummy.
FAQs
Can I substitute sweetened condensed milk with something else?
Sweetened condensed milk is key for the unique texture and sweetness of these cookies, so substitutions may alter results. However, some bakers try using evaporated milk with added sugar, but the texture might be less rich.
What makes these cookies melt in your mouth?
The combination of softened butter and sweetened condensed milk creates a tender dough that bakes into delicate cookies with a soft center, giving that melt-away sensation on the tongue.
Why do I need to let cookies cool before rolling in powdered sugar?
Rolling warm cookies in powdered sugar can cause the sugar to dissolve or clump. Cooling helps the sugar adhere as a soft, snowy coating that stays intact.
Can these cookies be made gluten-free?
Yes! Using a 1:1 gluten-free all-purpose flour works well, but you may notice a slight difference in texture. It’s best to test batch size first and adjust flour amounts if needed.
Is it necessary to flatten the cookie dough balls?
Flattening helps the cookies bake evenly and gives them their signature thin, tender shape. Without flattening, they might stay more rounded and bake less uniformly.
Final Thoughts
There is something truly heartwarming about making and sharing this Condensed Milk Snow Cookies Recipe. Their simple ingredients, easy steps, and stunning finish make it a joy to bake no matter the occasion. Once you try these cookies, you’ll understand why they hold a special place in so many kitchens. I promise these sweet, snowy beauties will become a beloved staple that you reach for time and again.
Print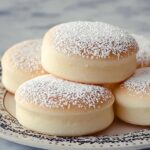
Condensed Milk Snow Cookies Recipe
- Prep Time: 15 minutes
- Cook Time: 12-15 minutes
- Total Time: 27-30 minutes
- Yield: 24 cookies
- Category: Dessert
- Method: Baking
- Cuisine: American
Description
Delightfully soft and tender Condensed Milk Snow Cookies that melt in your mouth, coated generously with powdered sugar to give a snowy, sweet finish perfect for teatime or winter treats.
Ingredients
Cookie Dough
- 1 cup (2 sticks) unsalted butter, softened
- 1/2 cup sweetened condensed milk
- 1 teaspoon vanilla extract
- 2 cups all-purpose flour
- 1/4 teaspoon salt
Coating
- 1/4 cup powdered sugar (for rolling)
Instructions
- Prepare the Dough: Preheat the oven to 350°F (175°C) and line a baking sheet with parchment paper or a silicone mat to ensure the cookies do not stick.
- Cream Butter and Condensed Milk: In a large bowl, beat the softened butter with the sweetened condensed milk until the mixture is smooth and fluffy, creating a creamy base for the dough.
- Add Vanilla: Stir in the vanilla extract thoroughly, which adds a sweet aromatic depth to the cookies.
- Incorporate Dry Ingredients: Gradually mix the all-purpose flour and salt into the wet ingredients until a soft, cohesive dough forms that is tender but manageable.
- Shape the Cookies: Roll the dough into small 1-inch diameter balls. Place them on the prepared baking sheet leaving about 1 inch of space between each to allow for spreading.
- Flatten Balls: Using your fingers or the back of a spoon, gently flatten each ball into a disk shape to help them bake evenly.
- Bake the Cookies: Bake in the preheated oven for 12-15 minutes until the edges are lightly golden, but the centers remain soft and set.
- Cool Slightly: Let the cookies cool on the baking sheet for a few minutes so they firm up a bit before transferring them to a wire rack to cool completely.
- Coat with Powdered Sugar: Once fully cooled, roll each cookie generously in powdered sugar to create a snow-dusted appearance and add an extra layer of sweetness.
- Serve: Enjoy these soft, sweet snow cookies alongside your favorite cup of tea or coffee for a perfect treat.
Notes
- Ensure butter is softened to room temperature for easy creaming.
- Do not overmix the flour to keep cookies tender.
- If dough feels sticky, chill for 10 minutes before shaping.
- Cookies will be soft out of the oven; allow cooling for firm texture.
- Store in an airtight container at room temperature for up to 5 days.


