
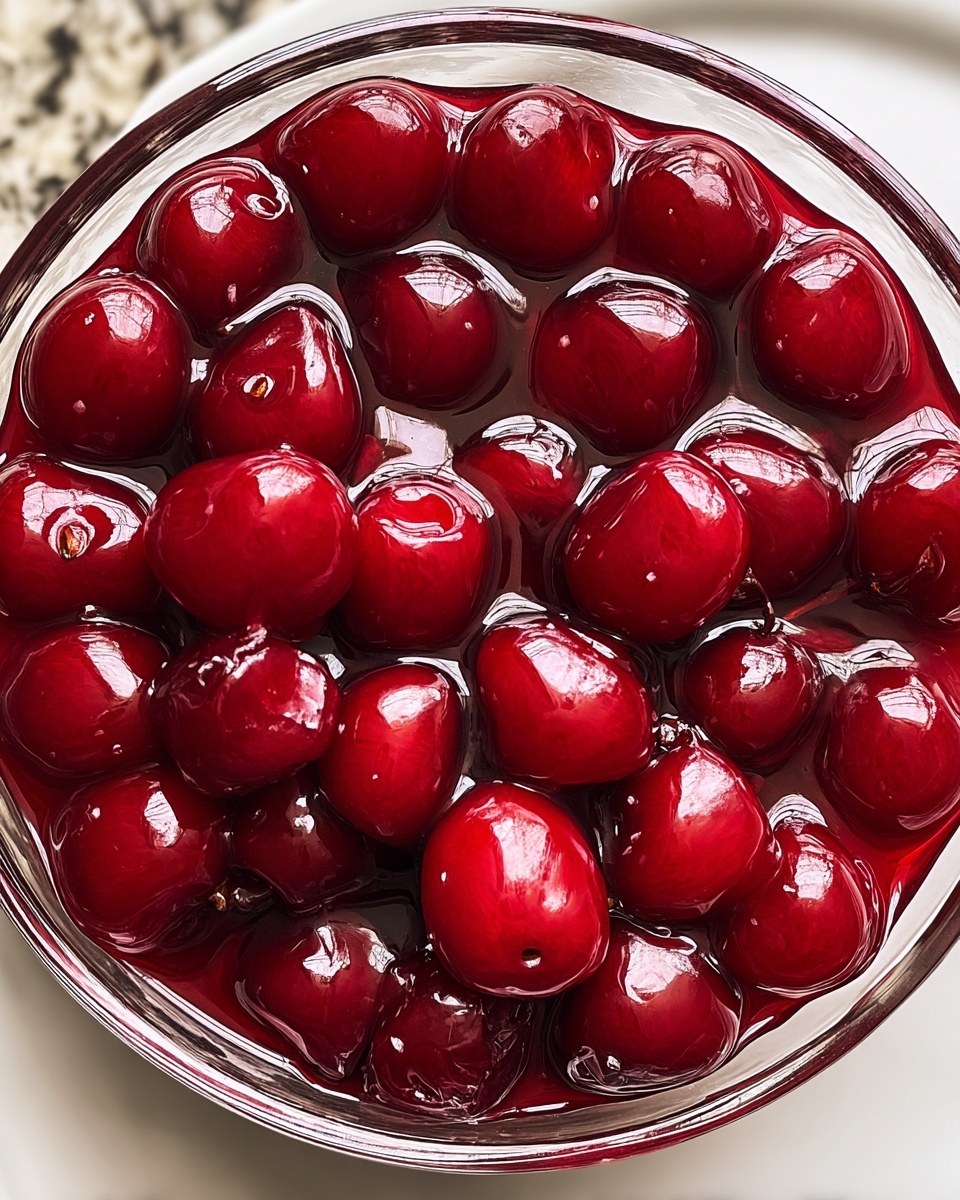
If you have a sweet spot for homemade fruit fillings, this Homemade Cherry Pie Filling Recipe is going to steal your heart and your taste buds. Bursting with vibrant cherries and a perfect balance of sweetness and tartness, this filling transforms any pie into a mouthwatering masterpiece. Whether you’re baking a classic cherry pie or dreaming up a creative dessert, this recipe offers a simple, fresh way to enjoy cherries at their best. The thick, luscious texture and natural cherry flavor will make you forget store-bought fillings exist!
Ingredients You’ll Need
Getting this cherry pie filling just right comes down to a handful of simple, straightforward ingredients. Each one plays a vital role in delivering the perfect texture, flavor, and color that makes your cherry filling so irresistible.
- 4 cups fresh or frozen cherries, pitted: The star of the show, providing natural sweetness and that beautiful ruby color.
- 1 cup granulated sugar: Sweetens the tartness of the cherries while helping to create that glossy finish.
- 1/4 cup cornstarch: Acts as the thickening agent, turning juicy cherries into a luscious filling.
- 1/4 teaspoon salt: Enhances the flavor profile by balancing the sweetness.
- 1 tablespoon lemon juice: Adds brightness and a subtle tang to highlight the cherries’ natural flavor.
- 1/2 cup water: Helps the ingredients meld together and achieve the right consistency.
- 1/2 teaspoon almond extract (optional): Infuses a delicate nutty aroma that pairs beautifully with cherries.
How to Make Homemade Cherry Pie Filling Recipe
Step 1: Combine the Ingredients
Start by placing your pitted cherries, sugar, cornstarch, and salt into a large saucepan. Stir in the fresh lemon juice along with half a cup of water. This blend is the foundation of your filling, balancing thickening agents and natural fruit juices for that perfect texture and flavor.
Step 2: Cook Until Thickened
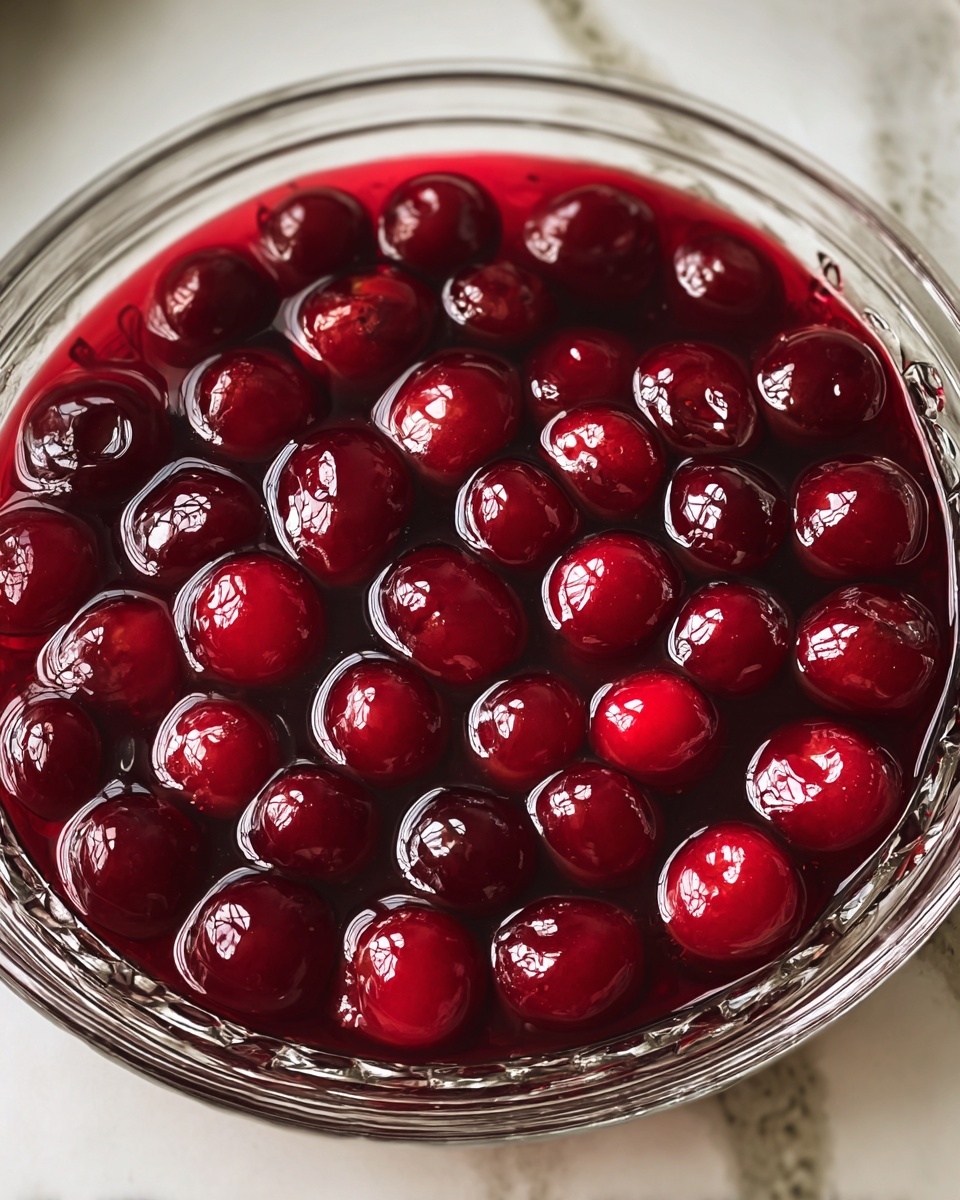
Turn your stove to medium heat and bring the mixture to life. Stir frequently as it heats to prevent sticking and ensure even cooking. Within 5 to 10 minutes, you’ll notice the mixture bubbling and thickening — this signals your filling is reaching the ideal consistency.
Step 3: Add Almond Extract
Once thick and glossy, stir in a splash of almond extract if using. This optional step elevates the cherry flavor profile by adding a subtle, fragrant hint of nuts that makes your filling taste truly special.
Step 4: Cool Before Using
Remove the saucepan from heat and allow the cherry filling to cool completely. Cooling helps it set up properly and makes it easier to handle when you start assembling your pie or dessert.
How to Serve Homemade Cherry Pie Filling Recipe
Garnishes
Serving your cherry pie filling with a sprinkle of freshly whipped cream or a dusting of powdered sugar instantly adds contrast and richness. Fresh mint leaves can also lend a lovely pop of green and a hint of herbal freshness that brightens each bite.
Side Dishes
This filling shines alongside vanilla ice cream or custard, creating a delightful play of warm and cold, tart and sweet. For a more indulgent twist, serve it next to a slice of creamy cheesecake or even a crisp shortbread cookie.
Creative Ways to Present
Besides classic pies, try layering this Homemade Cherry Pie Filling Recipe inside puff pastry turnovers or dolloping it over pancakes and waffles for a fruity breakfast treat. It’s fabulous swirled into yogurt or used as a topping for cheesecakes and tarts.
Make Ahead and Storage
Storing Leftovers
Once cooled, transfer your cherry pie filling to an airtight container and store it in the refrigerator. It stays fresh and delicious for up to one week, making it easy to enjoy the flavors long after baking day.
Freezing
If you want to keep your Homemade Cherry Pie Filling Recipe longer, it freezes beautifully. Use a freezer-safe container and freeze for up to three months. Thaw overnight in the fridge before reheating or using in recipes.
Reheating
To bring your cherry filling back to life, gently warm it in a saucepan over low heat. Stir frequently to restore that glossy, luscious texture, adding a splash of water if it thickens too much during reheating.
FAQs
Can I use frozen cherries for this recipe?
Absolutely! Frozen cherries work perfectly and are a convenient alternative to fresh. Just make sure to thaw and drain them slightly before cooking to avoid excess liquid.
Is almond extract necessary?
Not at all. The almond extract is optional but highly recommended if you want an extra layer of flavor. It enhances the cherry’s natural sweetness with a subtle nutty note.
Can I make this recipe sugar-free?
You can substitute the granulated sugar with your preferred sweetener, but be aware that this may affect the texture and taste. For best results, stick close to the original sugar amount or use a sweetener with similar properties.
How thick will the cherry pie filling be?
Thanks to the cornstarch, the filling should be thick enough to hold its shape but still soft and spoonable, perfect for pie baking or topping desserts.
Can I use this filling for other desserts besides pie?
Definitely! This versatile filling is fantastic in tarts, crumbles, cheesecakes, pancakes, or even as a topping for ice cream. It’s a fabulous way to add cherry goodness to many treats.
Final Thoughts
There’s something truly magical about making your own Homemade Cherry Pie Filling Recipe. It transforms everyday cherries into a rich, flavorful filling that elevates any dessert. I can’t wait for you to try it and make it your go-to recipe whenever you crave a touch of homemade sweetness that never disappoints.
Print
Homemade Cherry Pie Filling Recipe
- Prep Time: 5 minutes
- Cook Time: 15 minutes
- Total Time: 20 minutes
- Yield: 5 servings
- Category: Pie Filling
- Method: Stovetop
- Cuisine: American
Description
This Homemade Cherry Pie Filling is a simple and delicious way to prepare fresh or frozen cherries into a thick, sweetened filling perfect for pies and other desserts. Made on the stovetop, this recipe blends cherries with sugar, cornstarch, and a hint of lemon juice to create a luscious filling that can be used immediately or stored for later use. Optionally enhanced with almond extract, it balances tartness and sweetness beautifully.
Ingredients
Pie Filling Ingredients
- 4 cups fresh or frozen cherries, pitted
- 1 cup granulated sugar
- 1/4 cup cornstarch
- 1/4 teaspoon salt
- 1 tablespoon lemon juice
- 1/2 cup water
- 1/2 teaspoon almond extract (optional)
Instructions
- Combine Ingredients: In a large saucepan, combine the pitted cherries, granulated sugar, cornstarch, and salt. Stir in the lemon juice and water thoroughly to ensure all ingredients are well mixed.
- Cook the Mixture: Place the saucepan over medium heat. Cook the cherry mixture, stirring frequently to prevent sticking, until it begins to bubble and thickens. This should take about 5 to 10 minutes, forming a glaze-like consistency.
- Add Almond Extract: If desired, stir in the almond extract once the mixture is thickened. This adds a subtle nutty aroma that complements the cherry flavor.
- Cool the Filling: Remove the saucepan from heat and allow the cherry pie filling to cool completely. This thickens the filling further and prepares it for use in pies, tarts, or other desserts.
Notes
- Use fresh cherries in season or frozen cherries when fresh are unavailable. Make sure frozen cherries are thawed and drained.
- Adjust sugar quantity based on the sweetness of your cherries and personal preference.
- The pie filling can be refrigerated in an airtight container for up to one week.
- For a stronger cherry flavor, add a splash of cherry liqueur after cooking, if desired.
- If you prefer a smoother filling, pulse the cooked mixture briefly in a blender before cooling.
