
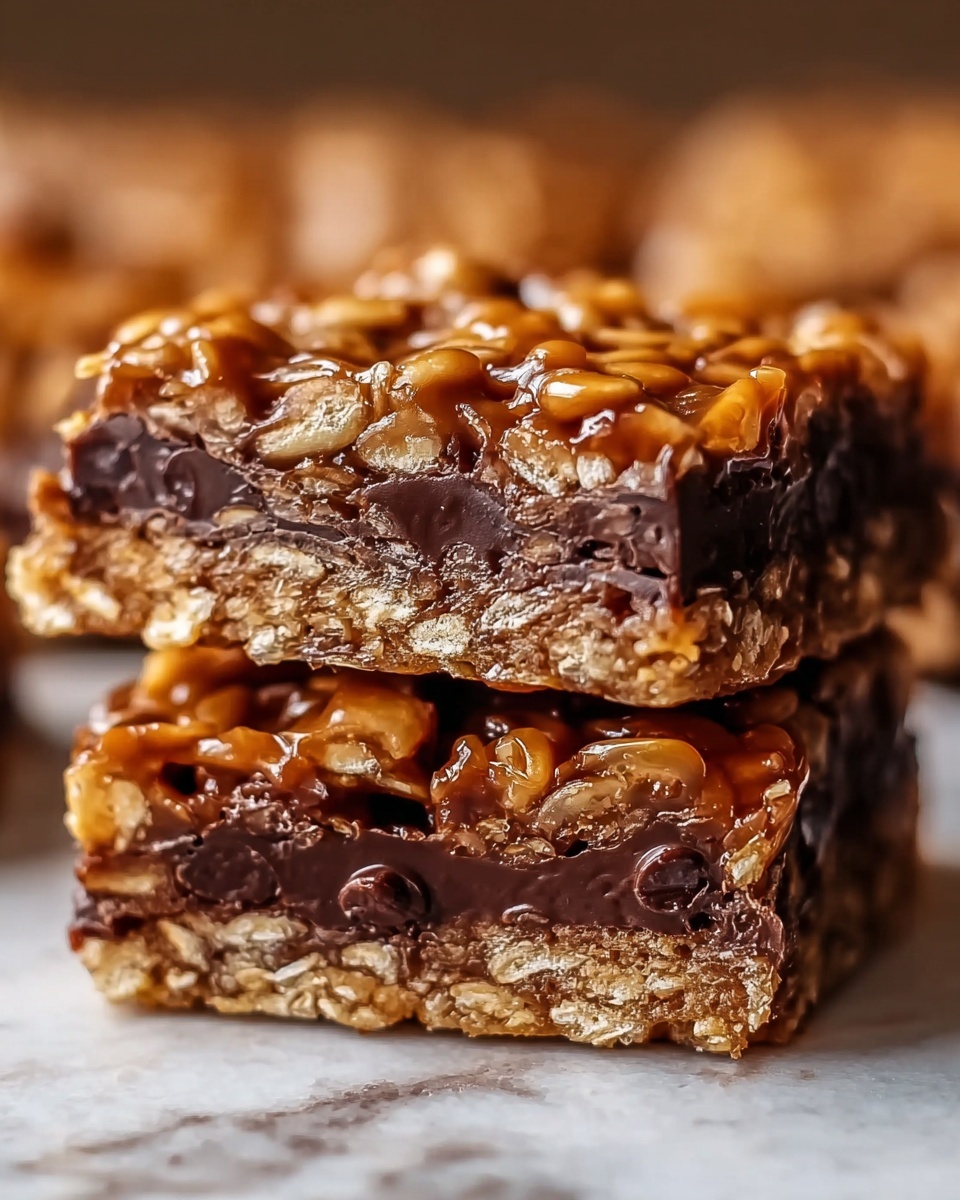
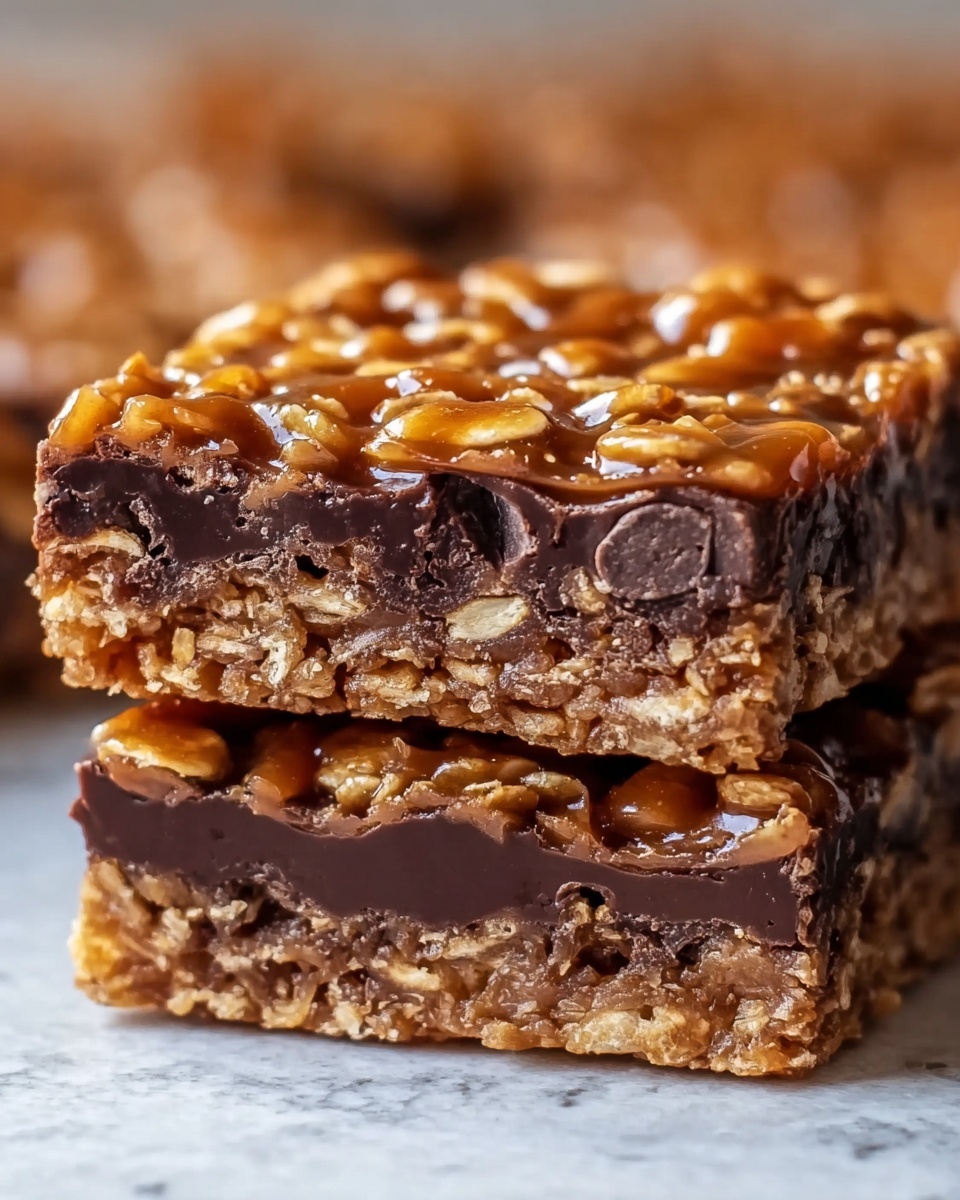
If you’ve ever found yourself craving that perfect combination of crispy crunch and rich chocolate, then you’re going to love this Homemade Crunch Bars Recipe. It’s a delightful treat that’s quick to whip up, blending crispy rice cereal with two kinds of chocolate chips and a touch of buttery goodness. Each bite gives you that satisfying snap and a wave of chocolatey comfort that feels homemade because it truly is. Whether you want a sweet snack for yourself or a homemade gift to brighten someone’s day, this recipe is an absolute winner.
Ingredients You’ll Need
These ingredients are wonderfully simple, yet each plays a vital role in creating the perfect texture, flavor, and color of your crunch bars. From the crispy rice cereal that provides that signature crunch to the mix of chocolates that bring depth and richness, every component shines through.
- 4 cups crispy rice cereal: The foundation that gives the bars their unbeatable crunch and light texture.
- 2 cups semisweet chocolate chips: Adds a rich, slightly tangy chocolate base to balance the sweetness.
- 1 cup milk chocolate chips: Brings creamy smoothness and mellow sweetness to the mix.
- 1/4 cup unsalted butter: Helps melt the chocolate evenly and adds a luscious, velvety texture.
- 1/4 cup peanut butter (optional): For an extra layer of creamy, nutty warmth that makes these bars irresistible.
- 1 teaspoon vanilla extract (optional): Enhances the chocolate and peanut butter flavors with a hint of aromatic sweetness.
How to Make Homemade Crunch Bars Recipe
Step 1: Prepare Your Pan
Start by lining an 8×8-inch or 9×9-inch baking pan with parchment paper or lightly grease it. This makes it super easy to lift the bars out once they’re set, ensuring clean, neat edges when you cut them later.
Step 2: Get the Cereal Ready
Pour the crispy rice cereal into a large mixing bowl and set it aside. This simple step keeps your workspace ready to mix everything quickly once your chocolate is melted.
Step 3: Melt the Chocolate and Butter
In a medium saucepan over low heat, gently melt together the butter, semisweet chocolate chips, and milk chocolate chips. Stir occasionally to create a luxuriously smooth chocolate blend without any lumps or burning. This slow and steady method lets the flavors meld beautifully.
Step 4: Add Peanut Butter and Vanilla (If Using)
If you want to take your bars a step further, now’s the time to stir in the peanut butter and vanilla extract. They add richness and a layered depth of flavor that complements both types of chocolate perfectly.
Step 5: Combine Chocolate Mixture with Cereal
Pour the melted chocolate mixture over your crispy rice cereal in the large bowl. Then, gently fold everything together until every bit of cereal is evenly coated in that luscious chocolatey goodness. Be gentle so the cereal stays as crisp as possible.
Step 6: Press Mixture into Pan
Transfer the coated cereal mixture into your prepared baking pan. Press it down firmly and evenly to ensure each bar sticks together well and slices cleanly when set.
Step 7: Chill Until Set
Pop the pan into the refrigerator for at least 1 hour. This step is crucial as it allows the chocolate to harden and the bars to form their signature crunch.
Step 8: Cut into Bars
Once firmly set, lift the entire layer out of the pan. Using a sharp knife, cut into squares or rectangles—however you like your crunch bars shaped for sharing or snacking.
Step 9: Enjoy Your Homemade Crunch Bars Recipe
Dig in and savor every crisp, chocolatey bite of your delicious homemade treat. It’s hard to believe such a simple recipe brings this much joy!
How to Serve Homemade Crunch Bars Recipe
Garnishes
You can elevate your crunch bars with a sprinkle of flaky sea salt on top before chilling to balance the sweetness. Or try drizzling a little white chocolate or caramel over the surface for an extra burst of indulgence.
Side Dishes
These crunch bars pair beautifully with a cold glass of milk or a hot cup of coffee or tea. They also work well alongside fresh berries or whipped cream to add a fresh, light contrast to the rich, crunchy bars.
Creative Ways to Present
Wrap individual bars in wax paper for gifting or portion them into mini muffin liners to turn them into bite-sized party treats. You can even create layered dessert jars by crumbling the bars and layering them with yogurt and fruit for a fun twist.
Make Ahead and Storage
Storing Leftovers
Your Homemade Crunch Bars Recipe can be stored in an airtight container at room temperature for up to 5 days. Keep them away from heat to maintain their crisp texture and chocolate coating without melting or getting sticky.
Freezing
For longer storage, you can freeze the bars wrapped tightly in plastic wrap and placed inside a freezer-safe bag or container. They’ll keep well for up to 3 months. Thaw them at room temperature before serving to enjoy that perfect crunch again.
Reheating
These bars are best enjoyed cold or at room temperature for maximum crunch. If you want a slightly gooey experience, you can lightly warm a bar in the microwave for 10-15 seconds, but be careful not to melt the chocolate completely.
FAQs
Can I use a different cereal for this recipes?
Absolutely! While crispy rice cereal gives you the classic crunch, you can experiment with puffed quinoa, cornflakes, or even crushed pretzels for some fun texture variations.
Is peanut butter necessary in the recipe?
Peanut butter is optional but highly recommended if you love a richer, nutty flavor. If you’re allergic or prefer to skip it, the bars will still be delicious with just the chocolate and butter.
How long will these crunch bars stay fresh?
Stored properly in an airtight container at room temperature, they stay fresh and crunchy for about 5 days. Beyond that, they might start to lose their crispness.
Can I make these bars vegan or dairy-free?
Yes! Use dairy-free chocolate chips, a plant-based butter alternative, and check that your crispy rice cereal doesn’t contain any animal products. The recipe is easily adaptable for vegan diets.
What’s the best way to cut the bars?
Use a sharp knife and press down firmly for clean edges. Warming the knife slightly with hot water and drying it before cutting can help make smoother cuts without cracking the bars.
Final Thoughts
This Homemade Crunch Bars Recipe is one of those simple pleasures that brings so much comfort and joy with minimal effort. Whether it’s a busy weeknight sweet fix or a charming homemade gift, it’s a recipe you’ll return to again and again. Give it a try—you’ll be turning out crispy, chocolatey delights that everyone will love!
Print
Homemade Crunch Bars Recipe
- Prep Time: 10 minutes
- Cook Time: 15 minutes
- Total Time: 25 minutes
- Yield: 12 servings
- Category: Dessert
- Method: Stovetop
- Cuisine: American
- Diet: Vegetarian
Description
This Homemade Crunch Bars recipe creates irresistibly crunchy and chocolatey bars using crispy rice cereal and a blend of semisweet and milk chocolate chips. Enhanced with optional peanut butter and vanilla extract, these bars are easy to make and perfect for a quick dessert or snack.
Ingredients
Crunch Bars Ingredients
- 4 cups crispy rice cereal (such as Rice Krispies)
- 2 cups semisweet chocolate chips
- 1 cup milk chocolate chips
- 1/4 cup unsalted butter
- 1/4 cup peanut butter (optional for added richness)
- 1 teaspoon vanilla extract (optional for added flavor)
Instructions
- Prepare the Pan: Line an 8×8-inch or 9×9-inch baking pan with parchment paper or lightly grease it to prevent sticking.
- Set the Cereal: Pour the crispy rice cereal into a large mixing bowl and set aside for later use.
- Melt Chocolate and Butter: In a medium saucepan over low heat, melt the unsalted butter along with the semisweet and milk chocolate chips, stirring occasionally until the mixture is completely melted and smooth.
- Add Optional Ingredients: If using, stir in the peanut butter and vanilla extract into the melted chocolate mixture until well incorporated for added flavor and richness.
- Combine Chocolate and Cereal: Pour the melted chocolate mixture over the crispy rice cereal and gently fold the ingredients together until the cereal is evenly coated in chocolate.
- Press into Pan: Transfer the chocolate-coated cereal mixture into the prepared baking pan, pressing it down evenly and compacting it firmly to create a solid bar layer.
- Chill to Set: Refrigerate the pan for at least 1 hour to allow the bars to fully set and harden.
- Cut and Serve: Once set, remove the bars from the pan using the parchment paper and cut into squares or rectangles to serve.
- Enjoy: Serve your homemade crunch bars as a delicious snack or dessert treat.
Notes
- You can omit peanut butter for a nut-free version.
- Press the mixture firmly into the pan to avoid crumbly bars.
- Store the bars in an airtight container in the refrigerator to maintain freshness.
- For an extra touch, sprinkle chopped nuts or sea salt on top before chilling.
- Try using dark chocolate chips for a richer flavor.


