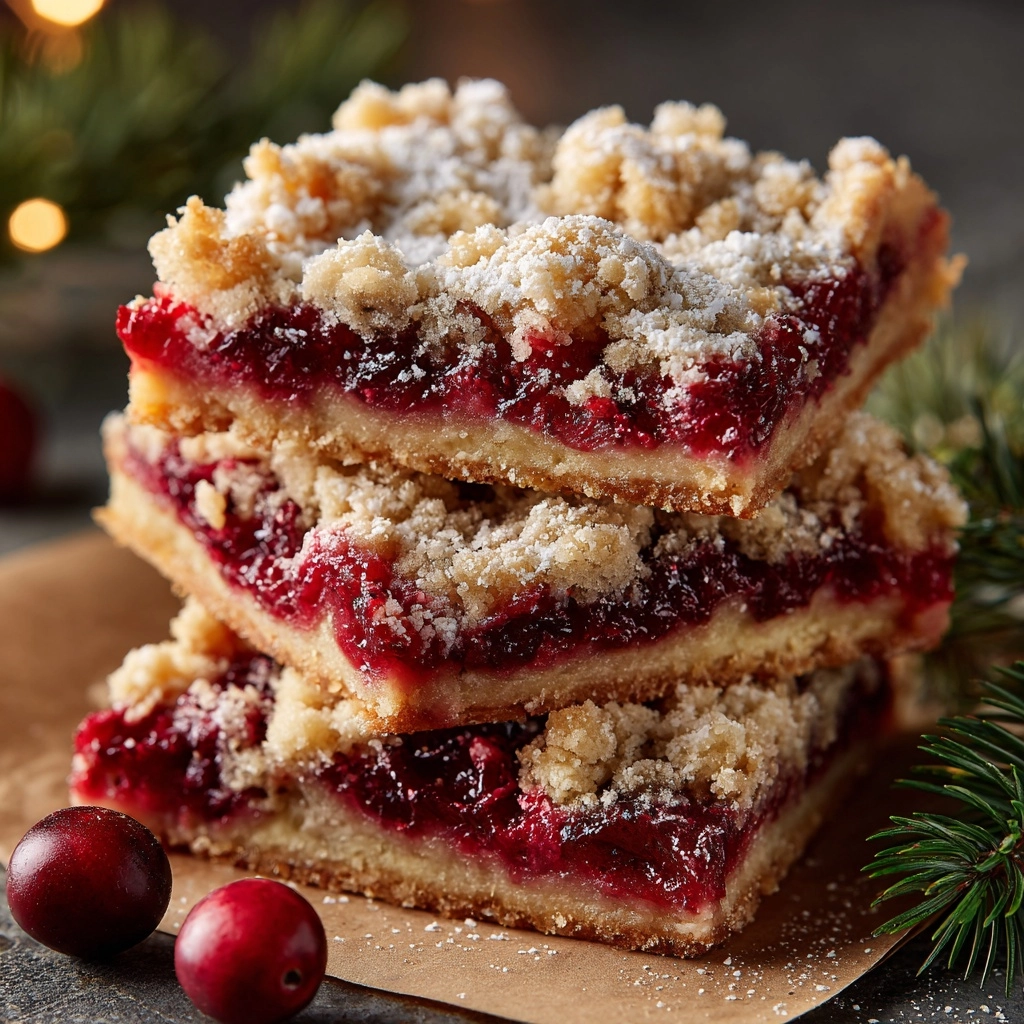
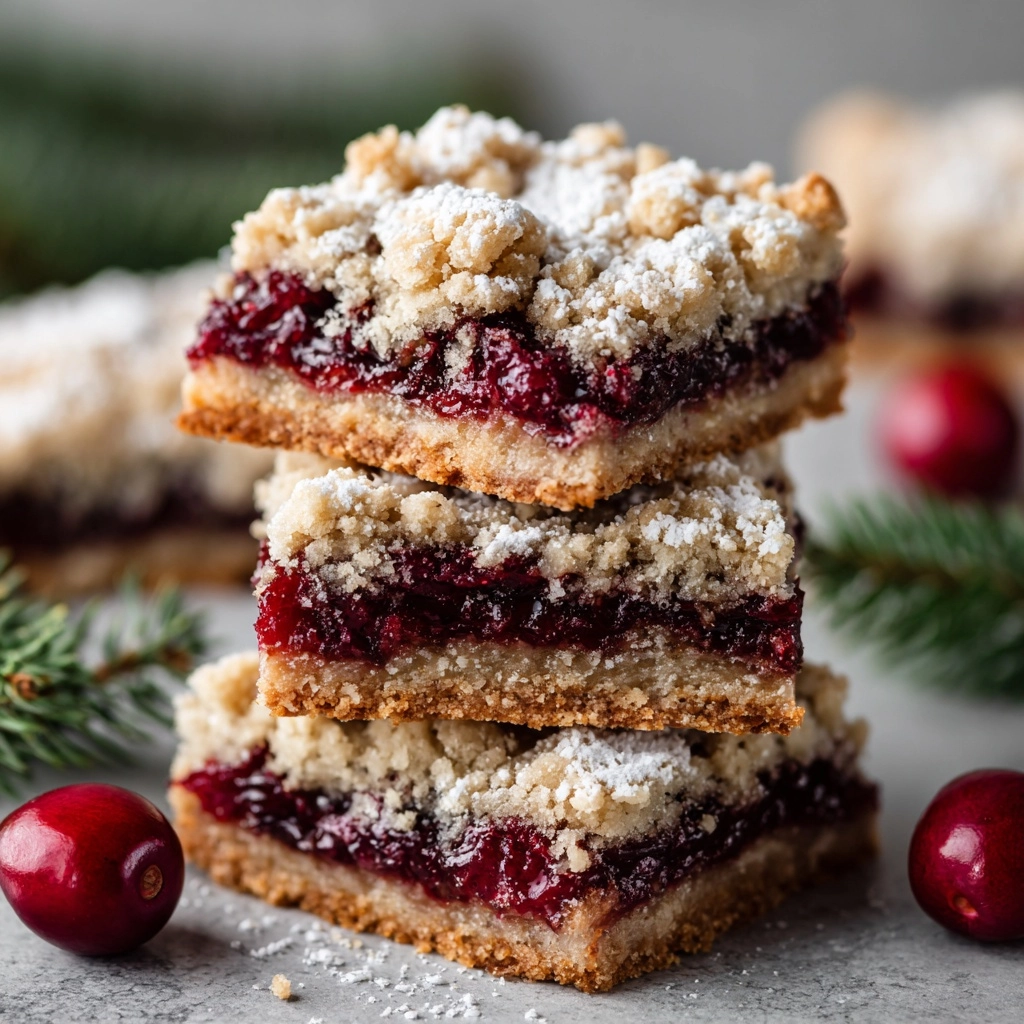
If you’re looking for the ultimate festive treat that captures the magic of the holidays in every bite, you absolutely have to try Christmas Cherry Bars! These luscious dessert bars combine a buttery vanilla-almond cookie base, a vibrant layer of sweet-tart cherries, and a dreamy drizzle of glaze for a dessert that’s as beautiful as it is delicious. Whether you’re baking them to share with loved ones or to treat yourself, these bars will disappear fast — they’re pure holiday bliss in square form!
Ingredients You’ll Need
The beauty of Christmas Cherry Bars is how a handful of classic, simple ingredients come together to create something truly special. Each ingredient earns its place, contributing unique flavors, textures, and that festive pop of color you crave this time of year.
- Unsalted butter (1 cup, softened): Provides richness and a soft, tender crumb for the base and topping.
- Granulated sugar (1 ¾ cups): Sweetens the dough and encourages the perfect golden edges.
- Eggs (4 large): Bind everything together and give the bars a rich, moist texture.
- Vanilla extract (1 teaspoon): Adds sweetness and a warm, comforting background note.
- Almond extract (½ teaspoon for bars, ¼ teaspoon for glaze): Gives an irresistible holiday flavor and aroma that pairs perfectly with cherries.
- All-purpose flour (3 cups): Forms the sturdy base that holds up to the juicy cherry filling.
- Baking powder (1 teaspoon): Helps lift the dough slightly for a softer, cakier finish.
- Salt (½ teaspoon): Balances all the sweet flavors and enhances the buttery richness.
- Cherry pie filling (21-ounce can): The star of the show — vibrant, sweet, pleasantly tart, and bursting with holiday color!
- Powdered sugar (1 cup): The key to making a velvety-smooth, sweet glaze.
- Milk (2–3 tablespoons): Thin out the glaze to the perfect drizzling consistency.
How to Make Christmas Cherry Bars
Step 1: Prepare Your Pan and Preheat the Oven
First things first — preheat your oven to 350°F (175°C) to ensure even baking. While it’s warming up, grease a 9×13-inch baking dish with butter or nonstick spray. This makes removing the baked bars later super easy and keeps them picture-perfect.
Step 2: Cream the Butter and Sugar
In a large mixing bowl, beat the softened butter together with the granulated sugar. You’re looking for a light, fluffy mixture here — take a few moments to let the mixer whip air into the base, which helps the bars bake up tender and luscious.
Step 3: Add the Eggs and Extracts
Next, beat in the eggs one at a time, mixing well after each addition. Once they’re combined, stir in the vanilla and almond extracts. This step layers in those irresistible holiday flavors, making your Christmas Cherry Bars extra fragrant and delicious.
Step 4: Combine the Dry Ingredients
In a separate bowl, whisk together the flour, baking powder, and salt. Gradually add these dry ingredients to the wet mixture, stirring until just combined. Don’t overmix! This keeps the dough soft and tender.
Step 5: Assemble the Bars
Spread about two-thirds of the dough evenly in your prepared baking dish, making sure the surface is smooth and covers the bottom edge-to-edge. Then, carefully spoon the cherry pie filling over the base, spreading it out so every bite is packed with juicy fruit.
Step 6: Add the Topping
Drop the remaining dough by spoonfuls over the layer of cherries. The dough won’t cover the whole pan — those gaps let the cherry filling peek through, creating a beautiful, rustic look once baked.
Step 7: Bake and Cool
Slide the pan into your preheated oven and bake for about 35 to 40 minutes, until the top is golden brown and a toothpick inserted in the center comes out clean (avoiding the cherry filling). Let the bars cool completely in the pan before moving on to the next step — patience is worth it!
Step 8: Glaze and Slice
While the bars cool, whisk together the powdered sugar, milk, and a splash of almond extract to make a smooth glaze. Drizzle or zig-zag the glaze generously over the cooled bars, then cut into squares. Now you’re ready to enjoy the most festive treat around!
How to Serve Christmas Cherry Bars
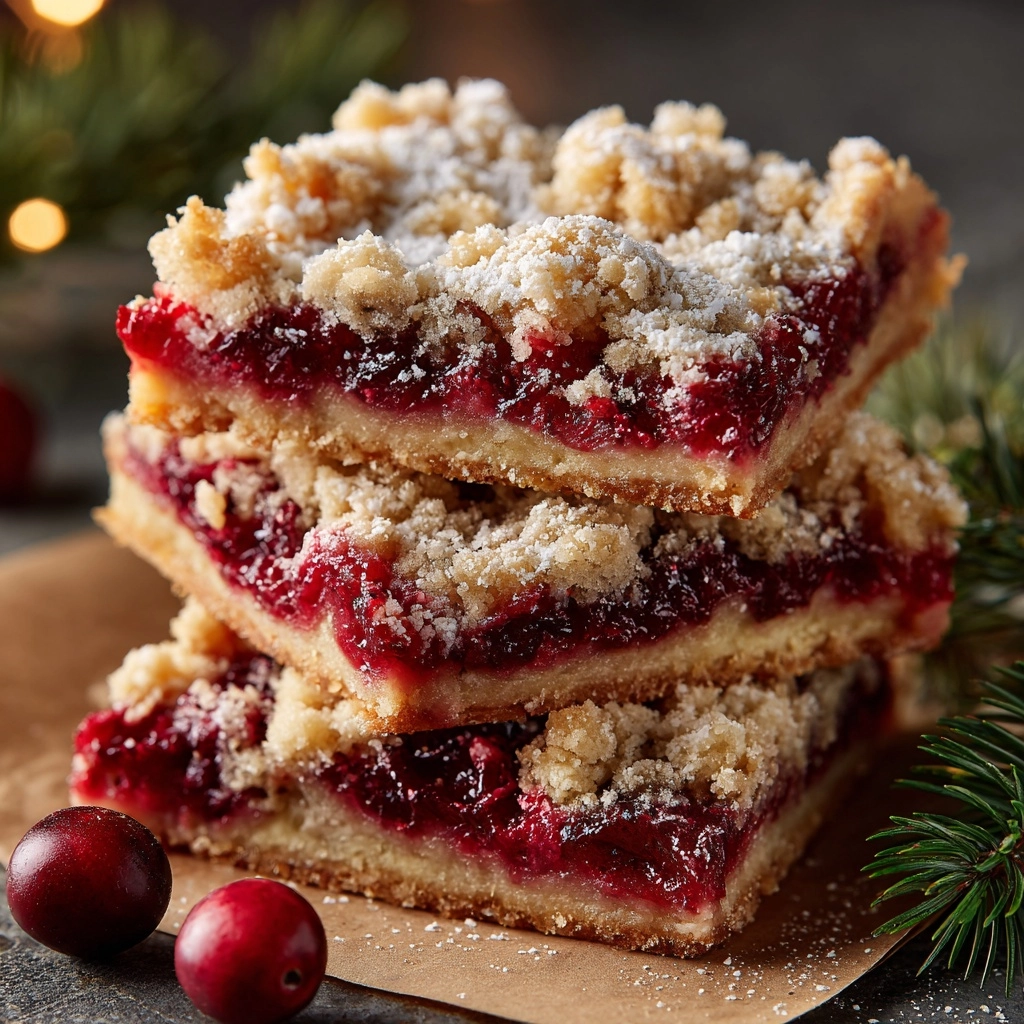
Garnishes
To make your Christmas Cherry Bars even more festive, try sprinkling them with holiday-themed sprinkles or a light dusting of powdered sugar right after glazing. A few slivered almonds on top add a lovely crunch and hint at the almondy flavor within.
Side Dishes
These bars pair beautifully with a cup of hot cocoa, spiced apple cider, or a warm mug of coffee. For a dessert spread, serve alongside classic holiday cookies or a scoop of vanilla ice cream for an irresistible combination.
Creative Ways to Present
Get creative by stacking Christmas Cherry Bars on a tiered dessert stand, wrapping them up in festive tins for homemade gifts, or serving them alongside fresh cherries and green mint leaves for a stunning holiday platter.
Make Ahead and Storage
Storing Leftovers
If you have any Christmas Cherry Bars left over (lucky you!), store them in an airtight container at room temperature for up to three days. They’ll stay soft, moist, and delicious, making them a perfect grab-and-go treat.
Freezing
Need to prep ahead? Once the bars are cooled and unglazed, cut them into squares and freeze in layers separated by parchment paper. They’ll keep their flavor and texture for up to two months. Glaze after thawing for best results.
Reheating
To bring frozen bars back to life, allow them to thaw at room temperature for an hour or two. If you prefer them a little warm, pop them in a 300°F oven for 5 minutes — the glaze will soften and the aroma will fill your kitchen again!
FAQs
Can I use a different fruit filling?
Absolutely! While cherry is classic for Christmas Cherry Bars, you can swap in raspberry, blueberry, or even apple pie filling for a fun twist. The base and glaze pair well with all kinds of fruit flavors.
How do I prevent the bars from sticking to the pan?
Greasing the pan well should do the trick, but if you want extra insurance, line the pan with parchment paper before adding the dough. This way, you can lift the whole batch out for easy slicing.
Can I double this recipe?
Yes, if you’re feeding a crowd, simply double the ingredients and bake in two 9×13-inch pans, or use a larger sheet pan if your oven accommodates one. Watch the baking time, as larger pans may need a few extra minutes.
Should the glaze go on warm or cooled bars?
Let the bars cool completely before glazing. This helps the glaze set beautifully on top instead of soaking in, giving you that gorgeous, glossy finish that makes Christmas Cherry Bars so special.
How long do these bars stay fresh?
Stored in an airtight container, Christmas Cherry Bars stay fresh for up to three days at room temperature, or five days in the fridge. For best flavor, let chilled bars sit at room temperature for a bit before serving.
Final Thoughts
It’s hard to imagine a more cheerful holiday treat than Christmas Cherry Bars. They’re easy to make, bursting with flavor, and always the first to disappear at any gathering. I hope you’ll give them a try and share the joy with your favorite people — these bars are bound to become a beloved holiday tradition!
Print
Christmas Cherry Bars Recipe
- Prep Time: 15 minutes
- Cook Time: 40 minutes
- Total Time: 55 minutes
- Yield: 24 bars
- Category: Dessert
- Method: Baking
- Cuisine: American
- Diet: Vegetarian
Description
Indulge in the festive flavors of the season with these delightful Christmas Cherry Bars. A buttery base topped with cherry pie filling and a sweet glaze make these bars a perfect holiday treat.
Ingredients
For the Bars:
- 1 cup unsalted butter, softened
- 1 ¾ cups granulated sugar
- 4 large eggs
- 1 teaspoon vanilla extract
- ½ teaspoon almond extract
- 3 cups all-purpose flour
- 1 teaspoon baking powder
- ½ teaspoon salt
- 1 (21-ounce) can cherry pie filling
For the Glaze:
- 1 cup powdered sugar
- 2–3 tablespoons milk
- ¼ teaspoon almond extract
Instructions
- Preheat the oven and prepare baking dish: Preheat the oven to 350°F (175°C) and grease a 9×13-inch baking dish.
- Cream butter and sugar: In a large bowl, cream together the softened butter and sugar until light and fluffy.
- Add eggs and extracts: Beat in the eggs one at a time, then mix in the vanilla and almond extracts.
- Combine dry ingredients: In a separate bowl, whisk together the flour, baking powder, and salt.
- Combine wet and dry ingredients: Gradually add the dry ingredients to the wet ingredients and mix until just combined.
- Layer the dough: Spread two-thirds of the dough into the prepared baking dish, then spoon the cherry pie filling evenly over the dough.
- Add top layer: Drop the remaining dough by spoonfuls over the cherry layer.
- Bake: Bake for 35 to 40 minutes, until golden brown and a toothpick inserted into the center comes out clean.
- Prepare glaze: In a small bowl, whisk together the powdered sugar, milk, and almond extract.
- Glaze and serve: Drizzle the glaze over the cooled bars, then cut into squares and serve.
Notes
- You can substitute cherry pie filling with other fruit pie fillings for variety.
- For a festive look, sprinkle with holiday-themed sprinkles before the glaze sets.
Nutrition
- Serving Size: 1 bar
- Calories: 210
- Sugar: 18g
- Sodium: 85mg
- Fat: 9g
- Saturated Fat: 5g
- Unsaturated Fat: 3g
- Trans Fat: 0g
- Carbohydrates: 30g
- Fiber: 1g
- Protein: 2g
- Cholesterol: 35mg

