
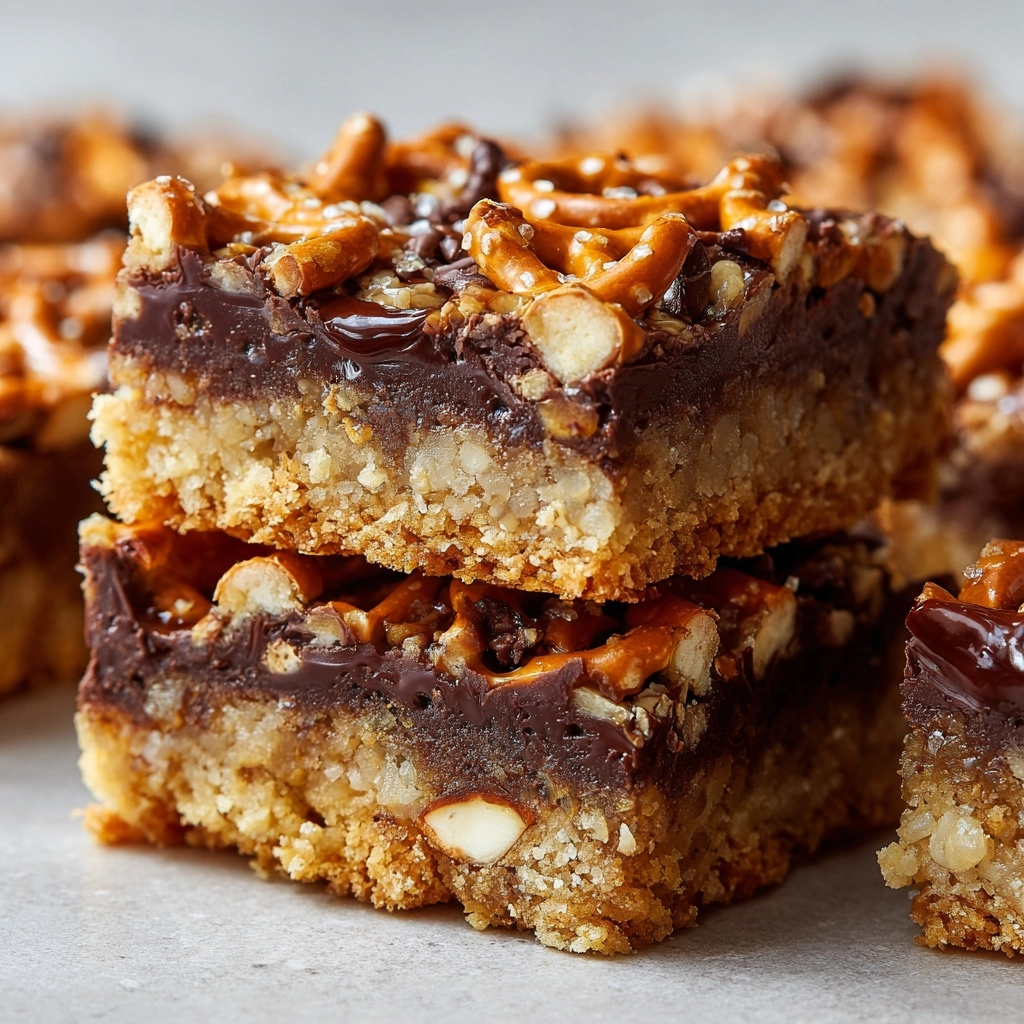
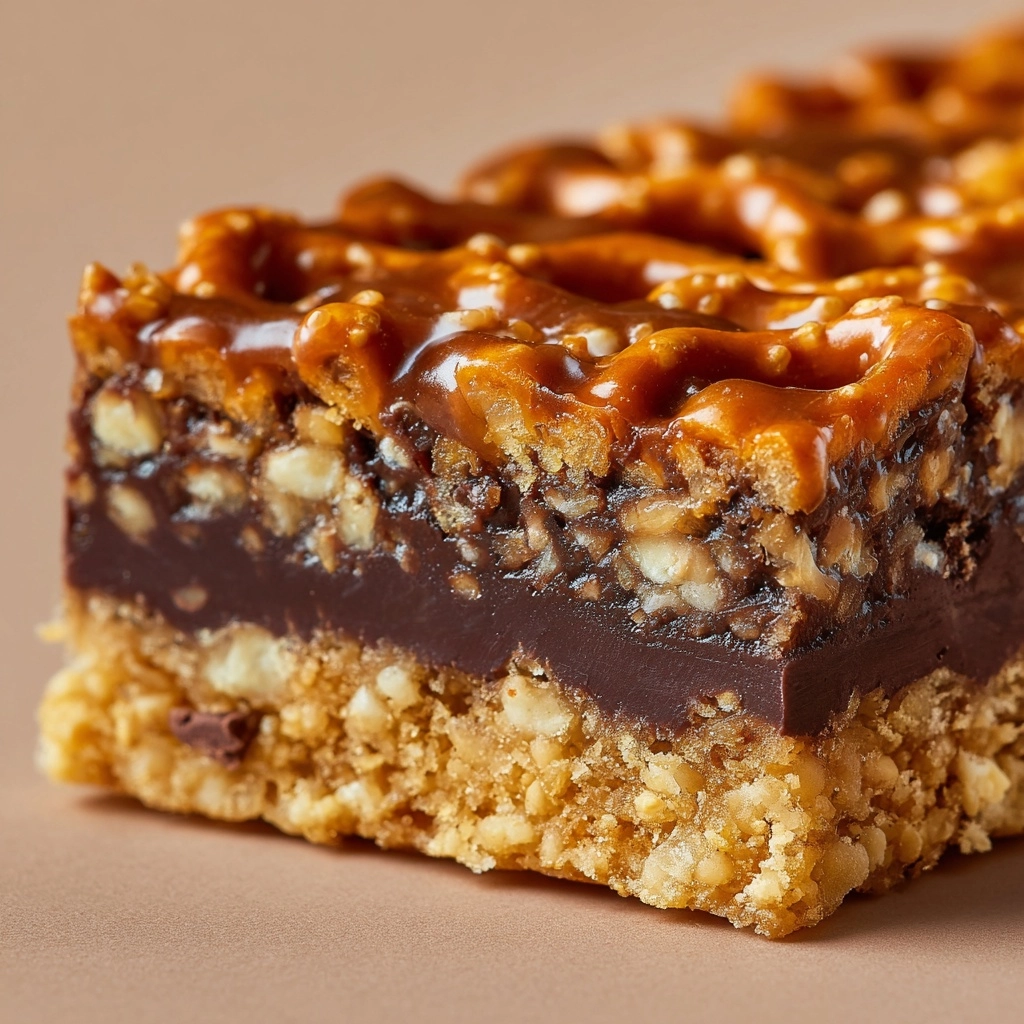
If you have a sweet tooth but want something quick, simple, and downright irresistible, this Homemade No-Bake Chocolate Crunch Bars Recipe is exactly what you need. Imagine the perfect balance of smooth, melty chocolate and peanut butter hugging crispy, crunchy rice cereal all set into easy-to-cut bars without ever turning on the oven. These bars are a delightful treat that bring a nostalgic crunch, a luscious sweetness, and a cozy homemade vibe that everyone will love. Whether you’re looking for a speedy dessert or a snack to keep on hand, this recipe is foolproof and simply delightful.
Ingredients You’ll Need
Gathering the right ingredients is key, but here you’ll see how effortlessly simple each component is. Each element plays a crucial role: the creamy peanut butter adds richness, chocolate chips bring sweet indulgence, crispy rice cereal provides that signature crunch, and the vanilla and salt lift the flavor to the next level.
- 2 cups semi-sweet chocolate chips: Melts smoothly to give the bars that deep chocolate flavor you crave.
- 1/2 cup creamy peanut butter: Adds creaminess and a hint of nuttiness that perfectly complements chocolate.
- 2 cups crispy rice cereal: The star that delivers satisfying crunch and texture contrast.
- 1/2 teaspoon vanilla extract (optional): Enhances the chocolate and peanut butter flavors with subtle warmth.
- Pinch of salt: Balances the sweetness and makes every bite pop with flavor.
How to Make Homemade No-Bake Chocolate Crunch Bars Recipe
Step 1: Melt the Chocolate and Peanut Butter
Start by placing the chocolate chips and creamy peanut butter into a large microwave-safe bowl. Heat in 30-second bursts, stirring in between, until everything is melted and beautifully smooth. This gentle melting ensures your mixture won’t burn and will blend perfectly.
Step 2: Add Vanilla and Salt
Once melted, stir in the vanilla extract and a pinch of salt if you’re using them. These small additions pack a punch, intensifying the chocolate and balancing the sweetness with just a hint of depth.
Step 3: Fold in the Crispy Rice Cereal
Carefully fold the crispy rice cereal into your glossy chocolate-peanut butter mixture. The goal is to coat every bit of cereal without crushing it, preserving that crunch that makes these bars truly special.
Step 4: Press into the Pan
Line an 8-by-8-inch baking pan with parchment paper. Pour the mixture in and use a spatula to spread and press it down firmly and evenly. Compacting the bars tightly will help them hold together once chilled.
Step 5: Chill Until Firm
Pop the pan into the refrigerator and let it chill for at least one hour until set. This resting step allows the bars to solidify so they cut cleanly without crumbling.
Step 6: Slice and Enjoy
Lift the set bars out with the parchment paper and slice them into 16 pieces. Now you’ve got perfectly portioned, crunchy, chocolaty, no-bake bars ready for snacking or sharing.
How to Serve Homemade No-Bake Chocolate Crunch Bars Recipe
Garnishes
Brighten up your bars with a light sprinkle of flaky sea salt or drizzle a little melted white chocolate on top for contrast and that extra wow factor. Toasted chopped nuts or a few colorful mini chocolate chips scattered on top before chilling also look beautiful and add texture.
Side Dishes
These bars pair wonderfully with a cold glass of milk, a cup of rich coffee, or a creamy vanilla ice cream scoop. The creamy beverages and desserts complement the crunch and chocolate notes beautifully.
Creative Ways to Present
For parties or gifting, wrap individual bars in parchment paper tied with a ribbon. You can also cut the bars into mini bite-size pieces for a fun party platter or add layers of melted chocolate and peanut butter swirl before setting for a fancy visual twist.
Make Ahead and Storage
Storing Leftovers
Keep any leftover bars in an airtight container in the fridge to maintain their crisp texture and fresh flavor. They stay delicious for up to a week, making them an excellent grab-and-go snack during busy days.
Freezing
You can freeze these bars for longer storage by wrapping them tightly in plastic wrap and placing them in a freezer-safe container. When you’re ready, thaw them in the fridge overnight for best texture without sacrificing that crunch.
Reheating
Since these are no-bake bars, reheating isn’t necessary. If you prefer them a tad softer, letting them sit at room temperature for 10-15 minutes works perfectly to soften the chocolate just enough without losing the charm of their signature crunch.
FAQs
Can I use different nut butters in this Homemade No-Bake Chocolate Crunch Bars Recipe?
Absolutely! Almond butter, sunflower seed butter, or any creamy nut or seed butter will work well. Just keep in mind the flavor may shift slightly depending on your choice, but it will still be delicious.
Is it possible to make these bars vegan?
Yes, to make vegan bars, simply use dairy-free chocolate chips and ensure your peanut butter (or alternative) doesn’t contain animal products. This recipe adapts nicely to vegan diets without compromising taste.
Can I add extras like nuts or dried fruit to the bars?
Definitely! Adding chopped nuts or dried fruit can elevate the texture and introduce new flavors. Just fold them in along with the rice cereal before pressing the mixture into the pan.
Do these bars keep well at room temperature?
Since the bars contain chocolate and peanut butter, they’re best kept cool. They may soften or become sticky if left out for a long time, so refrigeration is recommended to maintain their perfect texture.
How can I make the bars less sweet?
Try using semi-sweet or even bittersweet chocolate chips to reduce sweetness. Additionally, reducing the peanut butter slightly or omitting vanilla extract can tone down the overall sweetness without losing the essence of the bars.
Final Thoughts
Give this Homemade No-Bake Chocolate Crunch Bars Recipe a try and you’ll quickly find why it’s such a personal favorite to whip up whenever you want a quick, delightful treat. The ease of making these bars combined with their rich, crunchy goodness is pure magic. Grab those ingredients, get cozy in the kitchen, and enjoy every bite of these homemade delights!
Print
Homemade No-Bake Chocolate Crunch Bars Recipe
- Prep Time: 10 minutes
- Cook Time: 0 minutes
- Total Time: 1 hour 10 minutes
- Yield: 16 bars
- Category: Dessert, Snack
- Method: No-Cook
- Cuisine: American
- Diet: Vegetarian, Gluten Free
Description
These homemade crunch bars are a delicious and easy no-bake treat combining creamy peanut butter and semi-sweet chocolate with crispy rice cereal for the perfect crunchy texture. Ideal for a quick dessert or snack, they come together effortlessly and require simple ingredients found in most kitchens.
Ingredients
Main Ingredients
- 2 cups semi-sweet chocolate chips
- 1/2 cup creamy peanut butter
- 2 cups crispy rice cereal (like Rice Krispies)
- 1/2 teaspoon vanilla extract (optional)
- Pinch of salt
Instructions
- Prepare the chocolate mixture: In a large microwave-safe bowl, combine the chocolate chips and peanut butter. Microwave in 30-second intervals, stirring well between each interval, until the mixture is completely melted and smooth, about 1 to 1.5 minutes total.
- Add flavoring: Stir in the vanilla extract and a pinch of salt, if using, to enhance the flavor profile of the bars.
- Mix in the cereal: Gently fold in the crispy rice cereal until every piece is fully coated with the chocolate and peanut butter mixture, ensuring an even crunch throughout.
- Prepare the pan: Line an 8×8-inch baking pan with parchment paper to prevent sticking and make removal easier.
- Transfer mixture to pan: Pour the coated cereal mixture into the lined pan. Use a spatula to evenly spread and firmly press down the mixture to create a compact, uniform layer.
- Chill to set: Refrigerate the pan for at least 1 hour or until the bars are fully set and firm to the touch.
- Cut and store: Once firm, lift the bars out of the pan using the parchment paper. Cut into 16 bars and store them refrigerated for the best texture and freshness.
Notes
- You can substitute almond butter or sunflower seed butter for a peanut-free version.
- For a vegan version, ensure that the chocolate chips used are dairy-free.
- Add a handful of chopped nuts or dried fruit to the cereal mixture for extra crunch and flavor variety.


