
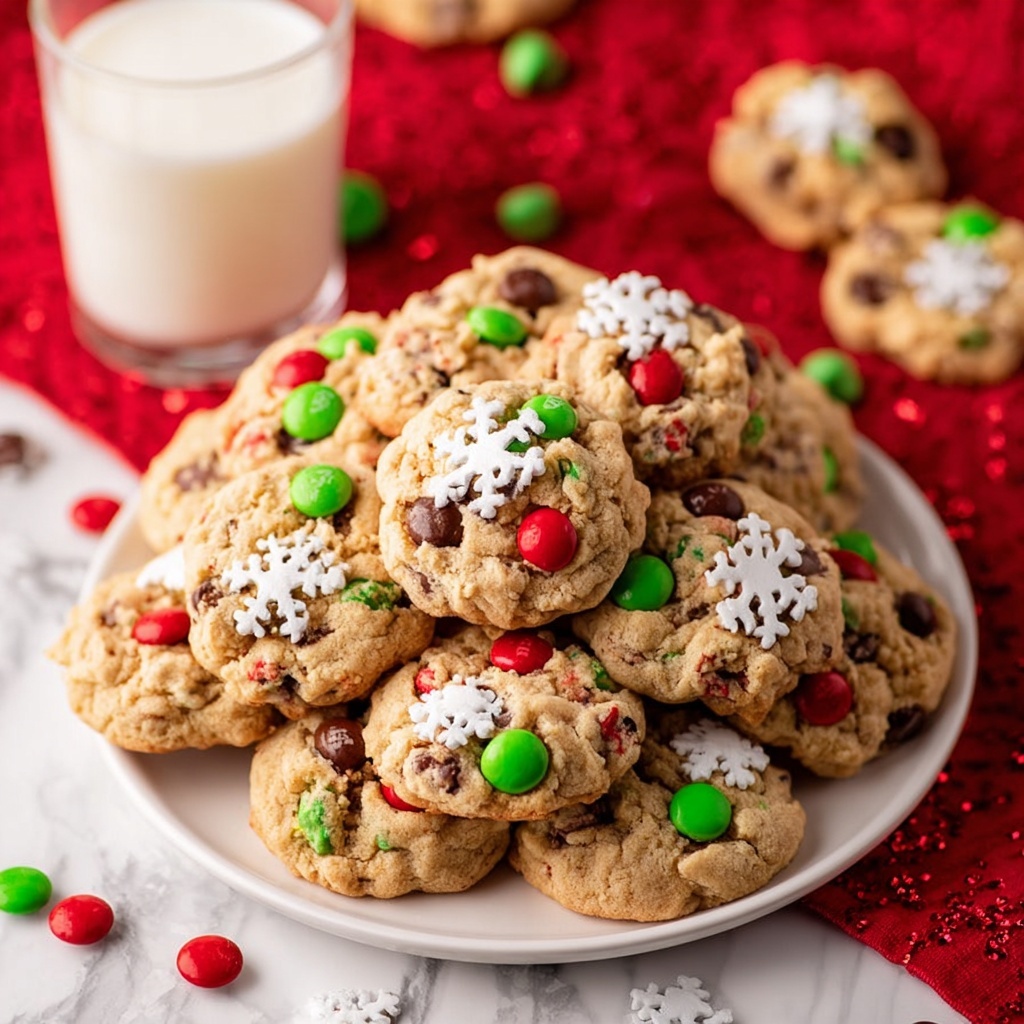
If you’re searching for a festive and fun treat to brighten your holiday celebrations, look no further than this Christmas Monster Cookies Recipe. These cookies are a joyful explosion of colors and flavors, combining the perfect chewy texture from oats and peanut butter with bursts of sweetness from Christmas M&M’s, chocolate chips, and festive sprinkles. Each bite feels like a mini celebration, and the candy eyes add an adorable, whimsical touch that’s sure to bring smiles from everyone lucky enough to grab one. Trust me, this is one recipe you’ll want to keep in your holiday baking rotation year after year.
Ingredients You’ll Need
Gathering the right ingredients is essential to making these Christmas Monster Cookies come to life. Each one contributes something unique, from the creamy richness of peanut butter to the soft crumb of yellow cake mix, and the festive pops of color from M&M’s and sprinkles make these cookies truly special.
- ¾ cup butter (softened): Provides a smooth, rich base that keeps the cookies tender.
- ½ cup granulated sugar: Adds just the right amount of sweetness to balance flavors.
- ½ cup peanut butter: Brings a creamy, nutty depth that makes these cookies irresistibly rich.
- 1 large egg: Binds the ingredients together while adding moisture.
- 1 teaspoon vanilla extract: Infuses a warm, aromatic note enhancing all the flavors.
- 1 box yellow cake mix: Acts as a tender, flavorful foundation for perfect cookie texture.
- 2 cups minute oats: Add chewiness and a wholesome touch.
- ½ cup Christmas M&M’s: Bursts of festive color and chocolaty sweetness.
- ½ cup semi-sweet chocolate chips: Rich pockets of smooth chocolate in every bite.
- 1 tablespoon Christmas sprinkles: Adds a cheerful holiday crunch and sparkle.
- Candy eyes: Gives the cookies their fun “monster” personality that kids and adults adore.
How to Make Christmas Monster Cookies Recipe
Step 1: Prepare Your Baking Space
Start by heating your oven to 350°F. Line a baking sheet with parchment paper to prevent sticking and make cleanup a breeze. This prep ensures your cookies bake evenly and come off the pan without a fuss.
Step 2: Cream the Butter, Sugar, and Peanut Butter
In a large bowl or the bowl of your stand mixer with a paddle attachment, cream together softened butter, granulated sugar, and peanut butter until the mixture is light and fluffy. This step is crucial for a luscious texture and helps incorporate air to keep the cookies soft.
Step 3: Beat in the Egg and Vanilla
Next, add the egg and vanilla extract, beating well until everything is fully combined. This creates a smooth, cohesive dough base that will hold all the colorful mix-ins perfectly.
Step 4: Add Dry Ingredients and Mix-ins
Gently stir in the yellow cake mix and oats just until combined, then lovingly fold in your festive M&M’s, chocolate chips, and sprinkles. Be careful not to overmix— you want those goodies to stand out in every bite!
Step 5: Portion the Dough and Shape
Use a medium cookie scoop to drop dough balls onto your prepared baking sheet, spacing them about 2 inches apart to allow for spreading. Rolling the dough between your palms before placing can give your cookies a nice rounded, polished look.
Step 6: Bake to Perfect Chewiness
Bake the cookies for 10 to 12 minutes, just until the edges look set but the centers are still soft. This short bake time guarantees those chewy, tender centers that make monster cookies so addictive.
Step 7: Cool and Add Candy Eyes
Let the cookies cool for 5 minutes on the baking sheet before transferring them to a wire rack to cool completely. Once cooled, press candy eyes into the cookies to bring the monsters to life—this playful touch adds so much holiday cheer!
How to Serve Christmas Monster Cookies Recipe
Garnishes
For an extra festive touch, sprinkle a few more Christmas sprinkles or even a light dusting of powdered sugar just before serving. Adding candy eyes last creates those quirky monster faces that kids absolutely love seeing and snapping photos of.
Side Dishes
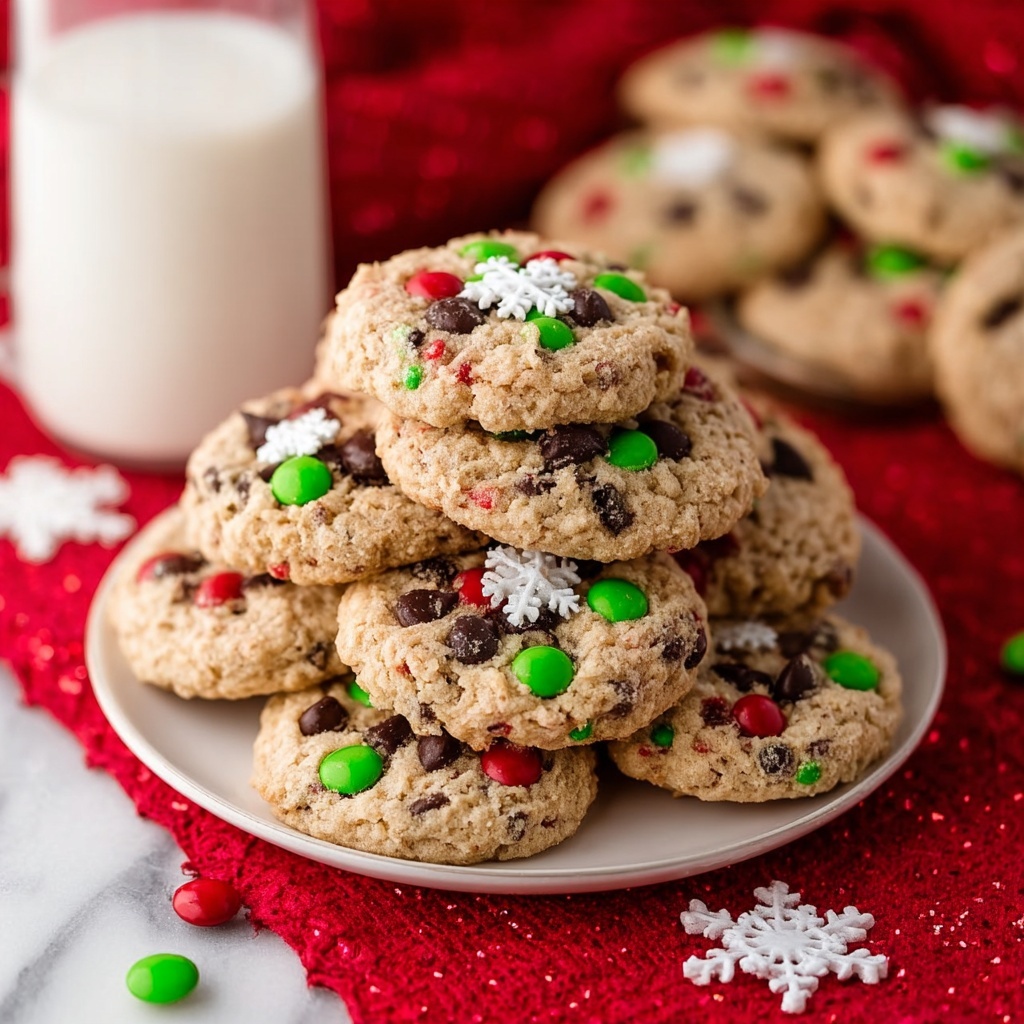
These cookies pair wonderfully with a cold glass of milk or a warm cup of hot chocolate topped with marshmallows. The creamy drinks contrast perfectly with the sweet, chewy cookies for a cozy holiday snack.
Creative Ways to Present
Arrange your Christmas Monster Cookies on a festive platter surrounded by holiday greenery or candy canes for a whimsical display. Gift them inside cute holiday tins or cellophane bags tied with ribbons—these little monsters make spectacular edible gifts!
Make Ahead and Storage
Storing Leftovers
Store your leftover Christmas Monster Cookies in an airtight container at room temperature to keep them soft and chewy for up to one week. Avoid refrigeration, as it can dry them out.
Freezing
To freeze, place baked and cooled cookies in a single layer on a baking sheet until firm, then transfer to a freezer-safe bag or container. They’ll stay fresh for up to 3 months, great for making holiday treats ahead of time.
Reheating
Enjoy frozen cookies by thawing them at room temperature or giving them a quick 10-15 second zap in the microwave. This brings back their soft texture and melty chocolate goodness in a flash.
FAQs
Can I substitute the peanut butter for a different nut butter?
Absolutely! Almond or cashew butter can work well, but keep in mind that the flavor and texture might shift slightly, so choose a smooth variety for best results.
Are Christmas Monster Cookies gluten-free?
This recipe uses yellow cake mix and oats, which typically contain gluten. You’d need to use gluten-free cake mix and certified gluten-free oats to make this recipe safe for gluten sensitivity.
What if I don’t have Christmas-themed M&M’s?
No worries—regular M&M’s or any colorful chocolate candies will do. You can also mix in mini chocolate chips or chopped holiday chocolates to keep that festive vibe.
How big should I make each cookie?
Using a medium cookie scoop, about one and a half tablespoons of dough per cookie works perfectly. This size bakes evenly and creates plenty of room for those monster faces!
Can I make this dough ahead and bake later?
Yes! You can refrigerate the dough in an airtight container for up to 24 hours before baking. Just add a couple of extra minutes to the baking time if baking straight from the fridge.
Final Thoughts
There’s something wonderfully joyful about whipping up this Christmas Monster Cookies Recipe that goes beyond just dessert — it’s about sharing fun, color, and smiles during the holidays. The balance of chewy oats, nutty peanut butter, and sweet bursts of chocolate and candy makes these cookies unforgettable. Do yourself a favor and bake a batch; you’ll be spreading monster-sized holiday cheer in no time!
Print
Christmas Monster Cookies Recipe
- Prep Time: 15 minutes
- Cook Time: 15 minutes
- Total Time: 30 minutes
- Yield: 40 cookies
- Category: Dessert
- Method: Baking
- Cuisine: American
- Diet: Vegetarian
Description
These festive Christmas Monster Cookies combine the rich flavors of peanut butter, yellow cake mix, and oats, studded with colorful holiday M&M’s, chocolate chips, and candy eyes for a fun and delicious holiday treat. Perfect for parties or sharing with family, these cookies have a soft, chewy texture and a cheerful monster-themed appearance that will delight kids and adults alike.
Ingredients
Wet Ingredients
- ¾ cup butter, softened
- ½ cup granulated sugar
- ½ cup peanut butter
- 1 large egg
- 1 teaspoon vanilla extract
Dry Ingredients
- 1 box yellow cake mix
- 2 cups minute oats
Mix-ins and Decorations
- ½ cup Christmas M&M’s
- ½ cup semi-sweet chocolate chips
- 1 tablespoon Christmas sprinkles
- Candy eyes (quantity as needed)
Instructions
- Prepare Baking Sheet: Preheat your oven to 350°F (175°C) and line a baking sheet with parchment paper to prevent sticking and facilitate easy cleanup.
- Cream Butter, Sugar, and Peanut Butter: In a large mixing bowl or stand mixer with a paddle attachment, beat the softened butter, granulated sugar, and peanut butter together until the mixture is light and fluffy, which will help create a tender cookie texture.
- Add Egg and Vanilla: Incorporate the egg and vanilla extract into the creamed mixture and beat until fully combined, ensuring a smooth batter.
- Mix Dry Ingredients: Add the yellow cake mix and minute oats to the wet ingredients and gently stir just until everything is combined. Avoid overmixing to maintain a tender cookie.
- Fold in M&Ms, Chocolate Chips, and Sprinkles: Carefully fold the Christmas M&M’s, semi-sweet chocolate chips, and Christmas sprinkles into the cookie dough for festive color and flavor.
- Shape Cookies: Using a medium cookie scoop, drop dough balls about 2 inches apart onto the prepared baking sheet. For a neater appearance, roll each ball between your palms before placing it on the sheet.
- Bake Cookies: Bake the cookies in the preheated oven for 10 to 12 minutes, until the edges are set but the centers remain soft.
- Cool and Decorate: Let the cookies cool on the baking sheet for 5 minutes, then transfer them to a wire rack to cool completely. Once cooled, press candy eyes onto each cookie to create the Monster look.
Notes
- Be careful not to overbake; the cookies should be soft and chewy once cooled.
- If you prefer, substitute peanut butter with a nut-free alternative to accommodate allergies.
- Use parchment paper or silicone baking mats to prevent sticking and ensure even baking.
- Press the candy eyes onto warm cookies immediately after baking so they stick properly.
- Store cookies in an airtight container at room temperature for up to 5 days.

