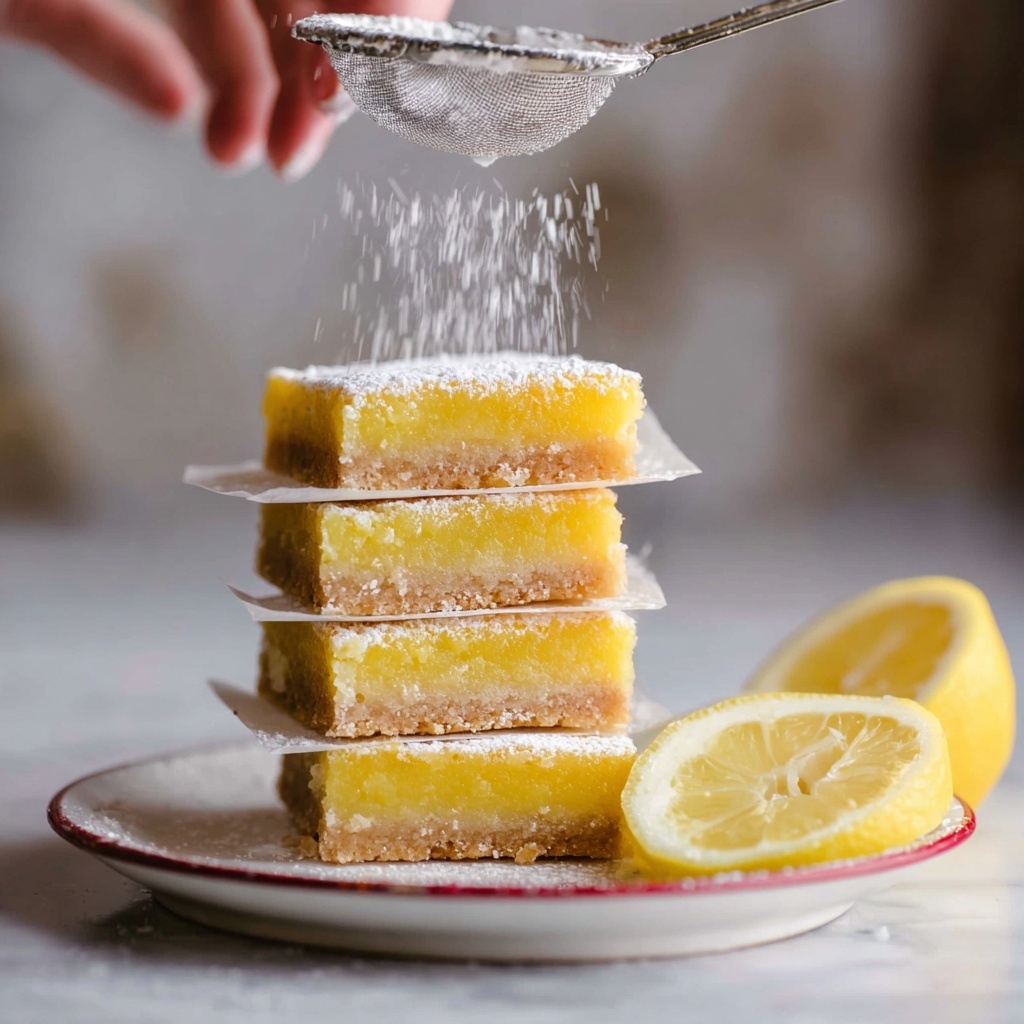
If you’re looking for a bright, tangy treat that everyone can enjoy, this Gluten-Free Lemon Bars Recipe is the perfect answer. Bursting with fresh lemon flavor and balancing a tender, buttery crust with a luscious, silky lemon filling, these bars will quickly become your go-to dessert when you want something both simple and spectacular. Whether you’re gluten intolerant or just craving a zesty dessert, these lemon bars deliver a refreshing citrus punch without sacrificing texture or taste.
Ingredients You’ll Need
Making these lemon bars calls for straightforward ingredients that come together beautifully to create a perfect balance of flavors and textures. Each component plays a key role—from the gluten-free flour that forms a delicate crust to the fresh lemons that infuse the bars with vibrant zest and juice.
- Gluten-Free Flour: The foundation of both crust and filling, providing structure without gluten’s typical chewiness.
- Granulated Sugar: Sweetens the dough and filling, creating that perfect sweet-tart contrast.
- Salted Butter: Adds richness and a tender crumb to the crust; make sure it’s cold for best texture.
- Water: Helps bind the crust ingredients together for easy pressing and even baking.
- Lemon Juice: The star of the filling, packed with fresh brightness and acidity.
- Lemon Zest: Intensifies the lemon flavor without adding extra liquid, lending zesty bursts in every bite.
- Eggs: Lightly beaten, they create the smooth, custardy texture of the lemon filling.
- Powdered Sugar: Optional for dusting, adding a pretty, sweet finish that complements the tart lemon.
How to Make Gluten-Free Lemon Bars Recipe
Step 1: Preparing the Crust
Start by preheating your oven to 350°F (175°C). In a mixing bowl, combine 1½ cups of gluten-free flour with ½ cup of granulated sugar. Cut in ½ cup of cold, salted butter using a pastry cutter or fork until the mix resembles coarse crumbs. Next, add 2 tablespoons of water to help the dough come together. Press this mixture firmly into the bottom of a greased or parchment-lined 9×13-inch pan to create an even layer. Bake for about 18-20 minutes, or until the edges are golden and the crust feels set but not overbaked.
Step 2: Making the Lemon Filling
While the crust is baking, whisk together 1½ cups granulated sugar, ½ cup fresh lemon juice, 2 tablespoons grated lemon zest, and 4 large lightly beaten eggs in a large bowl. Gradually add ¼ cup gluten-free flour, mixing well to combine everything into a smooth and slightly thick batter. The flour helps the filling set nicely while keeping it tender. Pour this mixture carefully over the hot baked crust, then return the pan to the oven for about 25-30 minutes, or until the filling is just set and no longer jiggles in the center.
Step 3: Cooling and Finishing Touches
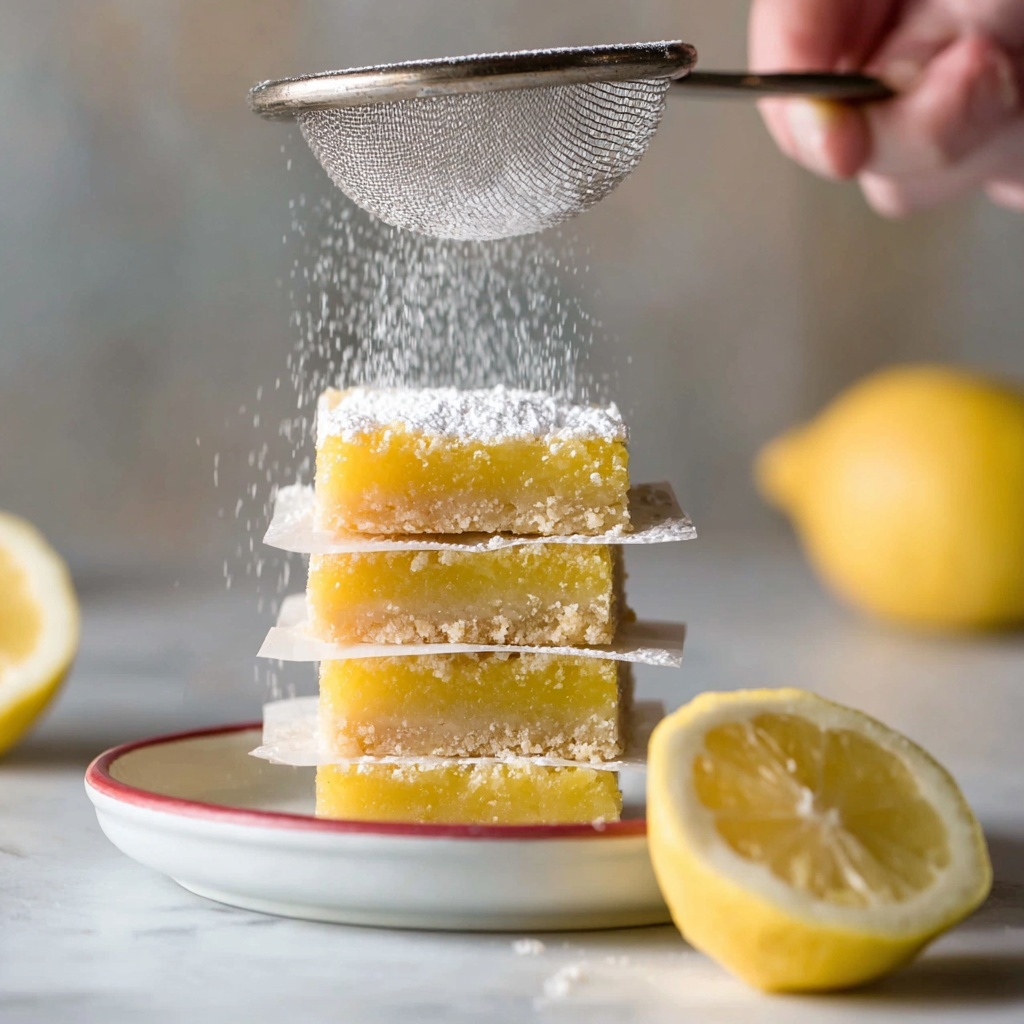
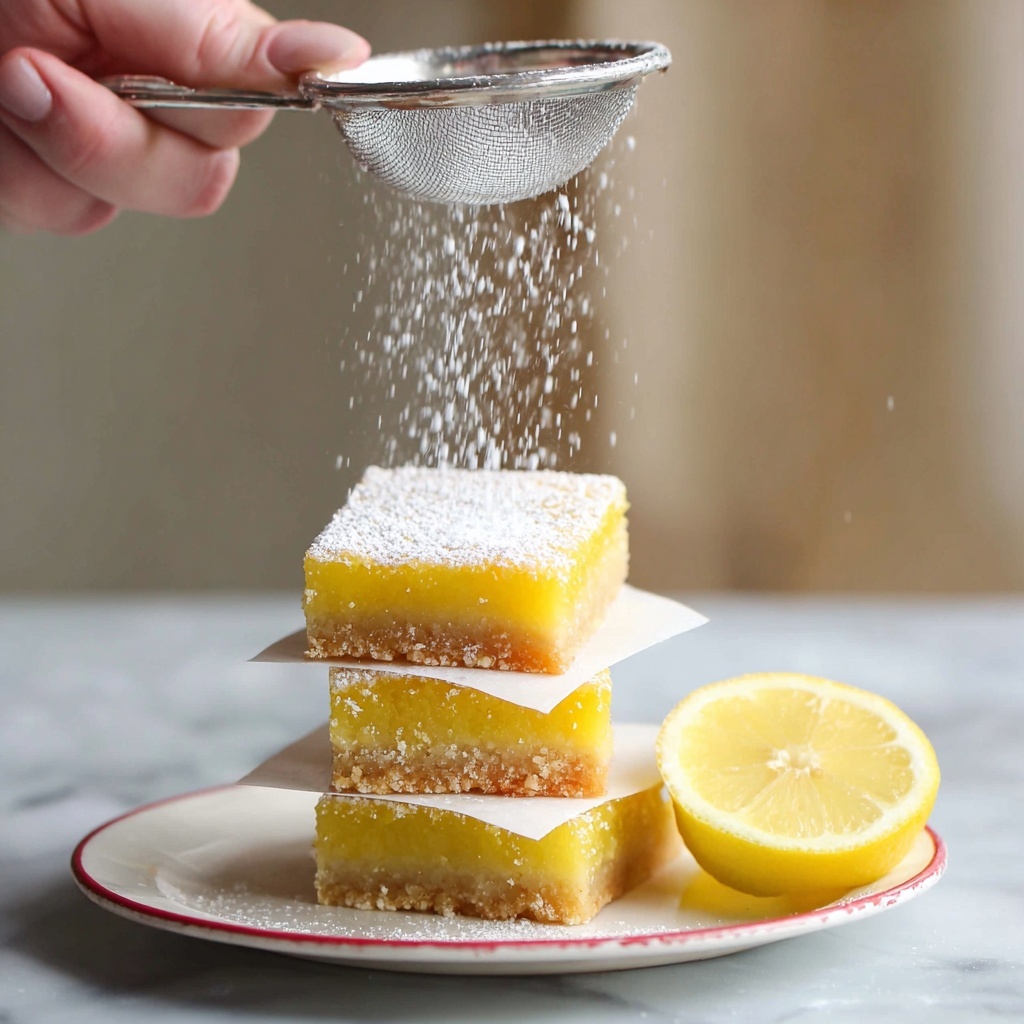
Let the lemon bars cool completely at room temperature, then chill in the refrigerator for at least 2 hours to firm up for clean slicing. Once chilled, dust with powdered sugar if you love that extra touch of sweetness and a beautiful presentation. Slice into 12 bars and get ready to enjoy the perfect harmony of tart and sweet in every bite.
How to Serve Gluten-Free Lemon Bars Recipe
Garnishes
Simple garnishes can elevate your lemon bars from lovely to spectacular. A light dusting of powdered sugar adds a soft sweetness and pretty snow-like appearance. For a fresh touch, add thin lemon slices or a sprinkle of finely grated lemon zest on top. If you’re feeling extra fancy, a small sprig of fresh mint complements the citrus flavor wonderfully.
Side Dishes
Because these lemon bars are already refreshingly citrusy and rich, they pair beautifully with light accompaniments. Serve alongside a scoop of vanilla bean ice cream or a dollop of freshly whipped cream to mellow the tartness. A cup of hot herbal tea or freshly brewed coffee also balances the flavors perfectly, making every bite a treat from start to finish.
Creative Ways to Present
For a party or gathering, arrange the lemon bars on a decorative platter garnished with edible flowers for an elegant look. You could also try layering smaller lemon bar squares with berry toppings or serve them as a bright addition to a dessert sampler plate featuring other gluten-free treats. Wrapping individual bars in parchment paper tied with twine makes for charming homemade gifts as well.
Make Ahead and Storage
Storing Leftovers
These lemon bars keep well in an airtight container in the refrigerator for up to 4 days, which means you can enjoy them throughout the week without worry. Proper storage helps maintain that refreshing lemon taste and tender texture, so be sure to cover them tightly or place parchment between layers to prevent sticking.
Freezing
If you want to extend their shelf life, freeze the lemon bars by wrapping individual pieces in plastic wrap and placing them in a freezer-safe container or freezer bag. They’ll stay fresh for up to 2 months. Thaw them overnight in the fridge before serving to preserve their perfect consistency.
Reheating
Since the lemon filling is custardy, reheating is best done gently. Warm bars at room temperature or briefly in a low oven (around 300°F) for 5-7 minutes to take the chill off without melting or altering the texture. Avoid microwaving as it can make the crust soggy or the filling rubbery.
FAQs
Can I use a gluten-free flour blend for the crust?
Absolutely! Most gluten-free flour blends work well in this recipe, just ensure they contain xanthan gum or a similar binder to help with structure. This keeps your crust tender but sturdy enough to hold the delicious lemon filling.
What’s the best way to get fresh lemon juice?
Using fresh lemons is key for the brightest flavor in this Gluten-Free Lemon Bars Recipe. Roll each lemon firmly on the counter before juicing to soften them and yield more juice, and always strain out seeds for a smooth filling.
Can I make these bars dairy-free?
Yes, you can substitute salted butter with a dairy-free alternative like coconut oil or vegan butter sticks. Keep in mind this might change the flavor and texture slightly, but the bars will still be delightful.
How do I know when the lemon filling is done baking?
The filling should be set with very little jiggle in the center. It might still have a slight wobble, but it will firm up as it cools. Avoid overbaking to keep the texture silky and smooth.
Is it necessary to chill the bars before cutting?
Chilling is highly recommended because it helps the lemon filling fully set and makes it easier to slice neat, clean bars without crumbling or oozing filling. Patience here really pays off in presentation and taste.
Final Thoughts
These Gluten-Free Lemon Bars Recipe bring together the perfect balance of tartness, sweetness, and buttery goodness in a treat that everyone can enjoy, regardless of dietary needs. I can’t wait for you to try them and experience the joy of biting into a slice of sunshine! Once you make them, these bars will surely become a beloved staple in your dessert repertoire.
Print
Gluten-Free Lemon Bars Recipe
- Prep Time: 30 minutes
- Cook Time: 50 minutes
- Total Time: 1 hour 20 minutes
- Yield: 12 bars
- Category: Dessert
- Method: Baking
- Cuisine: American
- Diet: Gluten Free
Description
This Gluten Free Lemon Bars recipe offers a tangy, sweet treat with a crisp, buttery crust made from gluten-free ingredients. Perfect for those avoiding gluten, these bars are bursting with fresh lemon juice and zest, creating a bright and refreshing dessert. With a simple crust and luscious lemon filling, this recipe yields 12 delicious bars that make an ideal dessert or snack for any occasion.
Ingredients
For the Crust
- 1½ cups Gluten Free Flour (222 grams)
- ½ cup granulated sugar (100 grams)
- ½ cup salted butter (113 grams, cold and cut into pieces — 1 stick)
- 2 tablespoons water (28 grams)
For the Lemon Filling
- 1½ cups granulated sugar (300 grams)
- ½ cup lemon juice (114 grams — from 4 lemons)
- 2 tablespoons grated lemon zest (12 grams — from 2 lemons)
- 4 large eggs (200 grams, lightly beaten)
- ¼ cup Gluten Free Flour (37 grams)
Optional
- Powdered sugar (for dusting)
Instructions
- Prepare the crust: Preheat your oven to 350°F (175°C). In a mixing bowl, combine 1½ cups gluten free flour and ½ cup granulated sugar. Cut in the cold, diced butter using a pastry cutter or your fingers until the mixture resembles coarse crumbs. Add 2 tablespoons of water and mix until the dough just comes together. Press the dough evenly into the bottom of a greased or parchment-lined 9×13 inch baking pan to form the crust.
- Bake the crust: Place the pan in the preheated oven and bake the crust for about 15 minutes, or until it is lightly golden. Remove from oven and set aside to cool slightly.
- Prepare the lemon filling: In a separate bowl, whisk together 1½ cups granulated sugar, ½ cup fresh lemon juice, 2 tablespoons grated lemon zest, 4 lightly beaten eggs, and ¼ cup gluten free flour until smooth and well combined.
- Bake the lemon bars: Pour the lemon filling over the pre-baked crust. Return the pan to the oven and bake for an additional 30-35 minutes, or until the filling is set and no longer jiggly in the center. Remove from oven and allow to cool completely at room temperature, then refrigerate for at least 2 hours to allow the bars to firm up.
- Serve: Once chilled, dust the top with powdered sugar if desired. Cut into 12 bars and serve chilled or at room temperature.
Notes
- Ensure the butter is cold to achieve a flaky crust.
- Use fresh lemon juice and zest for the best flavor.
- Refrigerate the bars for at least 2 hours before cutting to get clean slices.
- Dust with powdered sugar just before serving for a decorative touch.
- For a dairy-free option, substitute butter with a vegan margarine suitable for baking.

