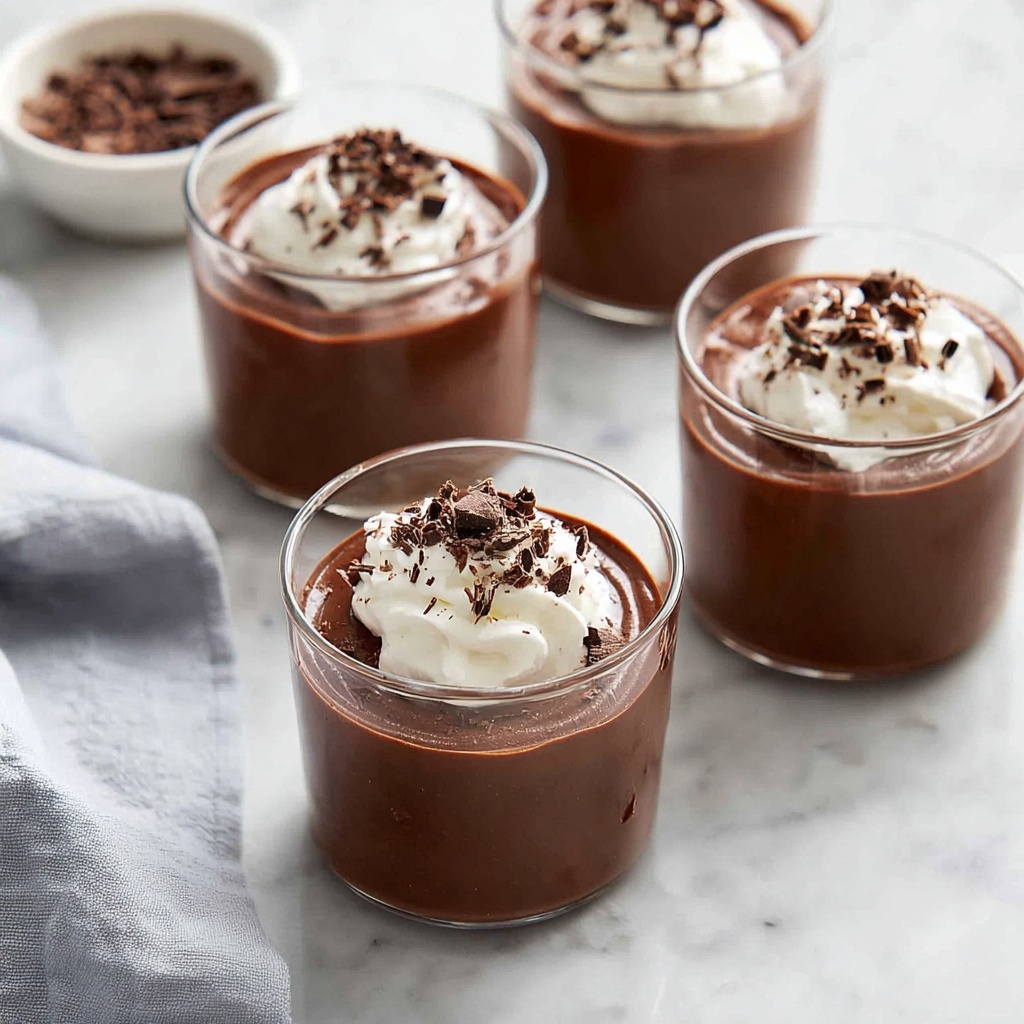
If you are craving a dessert that feels like a warm hug on a chilly day, then this Creamy Homemade Chocolate Pudding Recipe is exactly what you need. Silky smooth, deeply chocolatey, and utterly comforting, this pudding is a timeless classic that never fails to please. Whether you’re making it for an everyday treat or a special occasion, its rich texture and balanced sweetness will have everyone asking for seconds. Plus, it’s surprisingly simple to whip up with pantry staples, making it a go-to comfort food you’ll want to keep in your recipe collection forever.
Ingredients You’ll Need
Ingredients You’ll Need
Choosing the right ingredients is key to nailing the luscious texture and rich chocolate flavor of this pudding. Each component plays a vital role—from the cocoa powder delivering that deep chocolate punch, to the cornstarch providing that creamy thickening effect you love.
- ½ cup sugar: Granulated or superfine sugar adds just the right amount of sweetness without overpowering.
- ⅓ cup unsweetened cocoa powder: Opt for natural cocoa powder for a bright, intense chocolate flavor that is essential here.
- 3 tbsp cornstarch: This thickens the pudding to the perfect silky consistency that makes every spoonful pure bliss.
- Pinch salt: Enhances the chocolate flavor and balances the sweetness perfectly.
- 2½ cups whole milk: Whole milk gives the pudding a creamy richness, but you can swap it for almond or oat milk for a dairy-free treat.
- 2 tbsp unsalted butter: Adds a smooth, velvety finish—coconut oil works great as a dairy-free alternative.
- 1 tsp vanilla extract: Brings depth and warmth to the chocolate, elevating the flavor beautifully.
- Whipped cream and chocolate shavings: Optional, but highly recommended for that final touch of indulgence.
How to Make Creamy Homemade Chocolate Pudding Recipe
Step 1: Blend the Dry Ingredients
Start off by whisking together your sugar, cocoa powder, cornstarch, and a pinch of salt in a saucepan, away from heat. This step ensures everything is evenly combined, avoiding clumps later and laying the foundation for a smooth pudding.
Step 2: Incorporate the Milk
Pour in the milk gradually while whisking. This transforms your dry mix into a silky, chocolatey liquid base. Making sure the mixture is lump-free now is crucial for achieving that flawless pudding texture.
Step 3: Cook Until Thickened
Place the saucepan over medium heat and whisk constantly. This stage takes about 10 minutes as the pudding heats and thickens slowly until it just begins to bubble. The constant whisking prevents burning and creates a luxuriously creamy pudding.
Step 4: Add Butter and Vanilla
Immediately remove the mixture from the heat, stirring in the butter and vanilla extract. These ingredients not only enrich the flavor but also give the pudding a silky, glossy finish that makes it irresistible.
Step 5: Chill the Pudding
Transfer the pudding into a bowl or individual serving cups. To keep the pudding’s surface smooth and prevent a skin from forming, press plastic wrap directly onto the surface. Chill in the refrigerator for at least 2 hours to let it set perfectly.
Step 6: Enjoy!
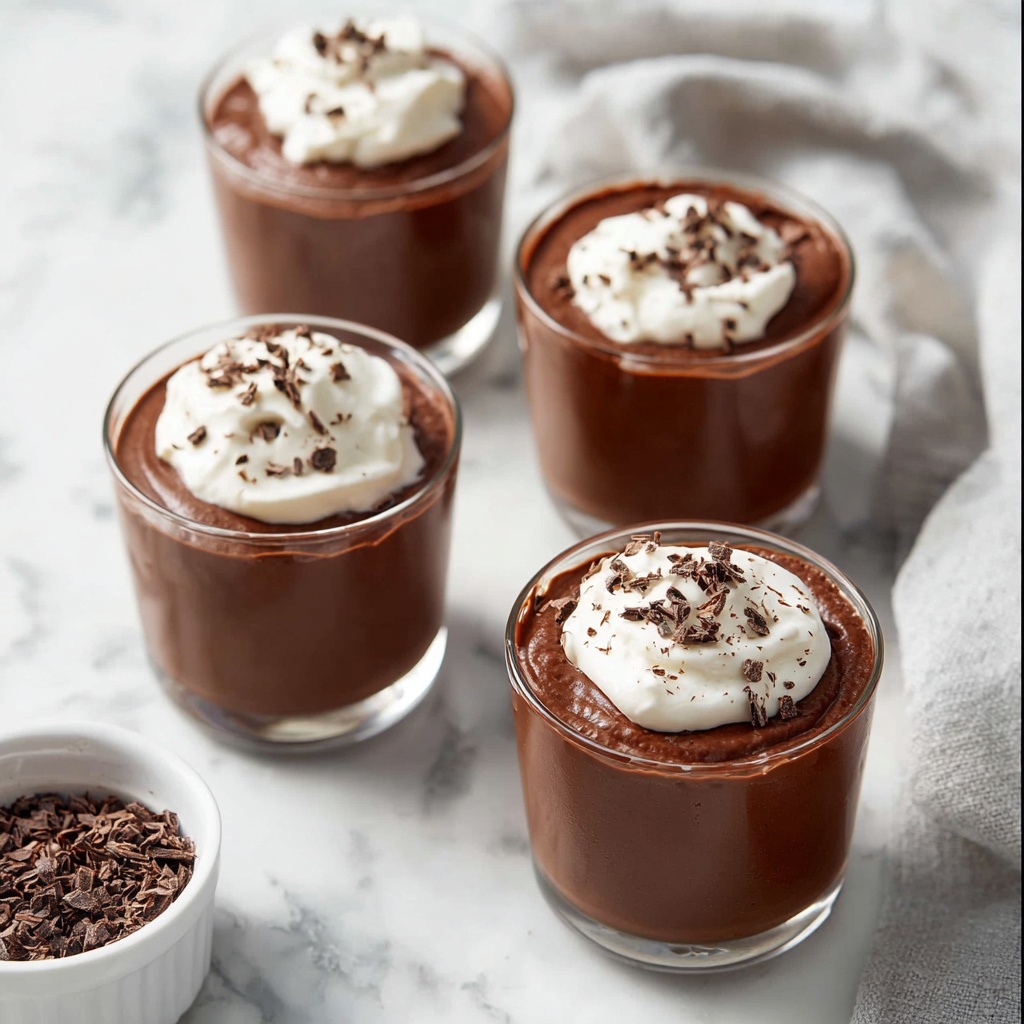
Serve your pudding topped with freshly whipped cream and a sprinkling of chocolate shavings for that elegant finishing touch. This final step takes your Creamy Homemade Chocolate Pudding Recipe from simple to spectacular.
How to Serve Creamy Homemade Chocolate Pudding Recipe
Garnishes
Enhance the flavor and presentation of your pudding with whipped cream, chocolate shavings, or even a dusting of cocoa powder. Fresh berries or a sprig of mint can add a bright contrast and bring in a hint of freshness.
Side Dishes
This pudding pairs beautifully with crunchy biscotti or delicate shortbread cookies. These textural contrasts make each bite more exciting and keep the experience delightful from start to finish.
Creative Ways to Present
Try layering the pudding in parfait glasses with crushed cookies or fresh fruit for a visually stunning dessert. You can also drizzle caramel sauce or sprinkle toasted nuts on top for an added depth of flavor and crunch.
Make Ahead and Storage
Storing Leftovers
Your leftover pudding can be safely stored in an airtight container in the refrigerator for up to 3 days. Keeping plastic wrap pressed on the surface helps retain its creamy texture and prevents skin formation.
Freezing
While freezing pudding isn’t generally recommended because the texture can change, you can freeze it in airtight containers for up to one month. Thaw in the fridge overnight, stirring gently to revive its creaminess before serving.
Reheating
If you want to enjoy it warm, gently reheat pudding on the stovetop over low heat, stirring constantly to keep it smooth. Avoid high heat to prevent curdling and maintain that signature creamy texture.
FAQs
Can I use milk alternatives for this pudding?
Absolutely! Whole milk creates the creamiest result, but almond, oat, or other plant-based milks work well for a dairy-free version. Just keep in mind that the texture might be slightly lighter.
How do I prevent lumps when making pudding?
Whisking the dry ingredients together first and then gradually adding the milk while whisking vigorously ensures a smooth mixture. Constant stirring during cooking is also key to avoid lumps forming.
Can I make this pudding vegan?
Yes, by using plant-based milk and substituting butter with coconut oil or vegan butter, you can enjoy a vegan-friendly version of this Creamy Homemade Chocolate Pudding Recipe without compromising flavor.
What if I don’t have cornstarch?
Cornstarch is essential for thickening, but you can use arrowroot powder or tapioca starch as a one-to-one substitute. Just be sure to whisk well to avoid clumps.
How long does the pudding last in the fridge?
Stored properly, the pudding stays fresh and delicious for up to three days. After that, the texture and taste might start to deteriorate, so best to enjoy it sooner rather than later.
Final Thoughts
This Creamy Homemade Chocolate Pudding Recipe is a beloved classic for a reason. Its rich flavor, smooth texture, and simple ingredients come together to create a dessert that feels like a little piece of heaven in every bite. I encourage you to give it a try and experience how easy it is to make something truly special from scratch. Trust me, once you taste this pudding, it will be your new favorite go-to dessert!
Print
Creamy Homemade Chocolate Pudding Recipe
- Prep Time: 5 minutes
- Cook Time: 15 minutes
- Total Time: 20 minutes plus chilling time
- Yield: 4 servings
- Category: Dessert
- Method: Stovetop
- Cuisine: American
Description
This rich and creamy Chocolate Pudding recipe is a classic dessert that’s smooth, velvety, and easy to make. Combining unsweetened cocoa powder, sugar, and cornstarch cooked with whole milk, it’s a decadent treat perfect for any occasion. With simple pantry ingredients and a straightforward stovetop cooking process, you’ll have a luscious homemade pudding ready to chill and serve with optional whipped cream and chocolate shavings for an extra indulgent touch.
Ingredients
Dry Ingredients
- ½ cup granulated or superfine sugar
- ⅓ cup unsweetened cocoa powder (preferably natural, not Dutch processed)
- 3 tbsp cornstarch
- Pinch of salt
Wet Ingredients
- 2½ cups whole milk (or almond/oat milk for dairy-free option)
- 2 tbsp unsalted butter (or coconut oil/dairy-free butter for dairy-free option)
- 1 tsp vanilla extract
Optional Toppings
- Whipped cream
- Chocolate shavings
Instructions
- Combine dry ingredients: In a saucepan off the heat, whisk together the sugar, cocoa powder, cornstarch, and salt thoroughly to ensure even distribution and prevent clumping.
- Add milk and mix: Gradually add the milk to the dry mix and whisk continuously until the mixture is smooth and fully blended.
- Cook pudding: Place the saucepan over medium heat and cook the mixture while whisking constantly. Continue stirring until the pudding thickens and just starts to bubble, which typically takes about 10 minutes. This step ensures the cornstarch activates to thicken the pudding properly.
- Finish and flavor: Immediately remove the saucepan from heat once thickened. Stir in the butter and vanilla extract, whisking until the butter melts completely and the pudding achieves a smooth, creamy consistency.
- Chill pudding: Pour the pudding into a bowl or individual serving dishes. Press plastic wrap directly onto the surface to prevent a skin from forming. Refrigerate for at least 2 hours to fully set and chill the pudding.
- Serve: After chilling, serve the pudding topped with freshly whipped cream and chocolate shavings if desired, adding extra flavor and texture.
Notes
- Use natural cocoa powder instead of Dutch processed for a more intense chocolate flavor.
- For a dairy-free version, substitute whole milk with almond or oat milk and butter with coconut oil or dairy-free butter.
- Constant whisking during cooking is essential to prevent lumps and ensure a smooth pudding.
- Pressing plastic wrap directly on the pudding surface prevents a skin from forming while chilling.
- Chill time can be extended up to 4 hours or overnight for firmer pudding.


