“`html
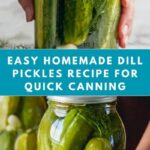
If you’ve ever wished you could capture the crisp, tangy magic of your favorite deli pickles right in your own kitchen, then this Canned Dill Pickle Recipe is exactly what you need. It’s the perfect balance of fresh cucumbers, fragrant dill, pungent garlic, and a brine with just the right zing of vinegar and pickling salt, all coming together to create a batch of crunchy, flavorful pickles that you’ll be proud to share. Plus, canning these beauties means you can enjoy homemade pickles for months to come, no matter the season.
Ingredients You’ll Need
These ingredients are wonderfully straightforward yet essential to achieve that authentic dill pickle flavor and satisfying crunch. Each item plays a role in balancing sharpness, aroma, and texture, making this recipe a timeless staple.
- 6 bay leaves: Adding gentle herbal notes that complement the dill without overpowering the pickles.
- 1/2 Tbsp peppercorns: These provide subtle heat and a slight spice kick, enhancing the overall flavor.
- 6 dill stems with flowers: The cornerstone of that unmistakable dill flavor, cut into 3-inch pieces to infuse the brine thoroughly.
- 12 garlic cloves: Halved to release just the right amount of garlic pungency into your pickles.
- 2-inch horseradish root (optional): Adds a bit of extra bite and helps maintain the crunchiness of the cucumbers.
- 6 pounds of small cucumbers: Well-rinsed and trimmed, these are the star, and size is key for perfect pickling results.
- 8 cups water: Used to create the brine that bathes the cucumbers and melds all the flavors.
- 1/3 cup granulated sugar: Balances the acidity and rounds out the sharp flavors.
- 6 tablespoons pickling salt (or 1/3 cup): Essential for the salty tang that preserves the cucumbers and enhances taste.
- 6 cups distilled white vinegar (5% acidity): The bright, tangy backbone of the pickling brine.
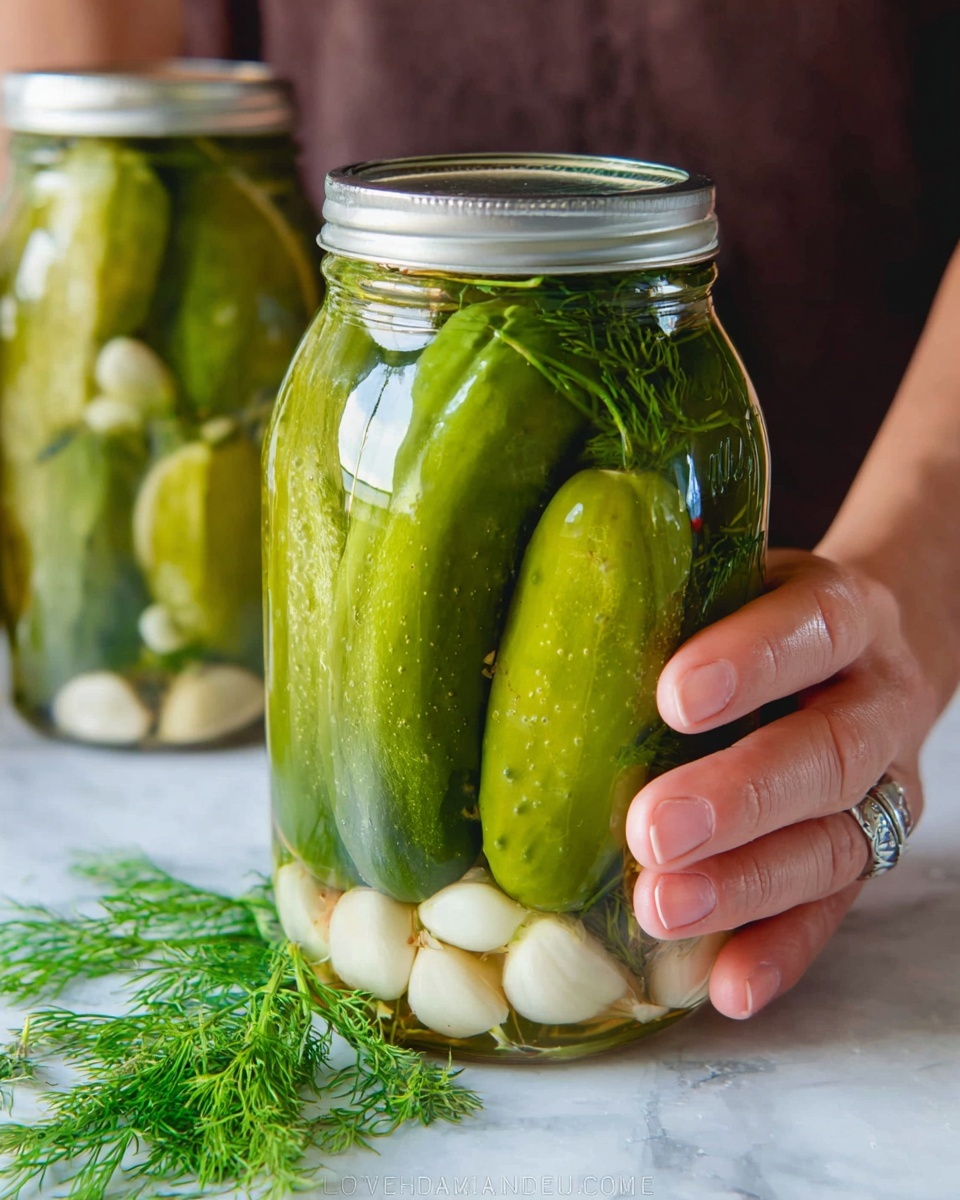
- 6 quart-sized wide-mouth mason jars with rings and new lids: Perfect vessels to safely store and preserve your pickles.
- 1 large stock pot (20 Qt+) with rack or canner: Necessary for processing the jars correctly to keep your pickles fresh long-term.
- 1 jar lifter: Keeps your hands safe when handling hot jars during processing.
How to Make Canned Dill Pickle Recipe
Step 1: Prepare the Ingredients
Start by washing your cucumbers thoroughly and trimming off the blossom ends to prevent softening. Halve the garlic cloves and chop the horseradish root if using. Cut the dill stems into three-inch pieces and gather your bay leaves and peppercorns. Getting everything prepped neatly will make the canning process smooth and enjoyable.
Step 2: Sterilize Jars and Prepare Brine
Fill your large stock pot or canner with water and place the rack inside. Submerge your mason jars and lids in boiling water for at least 10 minutes to sterilize them. Meanwhile, mix water, vinegar, sugar, and pickling salt in a pot and bring the brine to a boil, stirring until all the sugar and salt are dissolved—this ensures the best texture and flavor for your canned dill pickles.
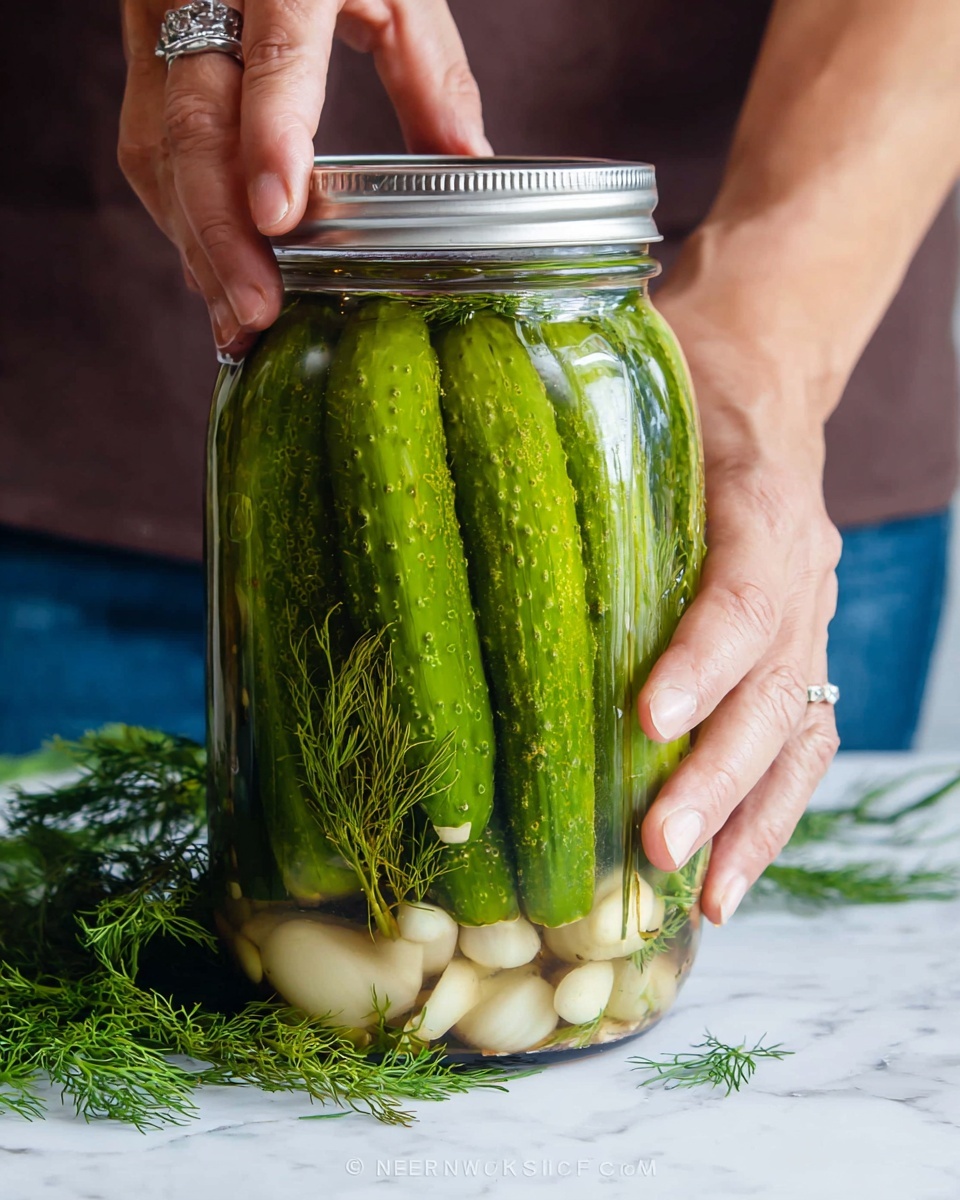
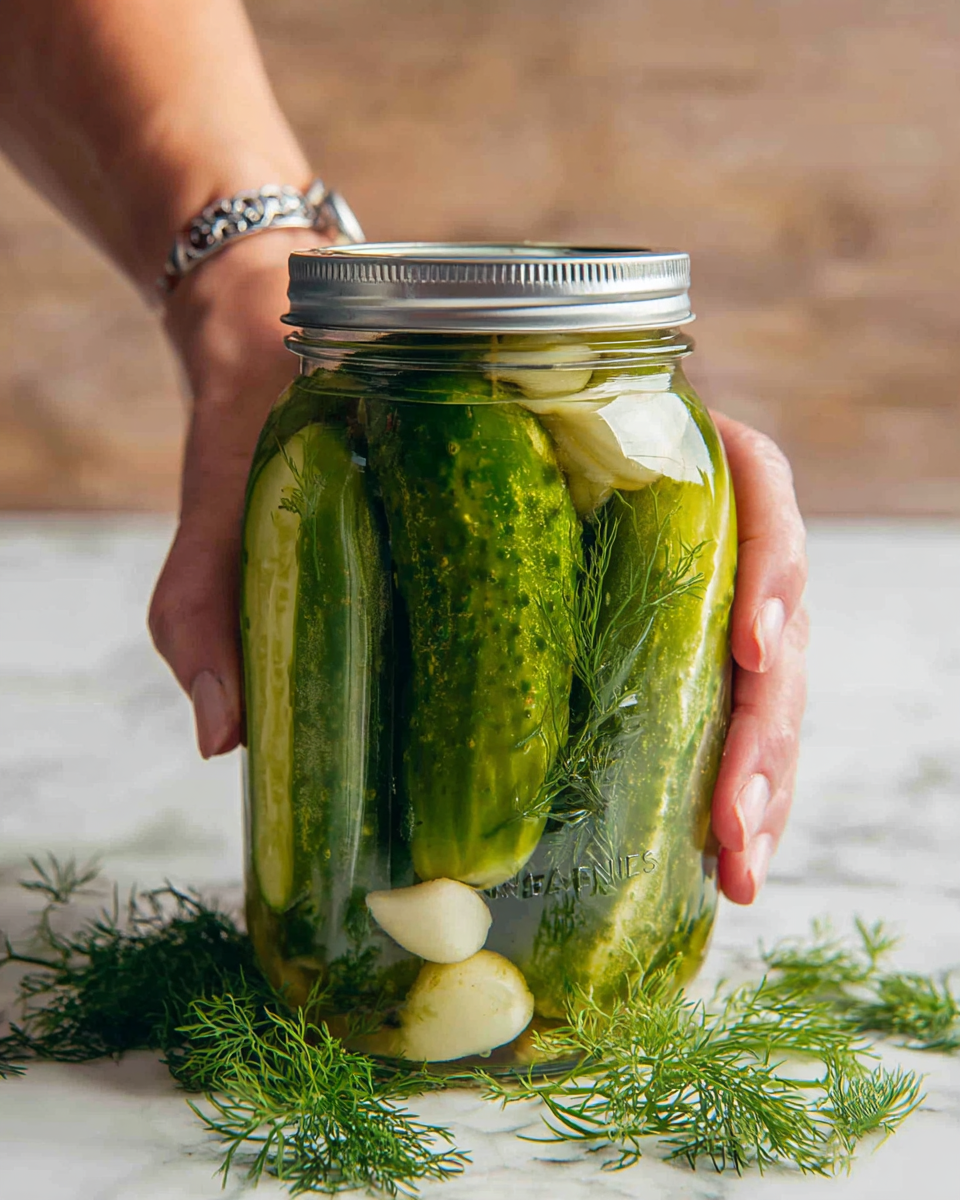
Step 3: Pack the Jars
Carefully place one bay leaf, about 5 peppercorns, one dill stem, two halved garlic cloves, and a small amount of horseradish root (if using) into each sterilized jar. Then pack the cucumbers snugly but without crushing them, leaving about half an inch of headspace at the top for expansion during processing.
Step 4: Add the Hot Brine and Seal
Pour the hot brine over the cucumbers in each jar, making sure the cucumbers are fully submerged but maintain the headspace. Wipe the rims of the jars clean to ensure a good seal and carefully place new lids and rings on top, tightening them just until finger tight.
Step 5: Process the Jars
Place the jars onto the canning rack inside your pot of boiling water. The water level should cover the jars by at least an inch. Boil for about 15 minutes to properly seal and preserve your Canned Dill Pickle Recipe jars. Remove the jars with a jar lifter and allow them to cool undisturbed at room temperature.
How to Serve Canned Dill Pickle Recipe
Garnishes
Your homemade canned dill pickles are already packed with flavor, but if you want to elevate them, sprinkle a little fresh dill or a pinch of red pepper flakes right before serving. A wedge of lemon on the side can brighten the pickles’ natural tang.
Side Dishes
These pickles are classic partners to sandwiches, burgers, or a grilled cheese plate, offering a zesty crunch that balances richer foods beautifully. They also mingle delightfully with charcuterie boards, adding brightness and texture.
Creative Ways to Present
Try slicing the pickles thinly for a tangy addition to salads or chopped up for homemade tartar sauce. You can even dice them and mix with cream cheese and herbs for a tangy spread perfect on crackers or bagels. The possibilities with your canned dill pickle recipe are endless!
Make Ahead and Storage
Storing Leftovers
Once opened, keep your pickles submerged in their brine in a sealed container in the refrigerator. They should stay crisp and flavorful for several weeks, perfect for snacking or adding to recipes as needed.
Freezing
Freezing is not recommended for pickles as it can compromise their texture, making them mushy when thawed. Instead, rely on proper canning and refrigeration to enjoy their best quality.
Reheating
These pickles are meant to be enjoyed cold or at room temperature. Heating them will soften their delightful crunch and dull their refreshing zing, so it’s best to serve them fresh from the jar or chilled.
FAQs
Can I use other types of cucumbers for this canned dill pickle recipe?
While small pickling cucumbers work best due to their thin skins and firmness, you can experiment with other varieties, but be mindful that larger cucumbers with thicker skins might not yield the same crispy results.
Is the horseradish root necessary?
The horseradish root is optional but highly recommended because it adds a subtle peppery heat and helps keep the cucumbers crunchy during the pickling process.
How long do canned dill pickles last?
Properly canned and sealed, these pickles can last up to a year stored in a cool, dark place. Once opened, they should be refrigerated and enjoyed within several weeks.
Can I use apple cider vinegar instead of distilled white vinegar?
For safety and flavor consistency, it’s best to stick with distilled white vinegar at 5% acidity. Alternate vinegars can change the pH and may affect both taste and preservation.
What’s the secret to keeping pickles crunchy?
A combination of using fresh cucumbers, removing blossom ends, including horseradish root, pickling salt, and following proper canning processes helps maintain that satisfying crunch in your canned dill pickles.
Final Thoughts
There’s something incredibly rewarding about opening a jar of your own canned dill pickle recipe—crisp, tangy, and bursting with garden-fresh flavor. Trust me, once you get the hang of this recipe, you’ll want to can batch after batch to share with friends and family. Homemade pickles are not just a condiment; they’re a celebration of simple ingredients turned into something truly special. So, roll up your sleeves and dive into this delicious adventure—you won’t regret it!
“`
Print
Canned Dill Pickle Recipe
- Prep Time: 60 minutes
- Cook Time: 15 minutes
- Total Time: 1 hour 15 minutes
- Yield: 30 servings (6 quart-sized jars)
- Category: Canning
- Method: Baking
- Cuisine: American
- Diet: Gluten Free
Description
This Canned Dill Pickle recipe yields crisp, tangy pickles that are perfect for snacking or adding a flavorful crunch to your sandwiches. Using fresh dill, garlic, and optional horseradish root, these pickles are brined in a vinegar-based solution and canned in quart-sized jars for long-term storage. The process involves boiling the brine to infuse flavors and using a water bath canning method to preserve freshness and safety.
Ingredients
Spices and Flavorings
- 6 bay leaves (1 per jar)
- 1/2 Tbsp whole peppercorns (about 5 per jar)
- 6 dill stems with flowers, cut into 3″ pieces (1 full stem per jar)
- 12 garlic cloves, halved (2 cloves per jar)
- 2-inch horseradish root, chopped and divided (optional but nice)
Pickling Ingredients
- 6 lbs small cucumbers, well rinsed and ends trimmed
- 8 cups water
- 1/3 cup granulated sugar
- 6 Tbsp pickling salt (or 1/3 cup)
- 6 cups distilled white vinegar (5% acidity)
Equipment
- 6 quart-sized wide-mouth mason jars with rings and new lids
- 1 large stock pot (20 Qt or larger) with rack or canner
- 1 jar lifter to safely transfer the jars
Instructions
- Prepare Cucumbers and Jars: Rinse the cucumbers thoroughly and trim the ends. Ensure your quart-sized mason jars, rings, and lids are clean and sterilized. Set aside the dill stems, bay leaves, garlic cloves (halved), and horseradish root if using.
- Fill Jars with Flavorings and Cucumbers: Into each jar, place 1 bay leaf, about 5 peppercorns, 1 dill stem with flowers, 2 halved garlic cloves, and a piece of horseradish root if desired. Pack the cucumbers tightly into each jar but avoid crushing them.
- Make the Brine: In a large stockpot, combine 8 cups water, 1/3 cup granulated sugar, 6 Tbsp pickling salt, and 6 cups distilled white vinegar. Bring the mixture to a boil, stirring until sugar and salt dissolve completely.
- Fill the Jars with Brine: Carefully ladle the hot brine over the cucumbers in each jar, leaving about 1/2 inch headspace at the top. Remove any air bubbles by gently tapping the jars or using a non-metallic utensil. Wipe the rims clean to ensure a good seal.
- Seal the Jars: Place new lids on the jars and screw on the rings until fingertip tight—do not over-tighten.
- Process in Boiling Water Bath: Place jars in the large stockpot with rack, ensuring they are covered by at least 1 inch of water. Bring water to a boil and process the jars for 15 minutes to preserve and seal them safely.
- Cool and Store: Using a jar lifter, carefully remove the jars and place on a towel or cooling rack. Let them cool undisturbed for 12-24 hours. Check the seal—lids should not flex up and down when pressed. Store in a cool, dark place. Pickles improve in flavor after about 1-2 weeks.
Notes
- Use fresh, firm cucumbers that are small and suitable for pickling to ensure crispness.
- Adding horseradish root is optional but adds a nice spicy flavor and helps maintain crunch.
- Ensure vinegar used is 5% acidity for safe pickling.
- Do not skip the boiling water bath process to avoid spoilage and ensure shelf stability.
- Let pickles sit for at least 1-2 weeks before eating for best flavor development.
- Store sealed jars in a cool, dark place; refrigeration after opening is recommended.


